
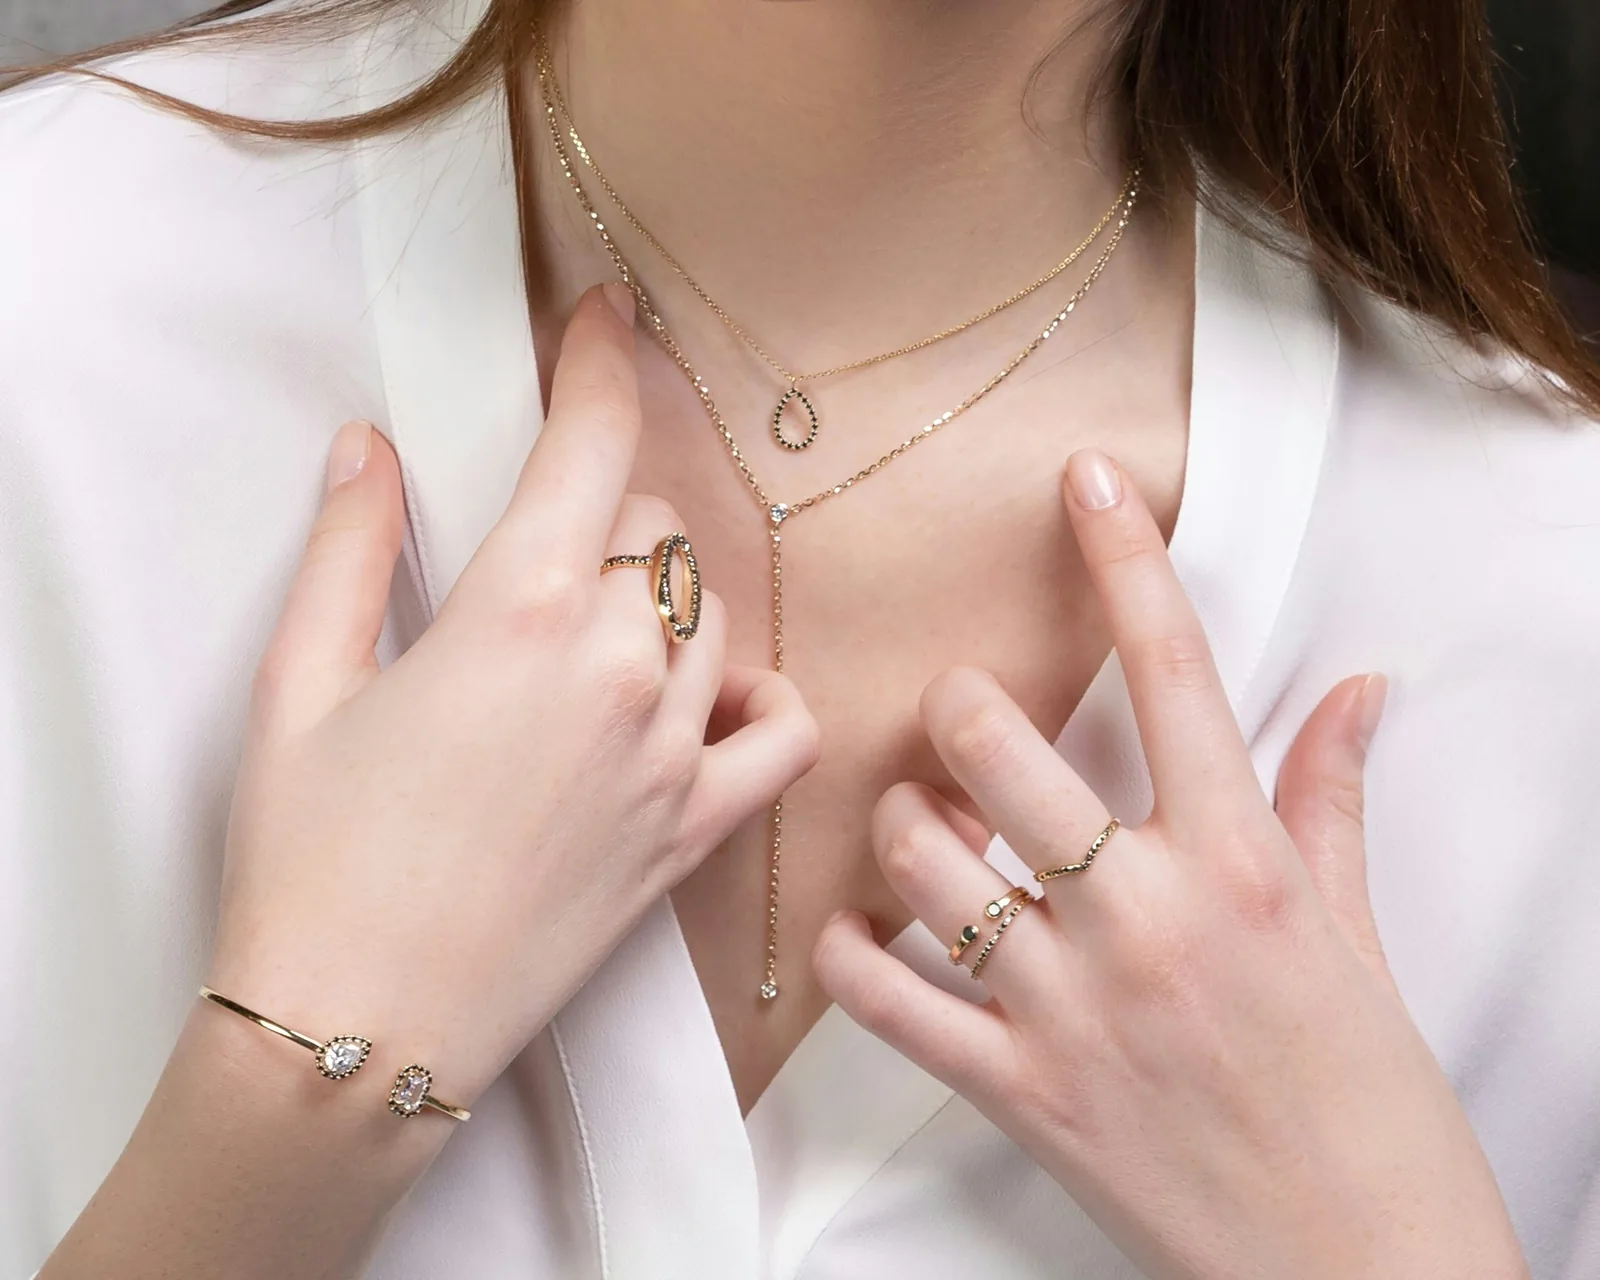
This guide shows you how to photograph jewelry for an online store, step by step: the gear you need at each budget, how to light metal and gemstones without glare, the camera and phone settings that keep a whole ring sharp, and the shots every listing needs. It is written for sellers on Etsy, Shopify, Amazon and Instagram who shoot their own pieces.
Jewelry is one of the hardest products to photograph. It is small, so focus is unforgiving. Metal and stones reflect everything around them, including you. And buyers zoom in, so dust and fingerprints show. Every step below is about controlling those three things.
In this guide
- What you need
- Step 1: Clean and prep every piece
- Step 2: Build a small tabletop setup
- Step 3: Light jewelry without glare
- Step 4: Camera and phone settings
- Step 5: Focus stacking
- Step 6: The shots every listing needs
- Step 7: Styled and creative shots
- Step 8: Jewelry on a model
- Step 9: Edit and export
- Common mistakes
- FAQ
What You Need to Photograph Jewelry
You do not need a studio. You need control over the light and a way to hold the camera still. Start with the basic kit and add the upgrades when a specific problem shows up.
| Item | Basic kit | Upgrade |
|---|---|---|
| Camera | A recent phone, ideally with a 2x or 3x lens | Mirrorless or DSLR camera |
| Lens | The phone's main or telephoto lens | 90-105mm macro lens with 1:1 magnification |
| Support | Small tripod with a phone clamp | Sturdy tripod and a remote release |
| Light | A large window with indirect daylight | Two continuous LED lights with softboxes, or a light box |
| Light control | Tracing paper or a white shower curtain, white card | Diffusion panels, white and black foam boards, clamps |
| Background | White paper or card | Seamless paper sweep, white or black acrylic sheet |
| Holding | Museum putty, tweezers | Ring holders, necklace bust, earring stand, clear fishing line |
| Cleaning | Microfiber cloth, cotton gloves | Air blower, jewelry polishing cloth |
The lens matters more than the camera body: a macro lens fills the frame with a ring from a comfortable distance, which also keeps you out of the reflections. Our guide to the best lens for jewelry photography compares the options, and the light box photography guide covers the cheapest way to get soft, even light. For backdrops beyond plain white, see these backgrounds for jewellery photography.
Step 1: Clean and Prep Every Piece
At macro distance the camera records every smudge, so ten minutes of cleaning saves an hour of retouching.
- Polish metal with a jewelry cloth, then wipe it with a clean microfiber cloth.
- From then on, wear cotton or nitrile gloves and move pieces with tweezers.
- Blow dust off with an air blower right before each shot instead of wiping again.
- Untangle chains and lay them out so the links sit flat.
- Check for scratches, bent prongs and loose stones, and photograph your best sample of each design.
- Keep the cloth and blower on the table for the whole shoot.
Step 2: Build a Small Tabletop Setup
Set up on a sturdy table next to a window, or in a room where you can block the daylight if you are using lights. Then:
- Tape a sheet of white or black paper to the wall and let it curve down onto the table. This curve, called a sweep, removes the line between table and wall.
- Place the jewelry near the front of the sweep, not against the wall, so the background lights evenly.
- Put the camera or phone on a tripod. Shoot every product of the same type from the same height, angle and distance, and mark the tripod's position with tape so you can return to it.
- If your pieces are very shiny, use a small light box or light tent instead of an open sweep. It surrounds the piece with white, which is what polished metal needs to reflect.
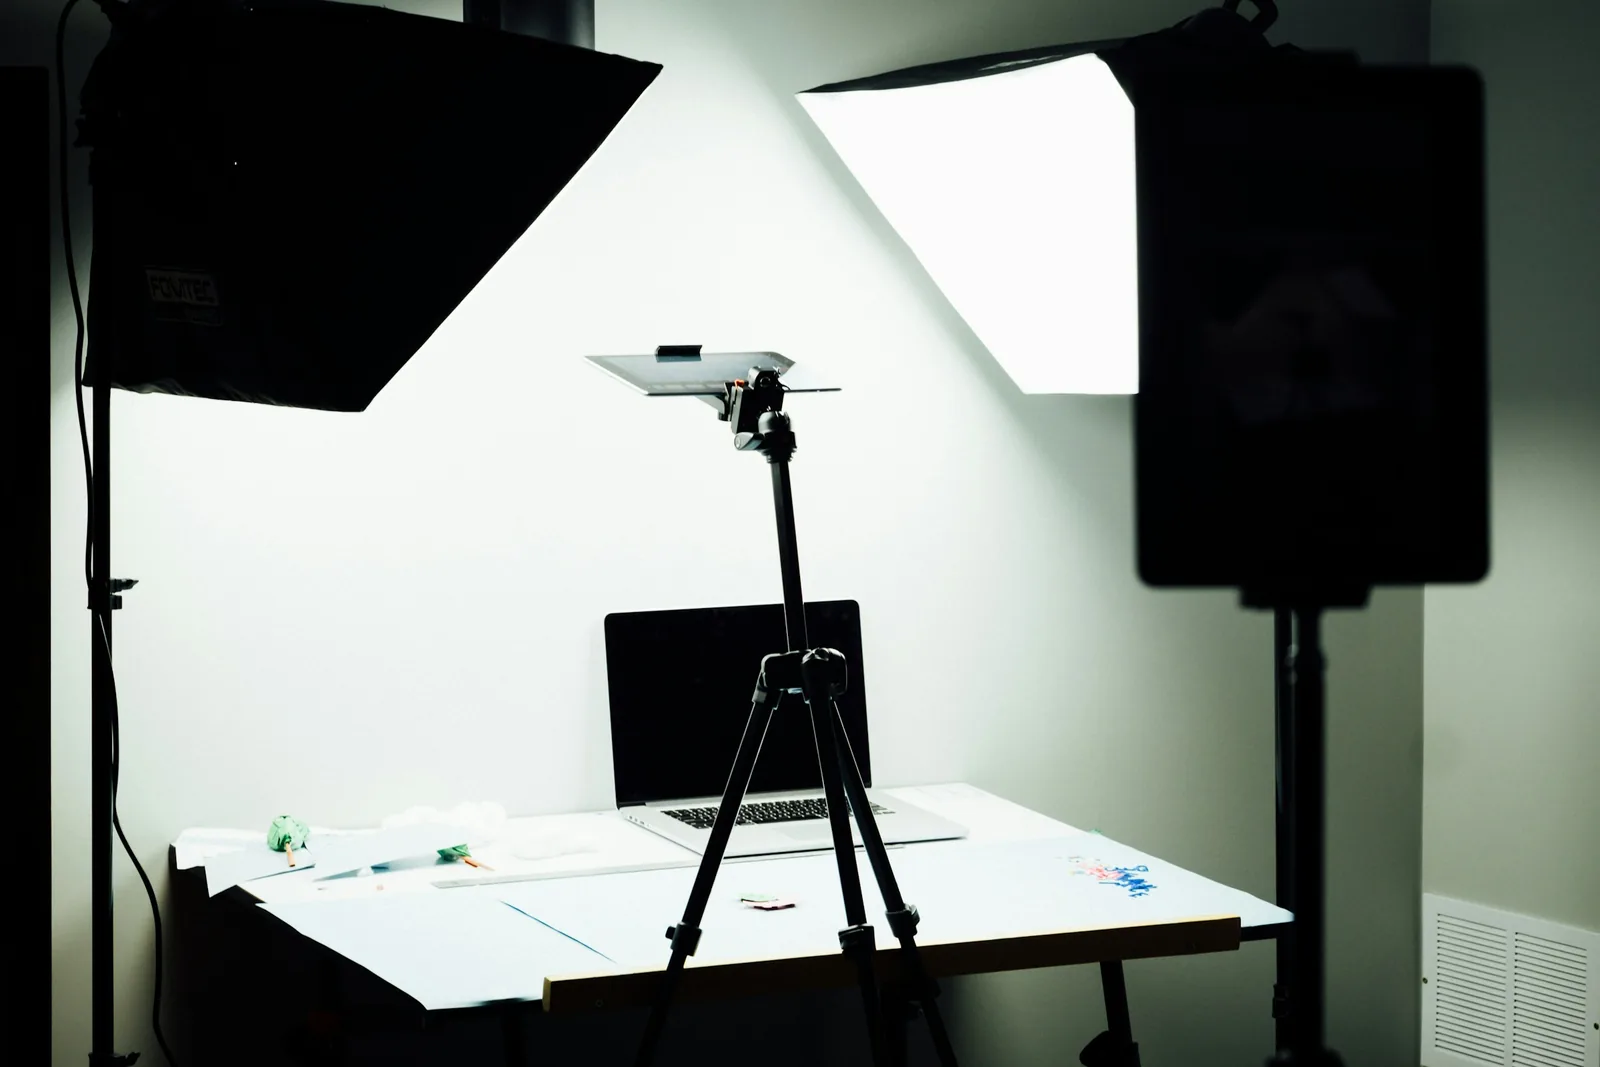
For a fuller walkthrough of budget tabletop setups, see our DIY product photography setup guide.
Step 3: Light Jewelry for Sparkle Without Glare
Polished metal works like a curved mirror: it shows whatever surrounds it. A ring photographed in a cluttered room shows the cluttered room. Good jewelry lighting is about choosing what the piece reflects.
Start With Big, Soft Light
A window with indirect daylight, or a light behind a diffusion panel, gives smooth highlights on metal. Avoid direct sun and bare bulbs as the main light, because they leave hard hot spots. Turn off ceiling lights and lamps so you are not mixing warm and cool light, which gives gold a green or orange cast.
Shape the Metal With White and Black Cards
Hold a white card just out of frame to brighten the dark side of a band. Use a black card to put a dark edge into polished silver or clear stones: without some dark reflection, shiny metal looks flat and grey. Small cards on clamps let you place each reflection exactly where you want it.
Add a Small Hard Light for Gemstone Sparkle
Soft light makes metal look smooth, but it makes faceted stones look dull. Stones sparkle when a small, bright light hits the facets. Once the soft light is set, add a small LED, a flashlight or a flash at low power, and move it until the facets light up.
Keep Yourself Out of the Reflection
Shoot from further back with a longer lens, or through the opening of a light tent, and check the highlights on the screen at full magnification before you move to the next piece.
Step 4: Camera and Phone Settings for Jewelry
With a Camera
- Mode: manual or aperture priority, so the aperture stays the same from shot to shot.
- Aperture: f/8 to f/16. At close range the zone of sharp focus is only a few millimetres deep, so a wide aperture blurs most of a ring. Beyond about f/16, diffraction softens fine detail; use focus stacking instead of stopping down further.
- ISO: 100 to 200 for clean detail. The tripod lets you use a slower shutter instead of a higher ISO.
- Shutter speed: whatever gives the right exposure on the tripod. Use the 2-second timer or a remote so pressing the button does not shake the camera.
- White balance: set a custom white balance from a grey or white card, or a fixed Kelvin value that matches your lights. Auto white balance drifts between shots, so the same gold looks different from photo to photo.
- Focus: manual focus with the live view magnified, on the most important detail, usually the front of the main stone.
- File format: RAW, so you can correct white balance and highlights later.
With a Phone
- Use the 2x or 3x lens and step back a little rather than pushing the main lens close. You get less distortion, and the phone casts less shadow on the piece.
- Use macro mode only for close detail shots, and check that the edges of the piece are sharp.
- Tap the jewelry to focus, then press and hold to lock focus and exposure (most phones support this), and pull the exposure down slightly so bright metal does not turn pure white.
- Skip the flash and the digital zoom. Crop later instead.
- Put the phone on a tripod and use the timer.
Our guide to taking pictures of jewelry with a phone covers phone settings and apps in more detail.
Step 5: Use Focus Stacking for Edge-to-Edge Sharpness
Even at f/11, a ring photographed from the front can have a sharp stone and a soft band. Focus stacking fixes that: you take several photos of the same frame, moving the focus a little each time from the front of the piece to the back, then merge the sharp parts into one image.
- Lock the camera on the tripod and do not touch the jewelry or the lights between frames.
- Take 5 to 20 frames, stepping the focus from the nearest point to the furthest. Many recent cameras have a focus bracketing mode that does this for you.
- Merge the frames in Photoshop (Auto-Blend Layers, Stack Images), Helicon Focus or Zerene Stacker.
- Check the result at 100% for halos around edges and retouch them.
Stacking is worth the effort for main images of rings, pendants and anything with depth. Flat pieces shot from directly above rarely need it.
Step 6: Shoot the Angles Every Listing Needs
Plan the full set before you start so you only set up each product once. For most pieces that means:
- Main image: the piece alone on a clean background, front or three-quarter view, filling most of the frame. On a marketplace, use the background it asks for: our Amazon and Etsy image requirement pages list the current rules.
- Side or profile: shows the height of a setting or the thickness of a band.
- Back and clasp: buyers want to see the clasp, the earring backs and any hallmark or stamp.
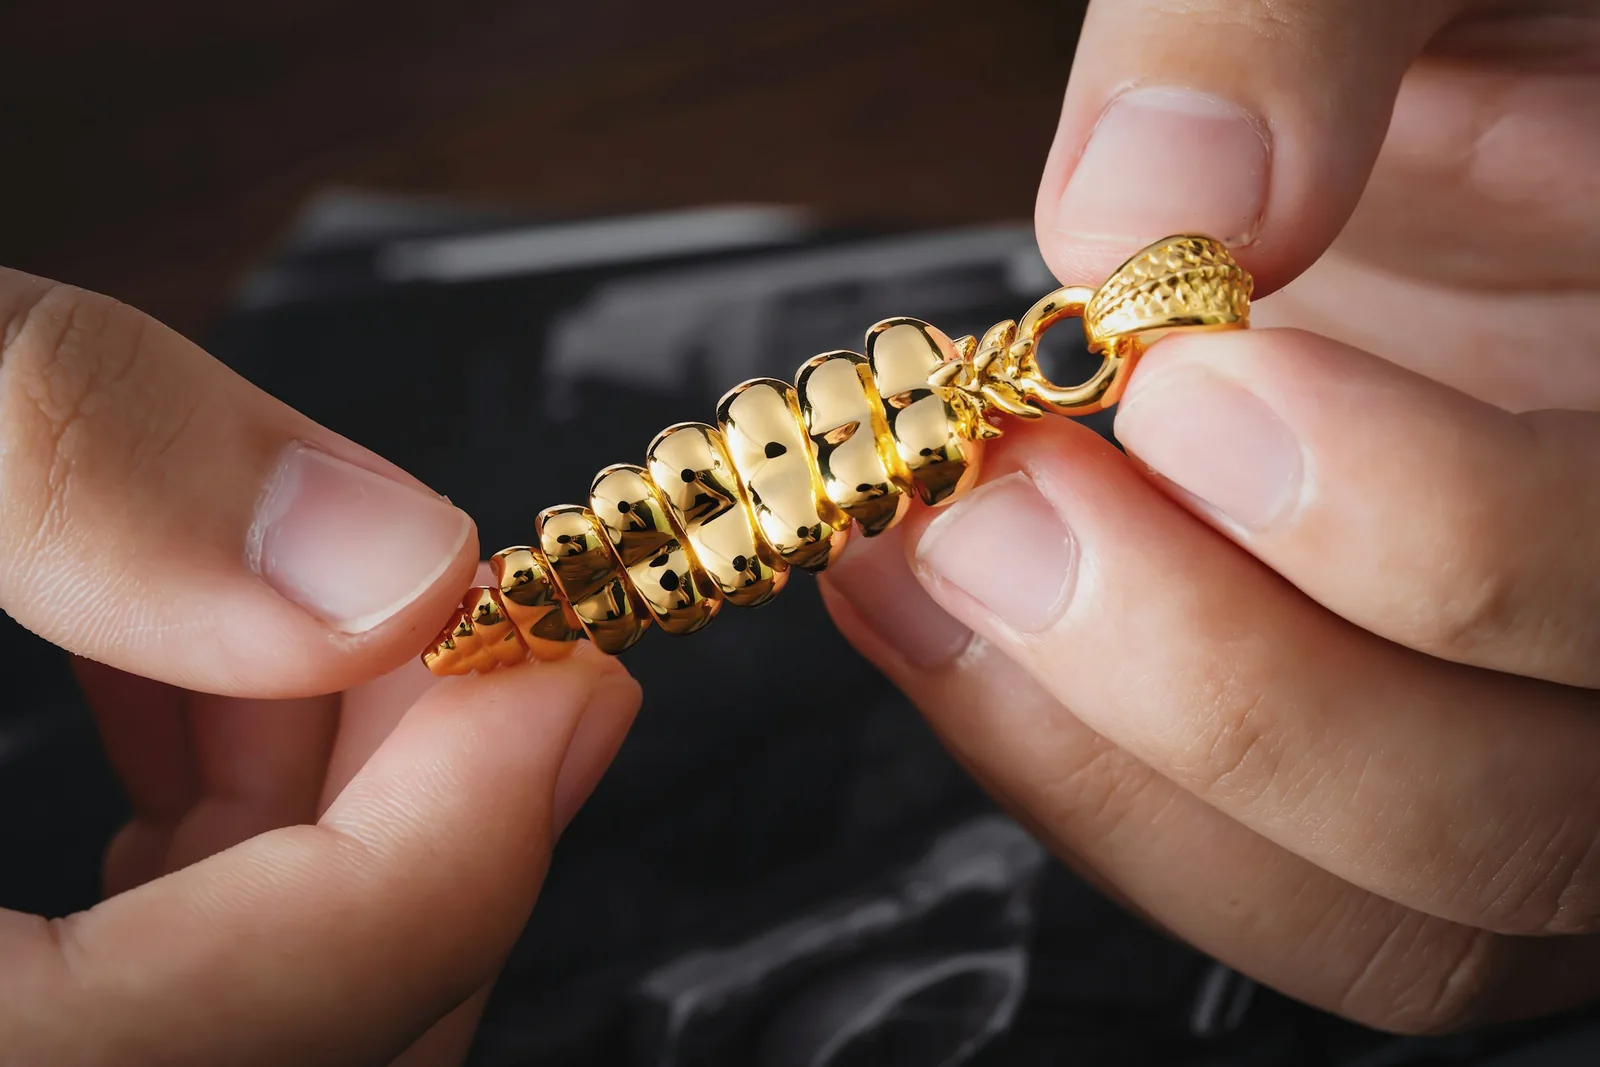
- Close-up detail: stone setting, texture, engraving. These are the photos buyers zoom into.
- Scale: on a hand, ear or neck, so buyers can judge the size. A pendant that fills a close-up can be smaller than a fingernail.
- Styled or lifestyle shot: the piece in context, for the listing, social posts and ads.
- Packaging: if people buy your pieces as gifts, show the box.
- Short video or GIF: a slow turn or a small hand movement shows sparkle better than any still.
Tips by Jewelry Type
- Rings: stand them upright with a small ball of museum putty hidden behind the band, or use a ring holder. Shoot the top, the profile and the inside of the band if it is engraved.
- Necklaces: lay chains in a soft S curve or hang them on a bust. Photograph the pendant up close and the full length on a model, since length is the question buyers ask most.
- Earrings: always photograph the pair. Hang drop earrings from a stand or fishing line so they fall naturally, and show one on an ear in profile. Our earring photography guide has more setups.
- Bracelets: curve them around a cylinder or a wrist form, and show one on a wrist for size.
- Watches: set the hands to the same time in every shot (10:10 is the classic choice) and watch the reflections on the crystal. See our watch product photography guide.
Step 7: Styled and Creative Jewelry Shots
Once the clean listing images are done, styled shots show the brand and give you material for social posts and ads.
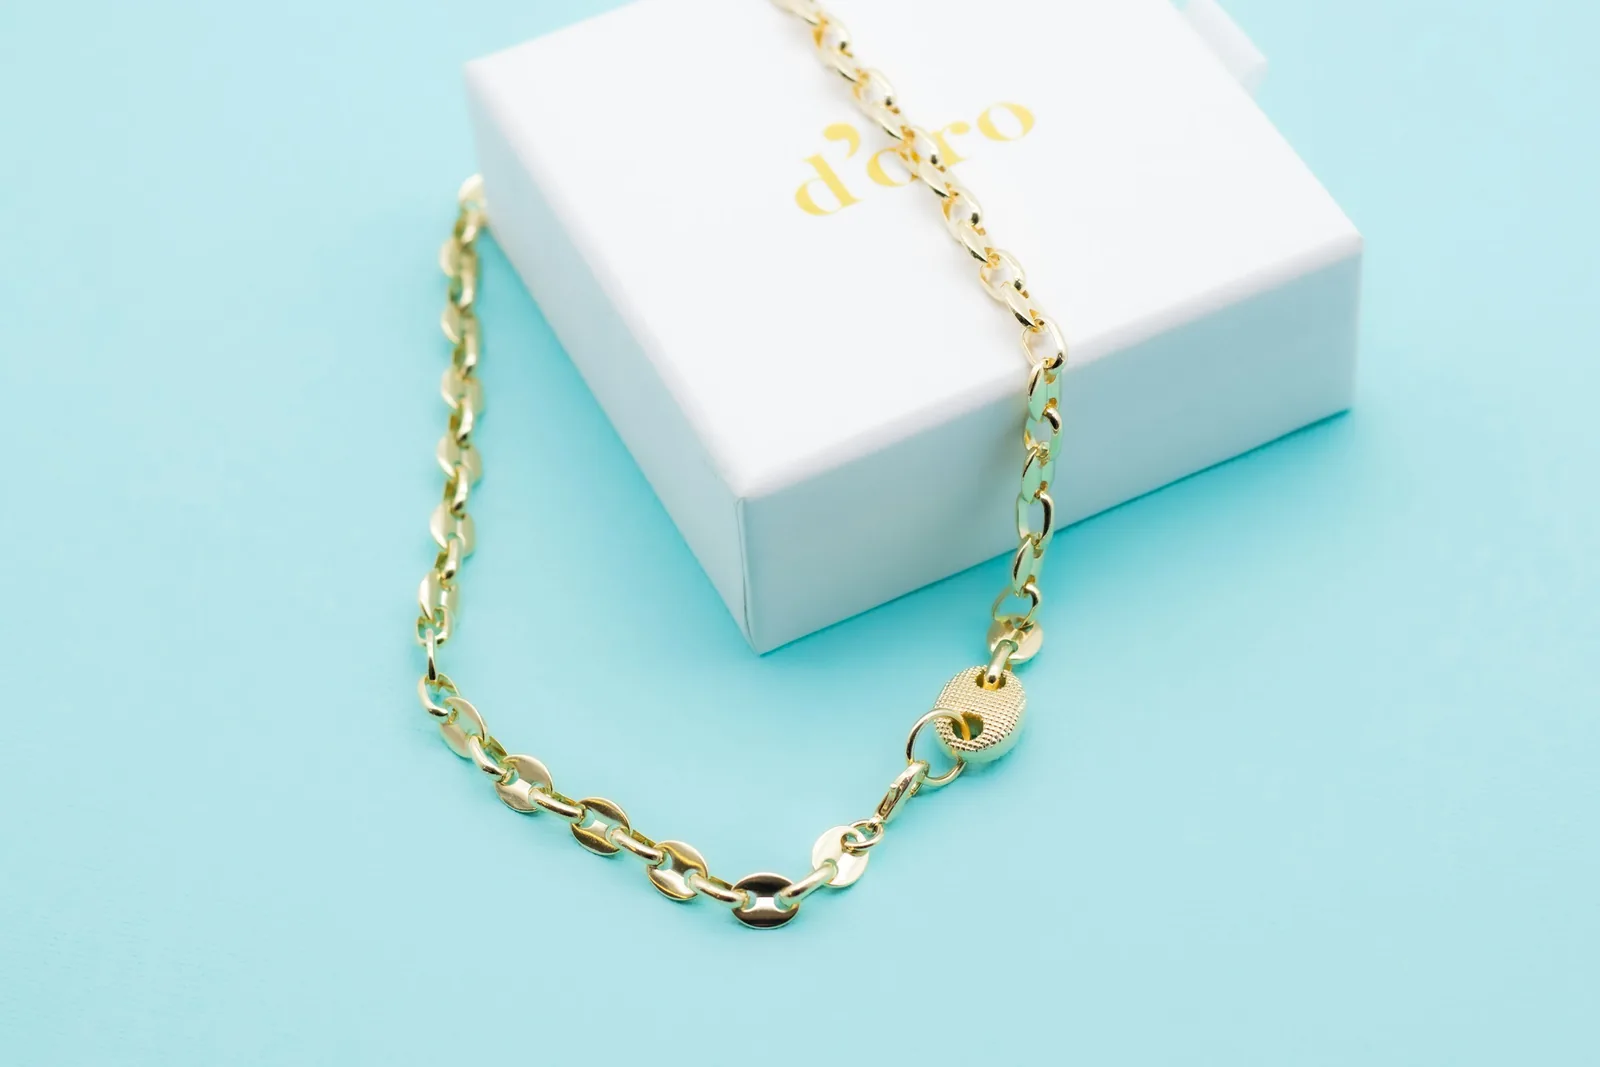
- Dark backgrounds: black velvet, slate or charcoal card make silver, diamonds and crystals stand out. One soft light from the side gives a spotlight effect.
- Brand colours: coloured acrylic, linen or ceramic in your palette keeps the shop and the social feed consistent.
- Reflections: a mirror, glass or black acrylic sheet under the piece adds a clean reflection.
- Natural textures: leaves, driftwood, pebbles or shells suit boho and beach styles; fresh or dried flowers suit bridal pieces. Keep props smaller and quieter than the jewelry.
- Risers: a small block of marble or wood lifts a piece off the surface and adds depth.
- Floating pieces: hang a pendant on clear fishing line and remove the line in editing.
- Colour matching: pair stones with props in the same colour family, such as an emerald ring with eucalyptus or blue topaz with glass.
- Black and white: suits silver and platinum in editorial shots, never the main listing image.
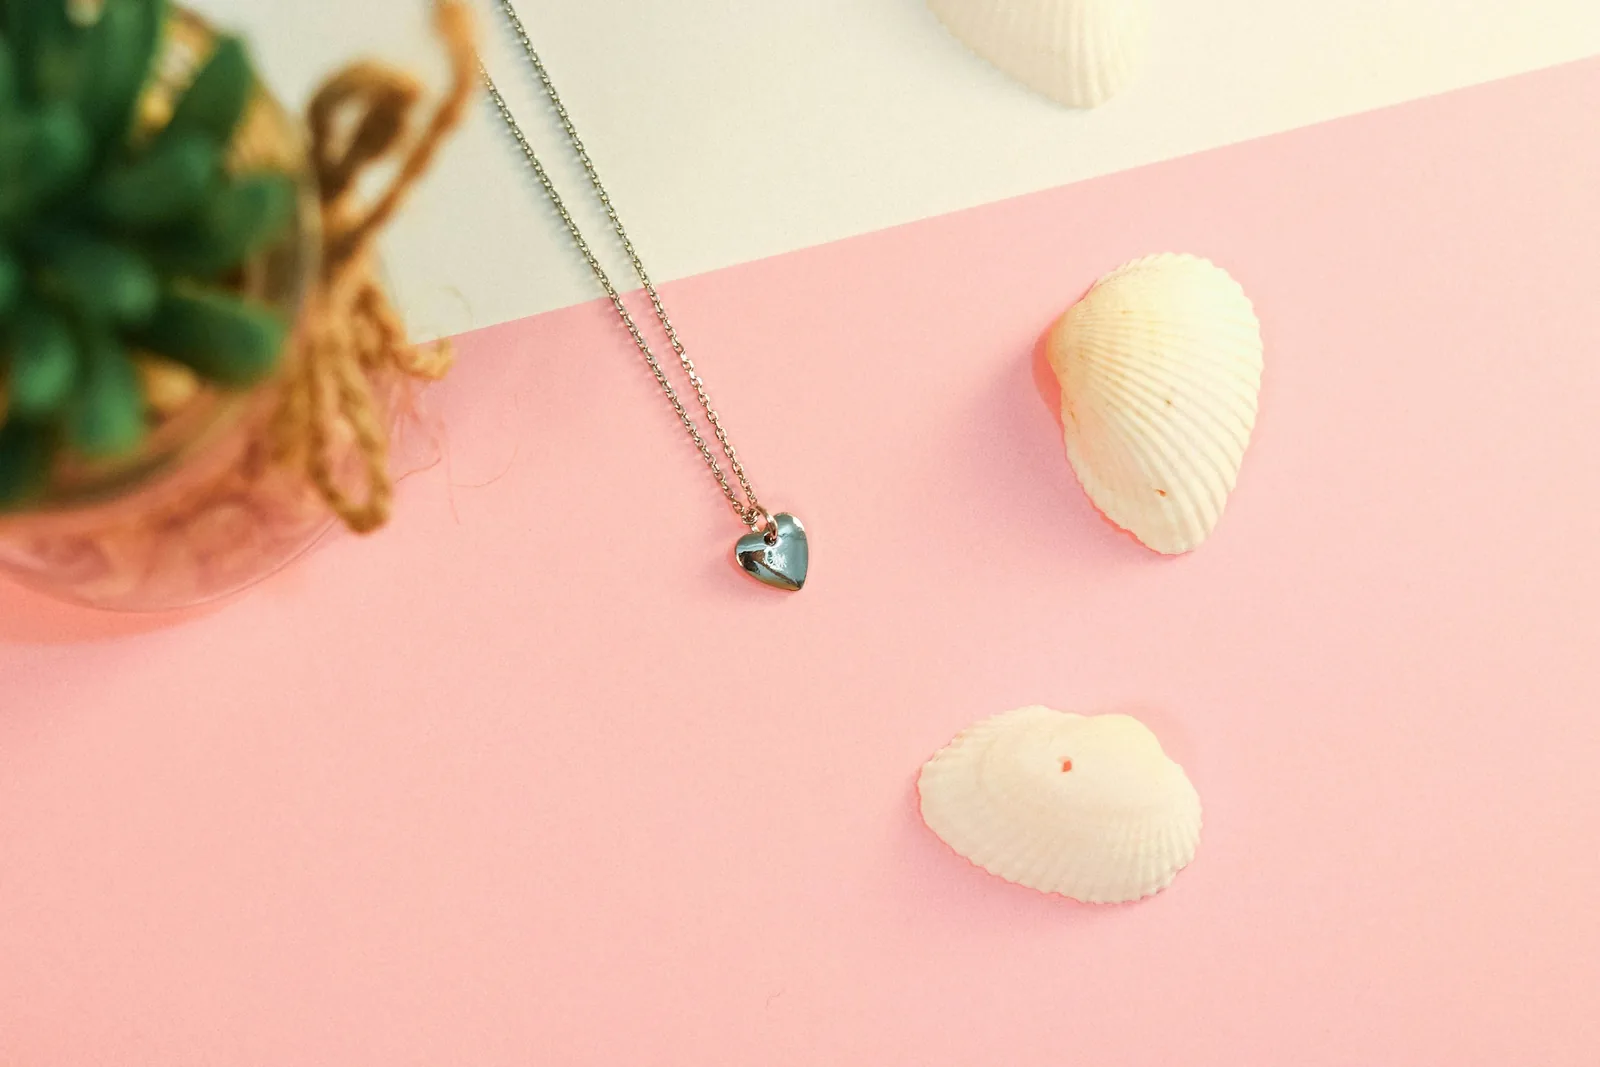
Find more ideas in creative jewellery photography and jewelry photography props. If social media is your main sales channel, how to sell jewelry on Instagram shows how styled shots fit into a feed.
Step 8: Photograph Jewelry on a Model
On-model photos answer what a product shot cannot: how big the piece is, how it sits and how it looks against skin. Keep the framing tight on the piece:
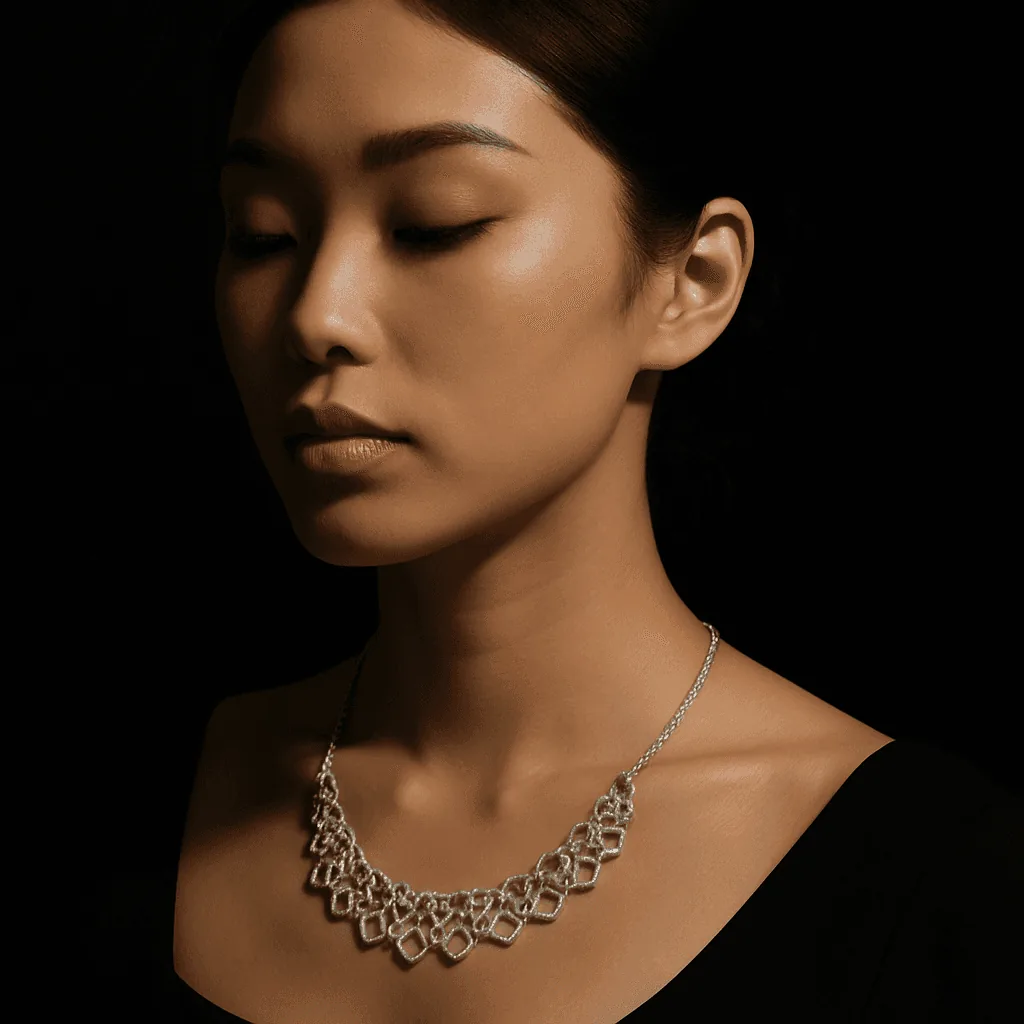
- Necklaces: frame from the collarbone up.
- Earrings: profile or three-quarter view, with the hair tucked back.
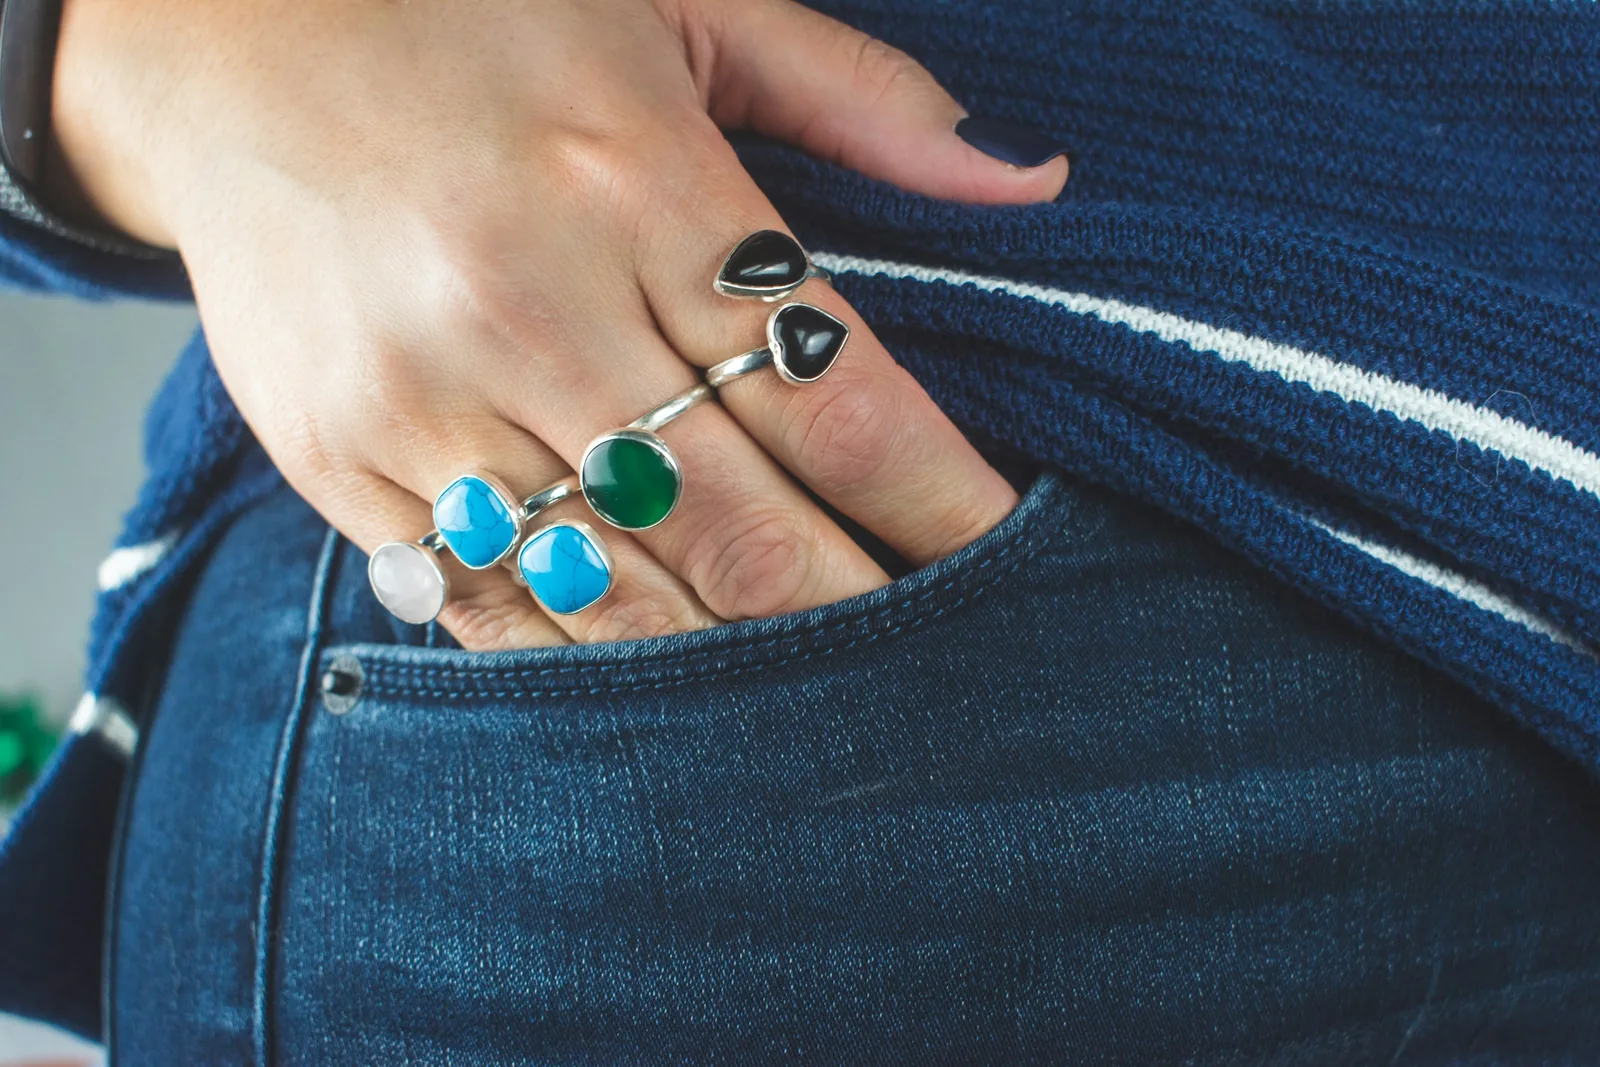
- Rings and bracelets: a relaxed hand, fingers slightly apart, against a plain background.
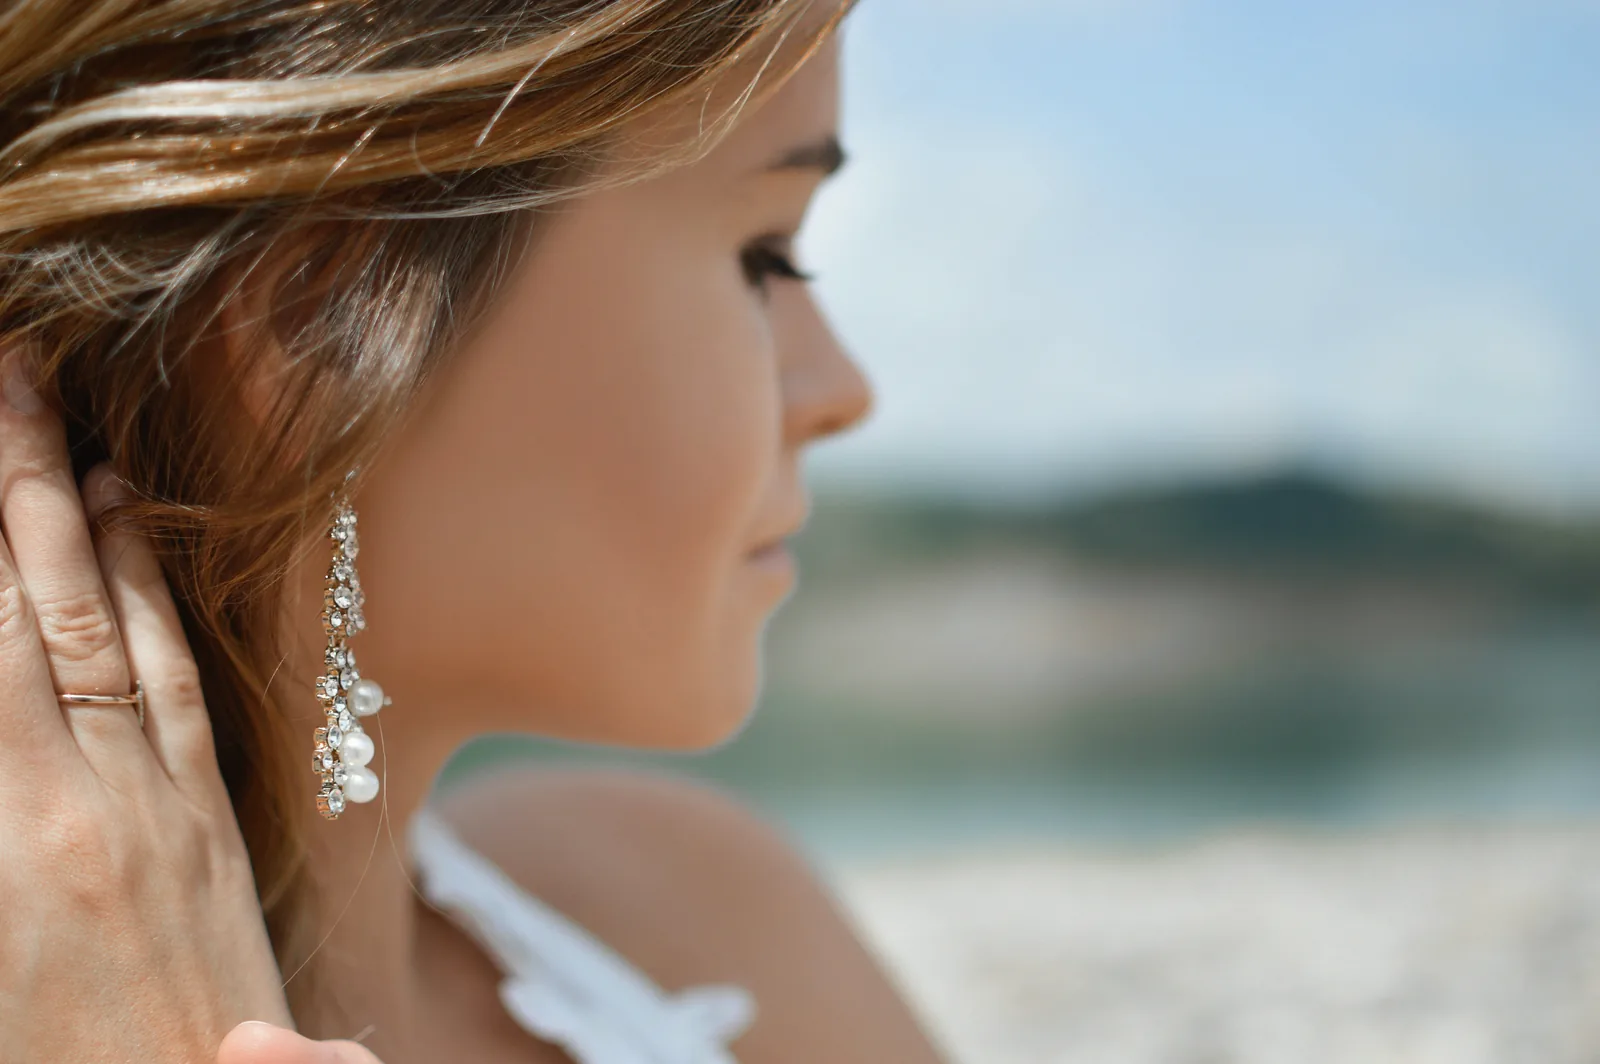
Prepare the hands: moisturised skin, clean and evenly shaped nails, and neutral or no polish unless a colour fits the brand. Ask for small, natural gestures such as adjusting an earring or touching a necklace. Work with models of different skin tones and ages so more buyers can picture themselves wearing the piece.
No model, or no budget for one? Photograph the piece alone, then create on-model shots with Caspa's AI jewelry photography, which keeps the piece itself unchanged.
Step 9: Edit and Export Jewelry Photos
- Fix white balance and exposure first. Gold should look warm but not orange, silver neutral, and a white background white rather than grey or blue.
- Remove dust and scratches with a spot healing or clone tool at 100% zoom.
- Clean the background. Brighten it to an even white, or replace it, for listing images.
- Add contrast and clarity carefully to bring out the metal's texture, and stop before the stones look artificial.
- Keep the colour true. Never shift a gemstone or metal colour: a buyer who receives a different colour sends it back.
- Crop and export consistently: the same framing, aspect ratio and pixel size for every product in a collection.
Our guides to editing product photos and the best size for ecommerce product images cover each step in more depth.
Keep Your Jewelry Catalog Consistent
Shoppers see a collection page as a grid, and mismatched light, backgrounds and crops make a shop look careless. Write down your setup: light positions, camera height, lens, aperture, white balance and crop. Keep a simple mood board for styled shots (colours, props, textures) and update it when the brand or a collection changes. Reuse both for every new piece, and you can add products months later without the grid looking patched together.
Common Jewelry Photography Mistakes
- The camera, the phone or the room reflected in polished metal.
- Mixed light sources giving gold a green or orange cast.
- Dust, lint and fingerprints that only show when a buyer zooms in.
- A wide aperture that leaves half the piece blurred.
- Over-edited stones that look different in person.
- Props that compete with the piece.
- No scale reference, so buyers misjudge the size.
For the basics that apply to every product, not only jewelry, see our step-by-step guide on how to take product photos.
Frequently Asked Questions
How do you photograph jewelry without reflections?
You cannot remove reflections from shiny jewelry, only control them. Surround the piece with white (a light tent or white cards) so the metal reflects clean white, add a black card where you want a defined edge, shoot from further back with a longer lens, and turn off the other lights in the room.
What is the best background for jewelry photography?
White is the safest choice for listing images: it keeps attention on the piece and suits marketplace main-image rules. Black or dark grey suits silver, diamonds and crystals in styled shots. Marble, linen or wood work for lifestyle images as long as they stay quieter than the jewelry.
Can you photograph jewelry with a phone?
Yes. A recent phone on a tripod, next to a window with diffused daylight, can produce listing-quality jewelry photos. Use the 2x or 3x lens from a little distance, lock focus and exposure on the piece, avoid the flash and digital zoom, and correct the white balance when you edit.
What camera settings are best for jewelry photography?
On a tripod: aperture f/8 to f/16, ISO 100 to 200, whatever shutter speed gives a correct exposure, a custom white balance and RAW files. Focus manually with a magnified live view, and focus stack when one frame cannot keep the whole piece sharp.
How do you make jewelry sparkle in photos?
Light the piece with a large soft light first, then add a small, bright light source such as an LED, a flashlight or a low-power flash aimed at the stones, and move it until the facets catch it. A short video of the piece turning shows sparkle better than a still photo.
What lens is best for jewelry photography?
A macro lens with 1:1 magnification, usually in the 90-105mm range. It fills the frame with a small piece from a comfortable distance, which keeps you and the camera out of the reflections. With a phone, use the 2x or 3x lens rather than the wide main lens up close.
Make Jewelry Photos From One Product Shot
Once you have one clean, sharp photo of a piece, Caspa can turn it into the rest of the listing. Upload the photo and generate on-model shots (a necklace on a collarbone, earrings in profile, rings on a hand), studio scenes and lifestyle settings. The piece itself stays unchanged, so the details you photographed carry into every image.
Every new account gets 10 free credits, no credit card required. See more examples on the AI jewelry photography page.