
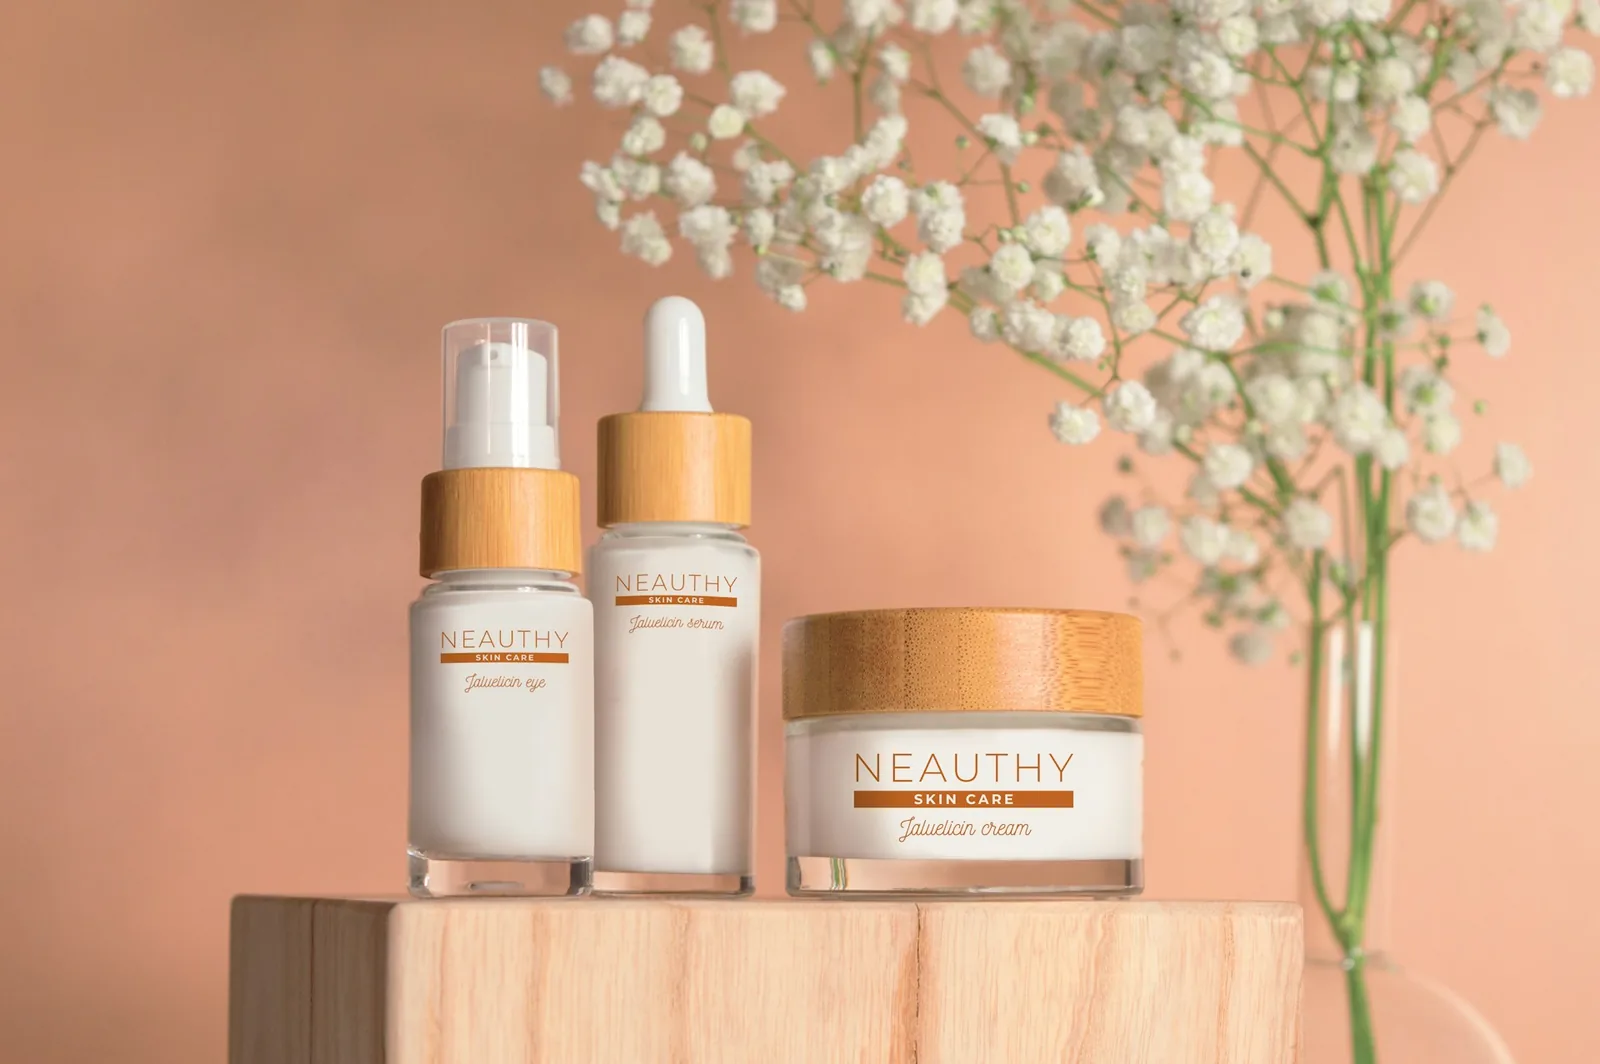
Cosmetic product photography has one job that other categories do not: a shopper is buying a shade, a texture and a finish they cannot test, so the photo has to show them truthfully. This guide covers beauty product photography for makeup, skincare, haircare and fragrance brands: how to handle reflective packaging, light for texture and true color, shoot swatches, style flat lays and lifestyle shots, and edit without overdoing it.
In this guide
- Why cosmetics are hard to photograph
- Gear and setup
- Lighting setups
- Swatches, textures and open products
- 10 cosmetic product photography ideas
- Styling and composition
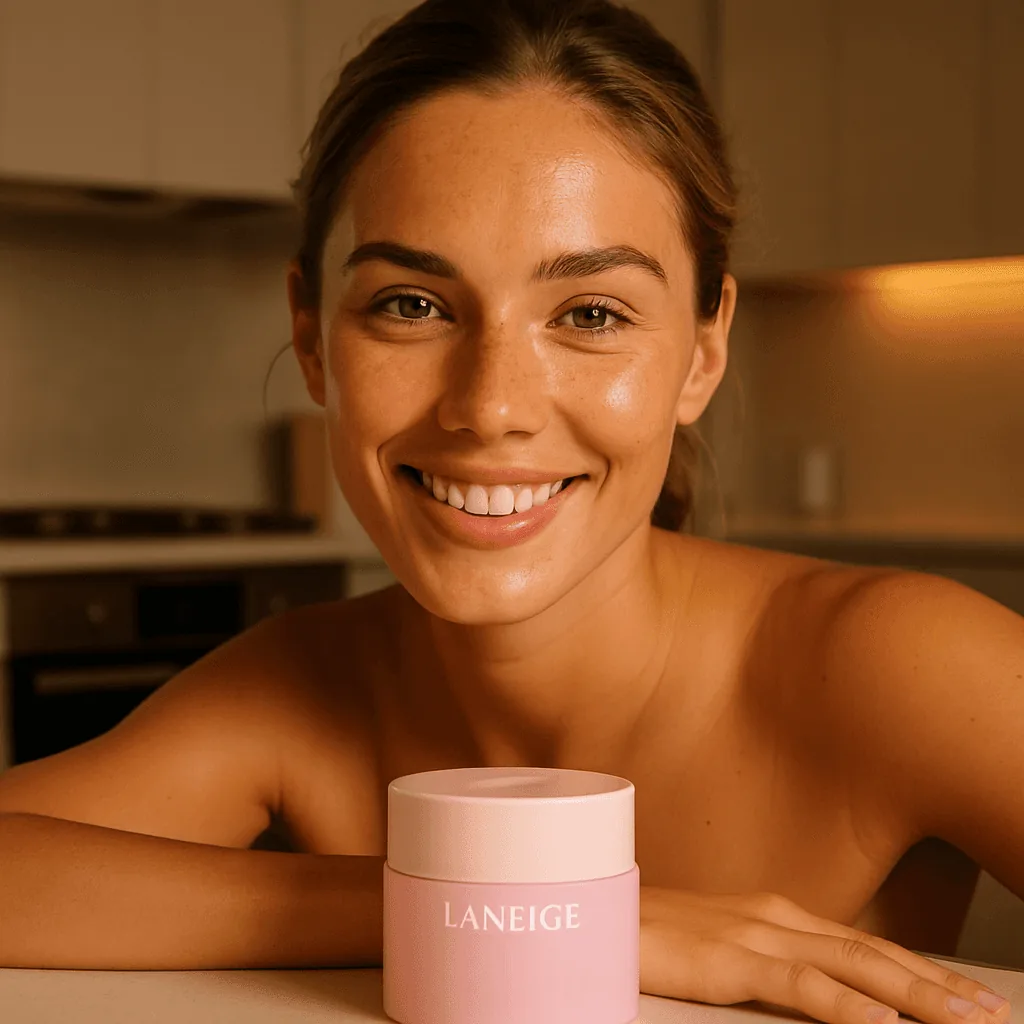
- On-model beauty shots
- Editing
- FAQ
Why Cosmetics Are Hard to Photograph
- Reflective packaging. Glass, chrome, mirrored compacts and high-gloss plastic reflect the lights, the camera and you.
- Small products, fine print. Lipsticks and nail polish bottles need close focus, and ingredient text must stay legible.
- Color is the product. If a foundation or lipstick shade is off on screen, the buyer gets a different product from the one they chose.
- Texture sells. The creaminess of a moisturizer or the shimmer of a highlighter has to come through in a still image.
- Each category has its own problem: skincare often comes in transparent or frosted bottles, makeup in tiny cases with mirrors, haircare in tall curved bottles that catch long reflections, and fragrance in heavy glass full of liquid.
Gear and Setup
- Camera and lens: any camera with manual control, plus a 60mm to 105mm macro lens for close-ups and small products. A recent phone works for social posts.
- Tripod for sharp close-ups and identical framing across a range.
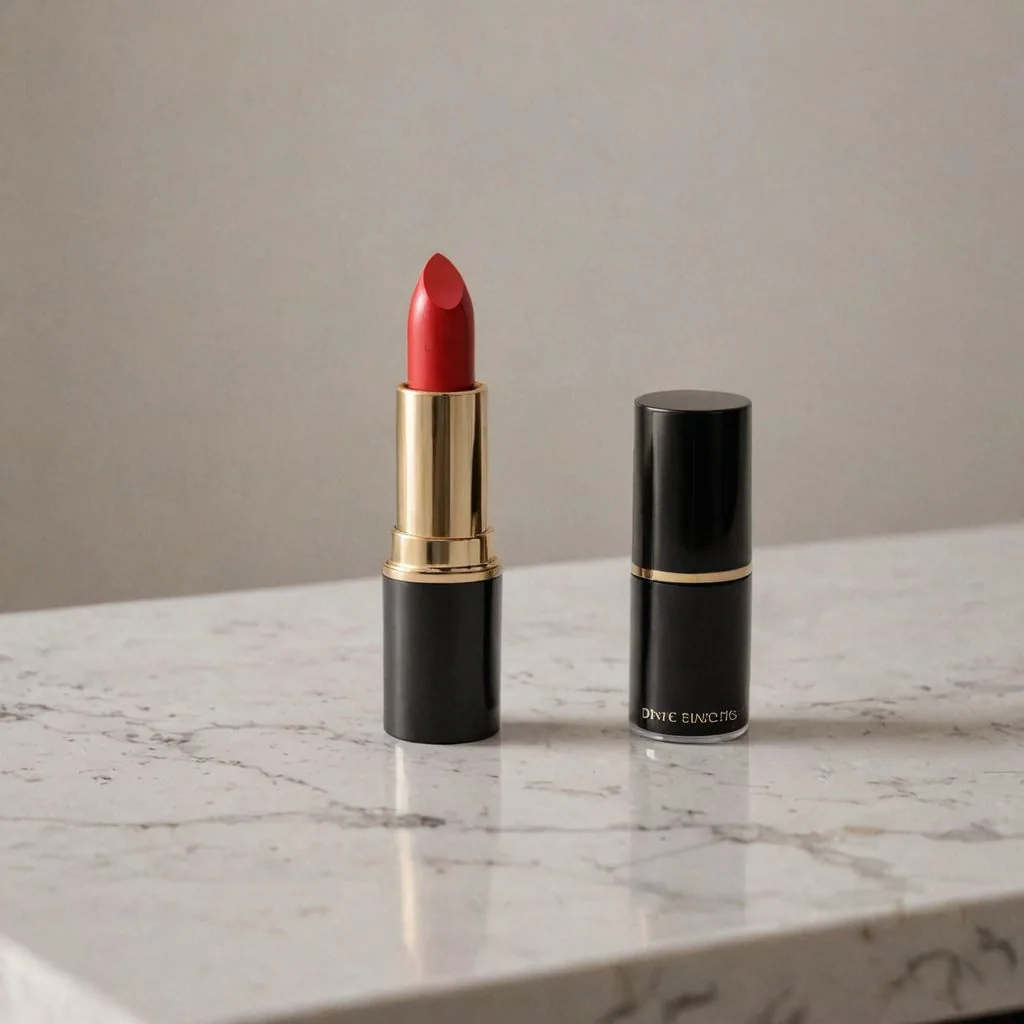
- Light: a window, or two softboxes or LED panels. A light tent is the easiest way to light small, shiny items such as lipsticks and nail polish evenly.
- Light control: white bounce cards, black cards (flags) to add contrast and edge definition, diffusion panels, and a polarizing filter to cut glare on glossy non-metal surfaces.
- Backdrops: white or light gray seamless paper for listings; colored paper, acrylic, marble, stone or fabric for styled shots.
- Props and styling tools: plinths and cubes, clear museum putty, tweezers, cotton gloves and a microfiber cloth for fingerprints.
For a full budget studio, see our DIY product photography setup guide.
Lighting Setups for Cosmetic Products
- Soft key light at 45 degrees with a white card on the other side: the starting point for most beauty products, with dimension but no harsh shadows.
- Even front light for catalog images that show the whole label face on.
- Side light to bring out texture: cream swirls, embossed logos, ribbed caps.
- Backlight for transparent and frosted bottles, so serums, toners and oils glow and the bottle separates from the background.
- Strip lights on each side of tall bottles for clean vertical highlights, with black cards beside the product to define the edges of glass.
- A small accent light from above to make shimmer, glitter and gloss sparkle.
- Window light for natural-looking lifestyle shots: diffuse it with a sheer curtain and bounce it with a white card. Outdoors, the soft light after sunrise and before sunset suits warm, natural scenes.
To keep yourself and the camera out of reflections, shoot through a gap in the diffusion, step back with a longer lens and check every highlight at full magnification.
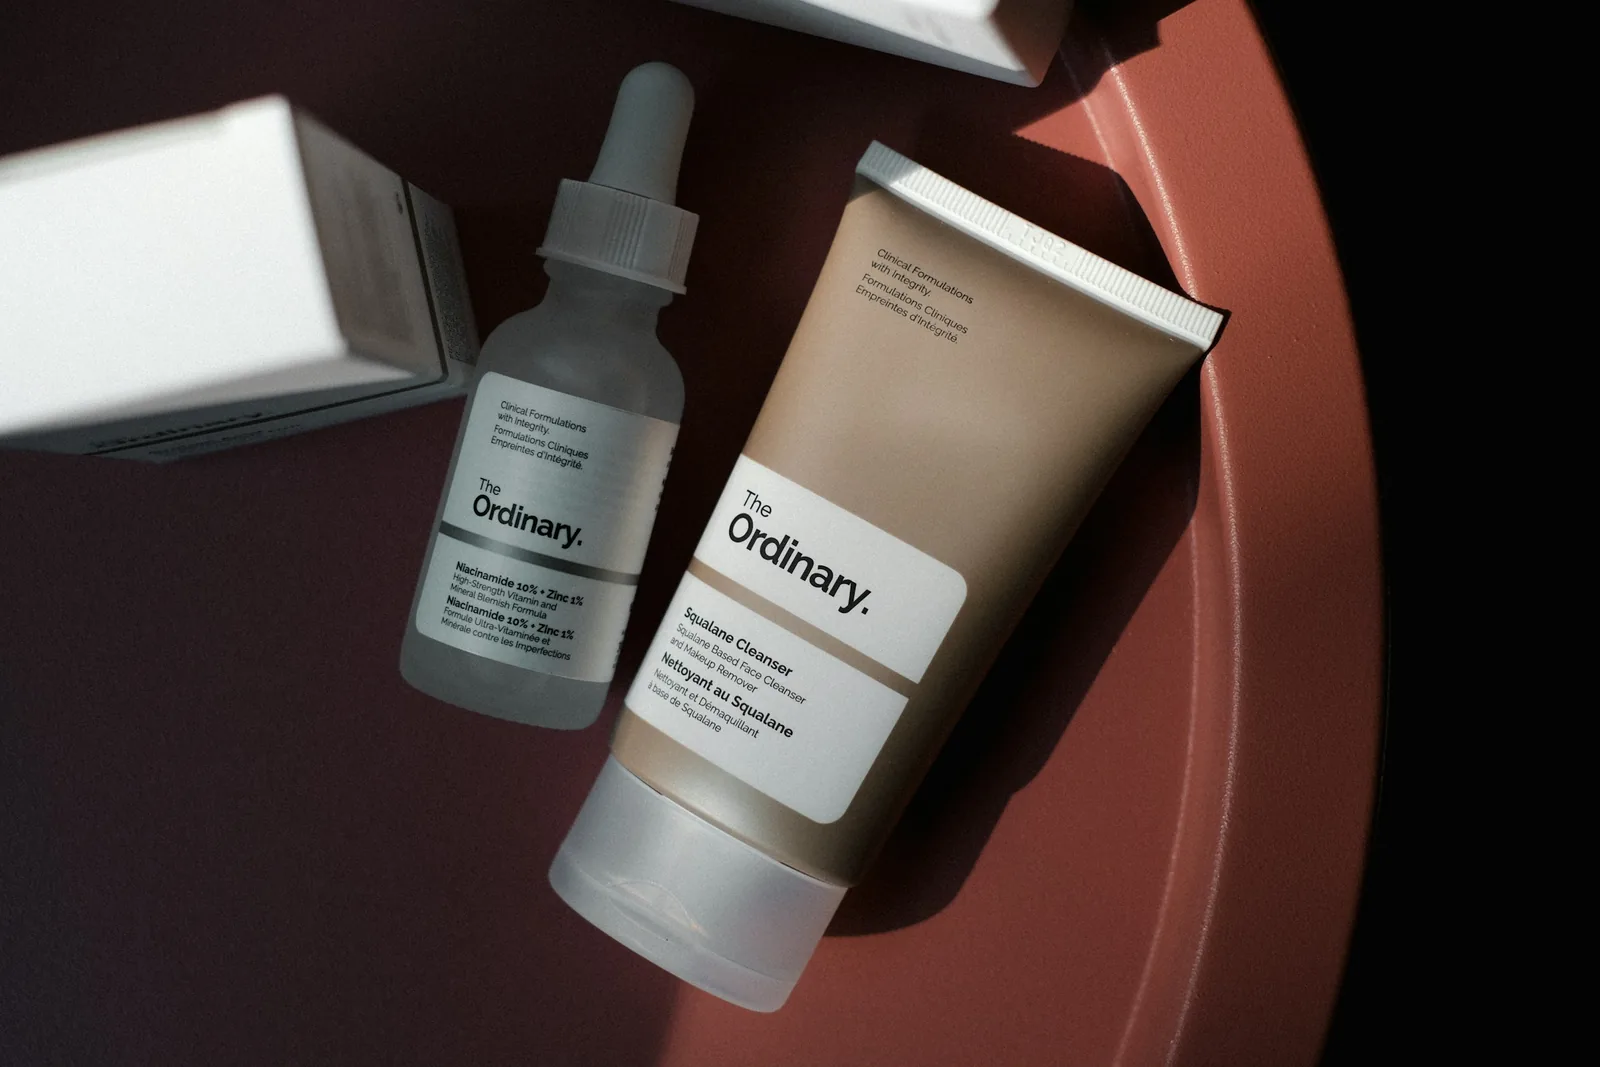
Swatches, Textures and Open Products
Packaging shots show what arrives; these shots show what the buyer actually puts on their skin.
- Swatches on skin: lipstick, foundation, concealer and eyeshadow swatched on the inner arm or the back of the hand, ideally on several skin tones so shoppers can judge the shade on someone like them.
- Swatches on a surface: smears and swipes on white card or acrylic, lined up in shade order, for a clean shade-range image.
- Texture shots: a cream swirl, a serum drop falling from a pipette, a crushed powder or a dollop of gel, shot with a macro lens and side light.
- Open products: the lipstick extended, the compact open, the pump mid-press.
- The shade range: every shade of a product side by side in the same light.
Shoot swatches under the same light and white balance as the product shots, and never adjust a swatch's color beyond correcting the white balance.
10 Cosmetic Product Photography Ideas
- Dark background, soft light: a dramatic, premium look for luxury and evening products.
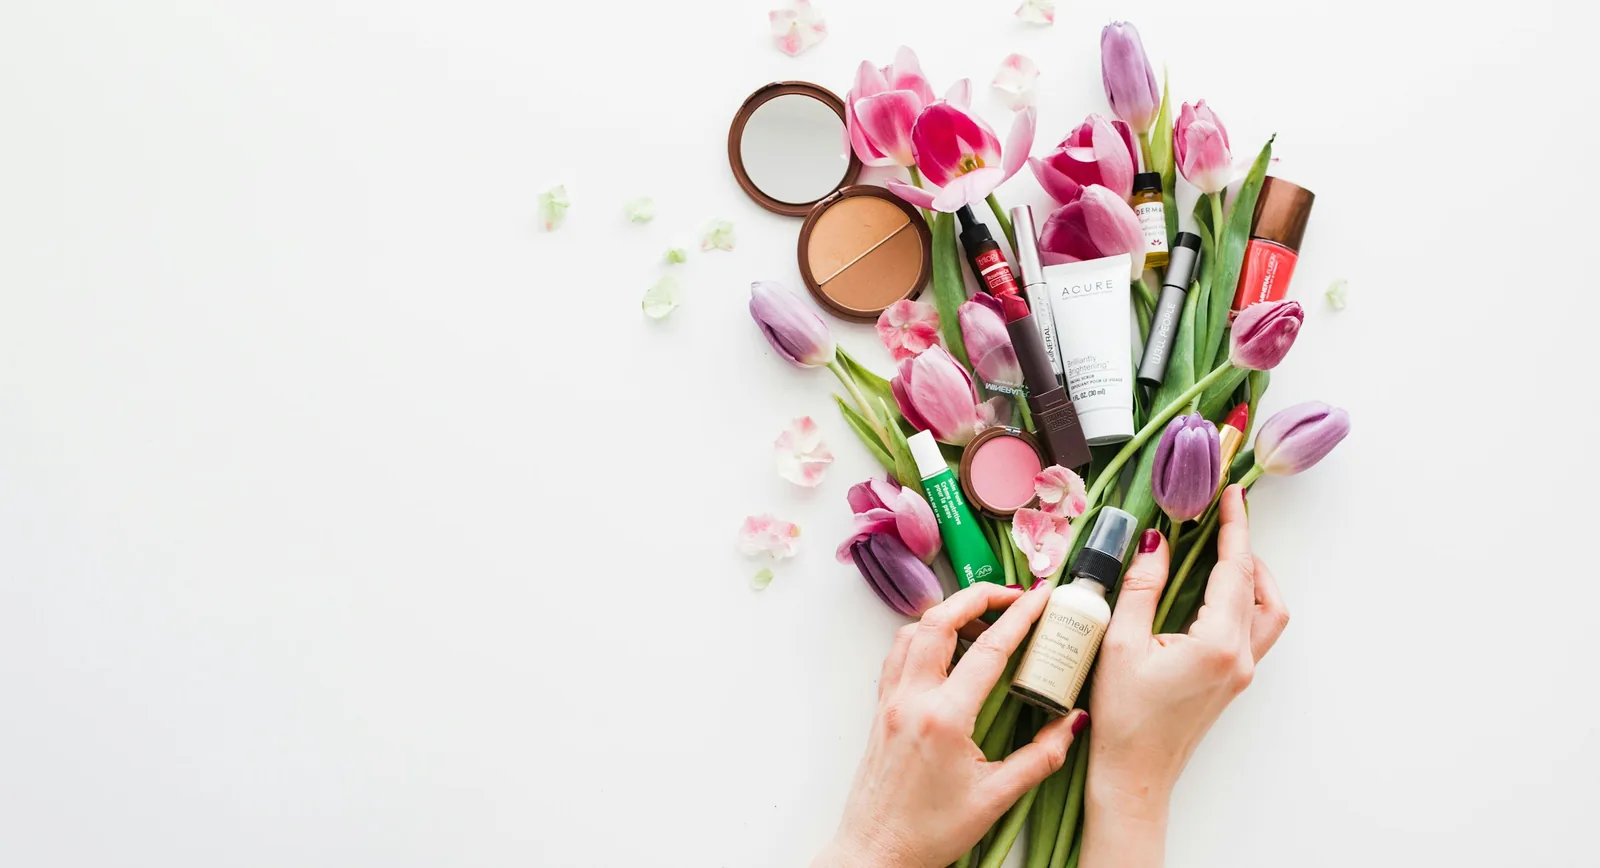
- Flat lays: a range or a routine arranged from above, easy for beginners and a staple of beauty social feeds.
- Mirror reflections: a mirror or acrylic sheet under the product adds depth.
- Splash and motion: water splashes for hydrating products, a cream swoosh or flying powder for makeup, frozen with a fast shutter or flash.
- Texture contrast: stone, sand, silk or wood under a smooth bottle.
- Story scenes: a vanity, a bathroom shelf, a gym bag, a beach towel.
- Macro close-ups: shimmer in an eyeshadow pan or the bristles of a brush.
- Floating products: hung on fishing line or composited, for an eye-catching ad.
- Color coordination: a background and props in the product's color family, or a bold complementary contrast.
- Minimal and natural: clean lines, neutral tones and botanicals for clean and natural beauty brands.
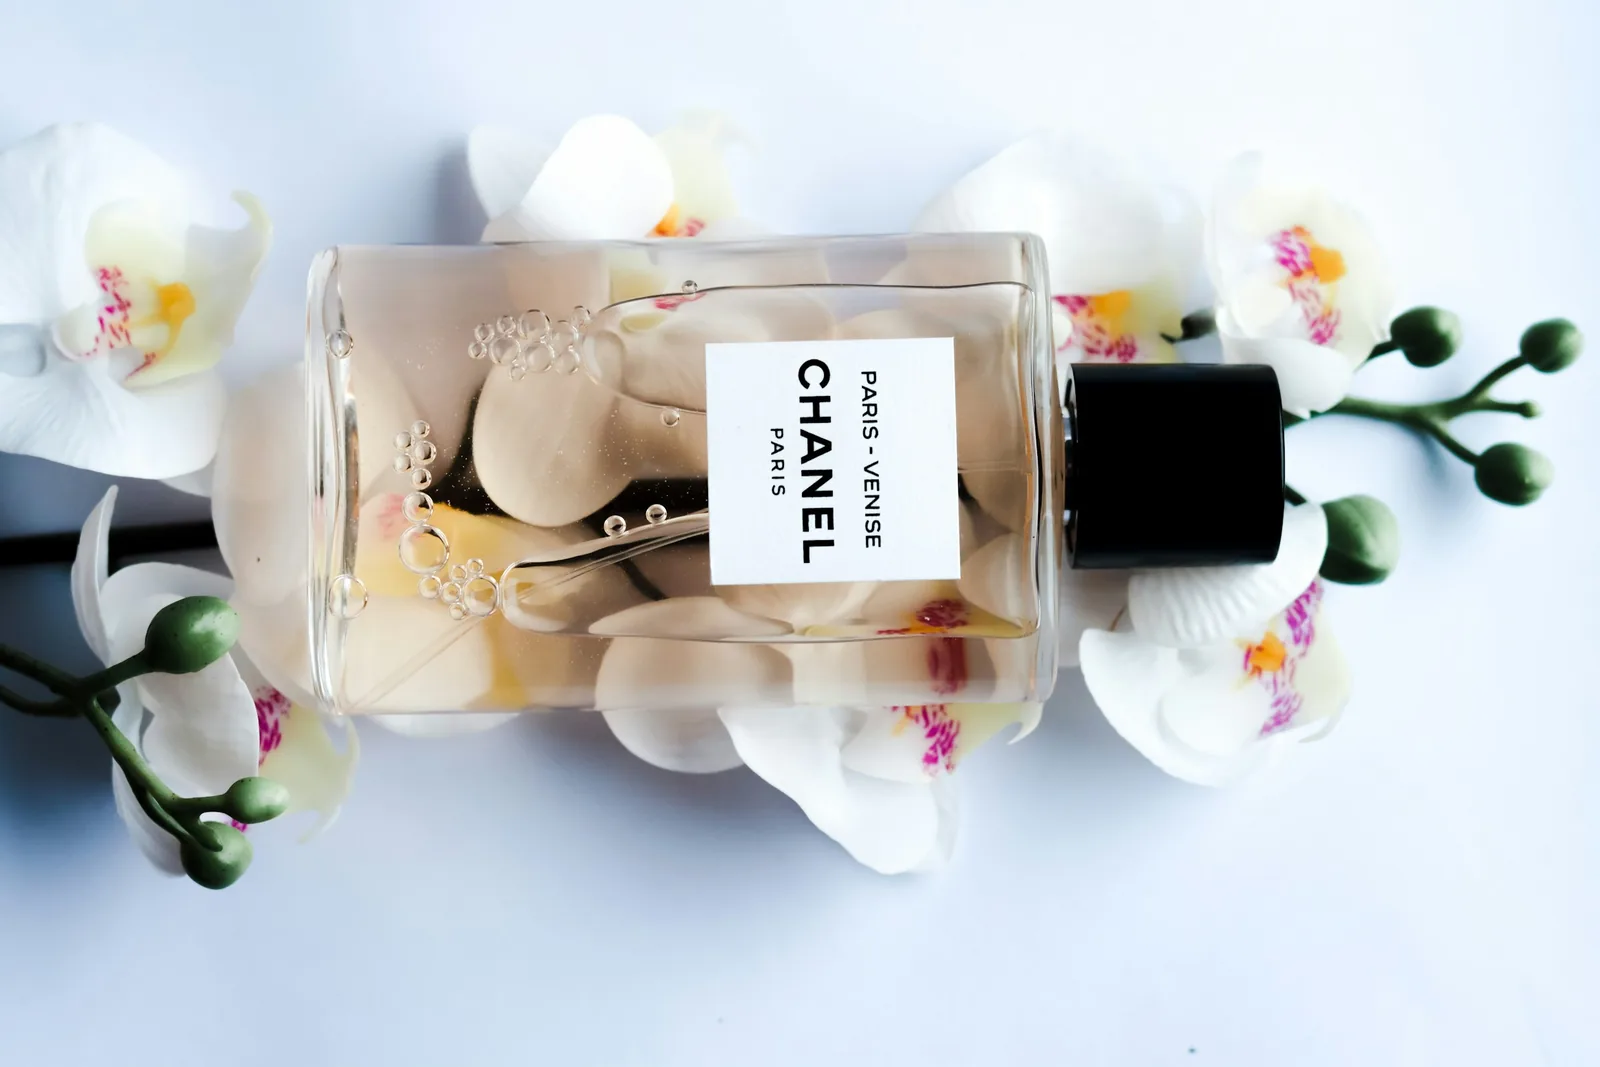
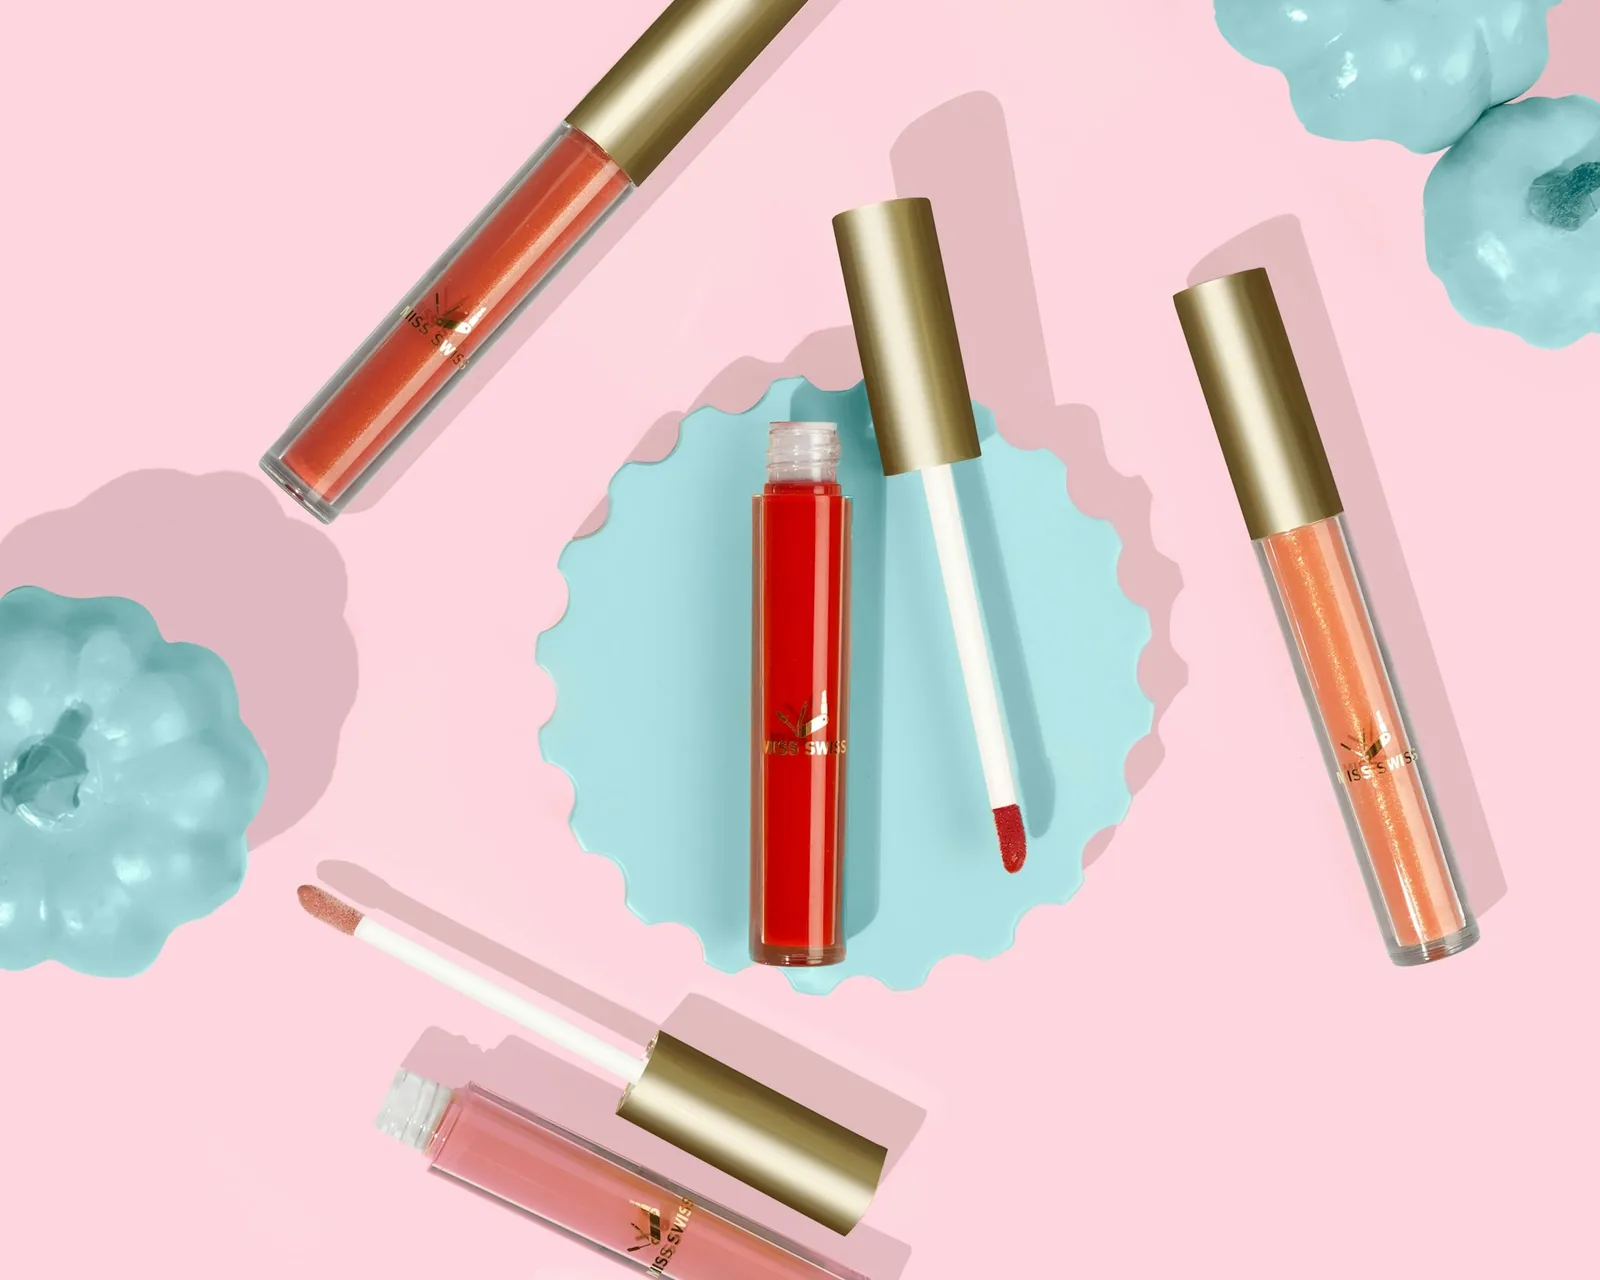
Styling and Composition
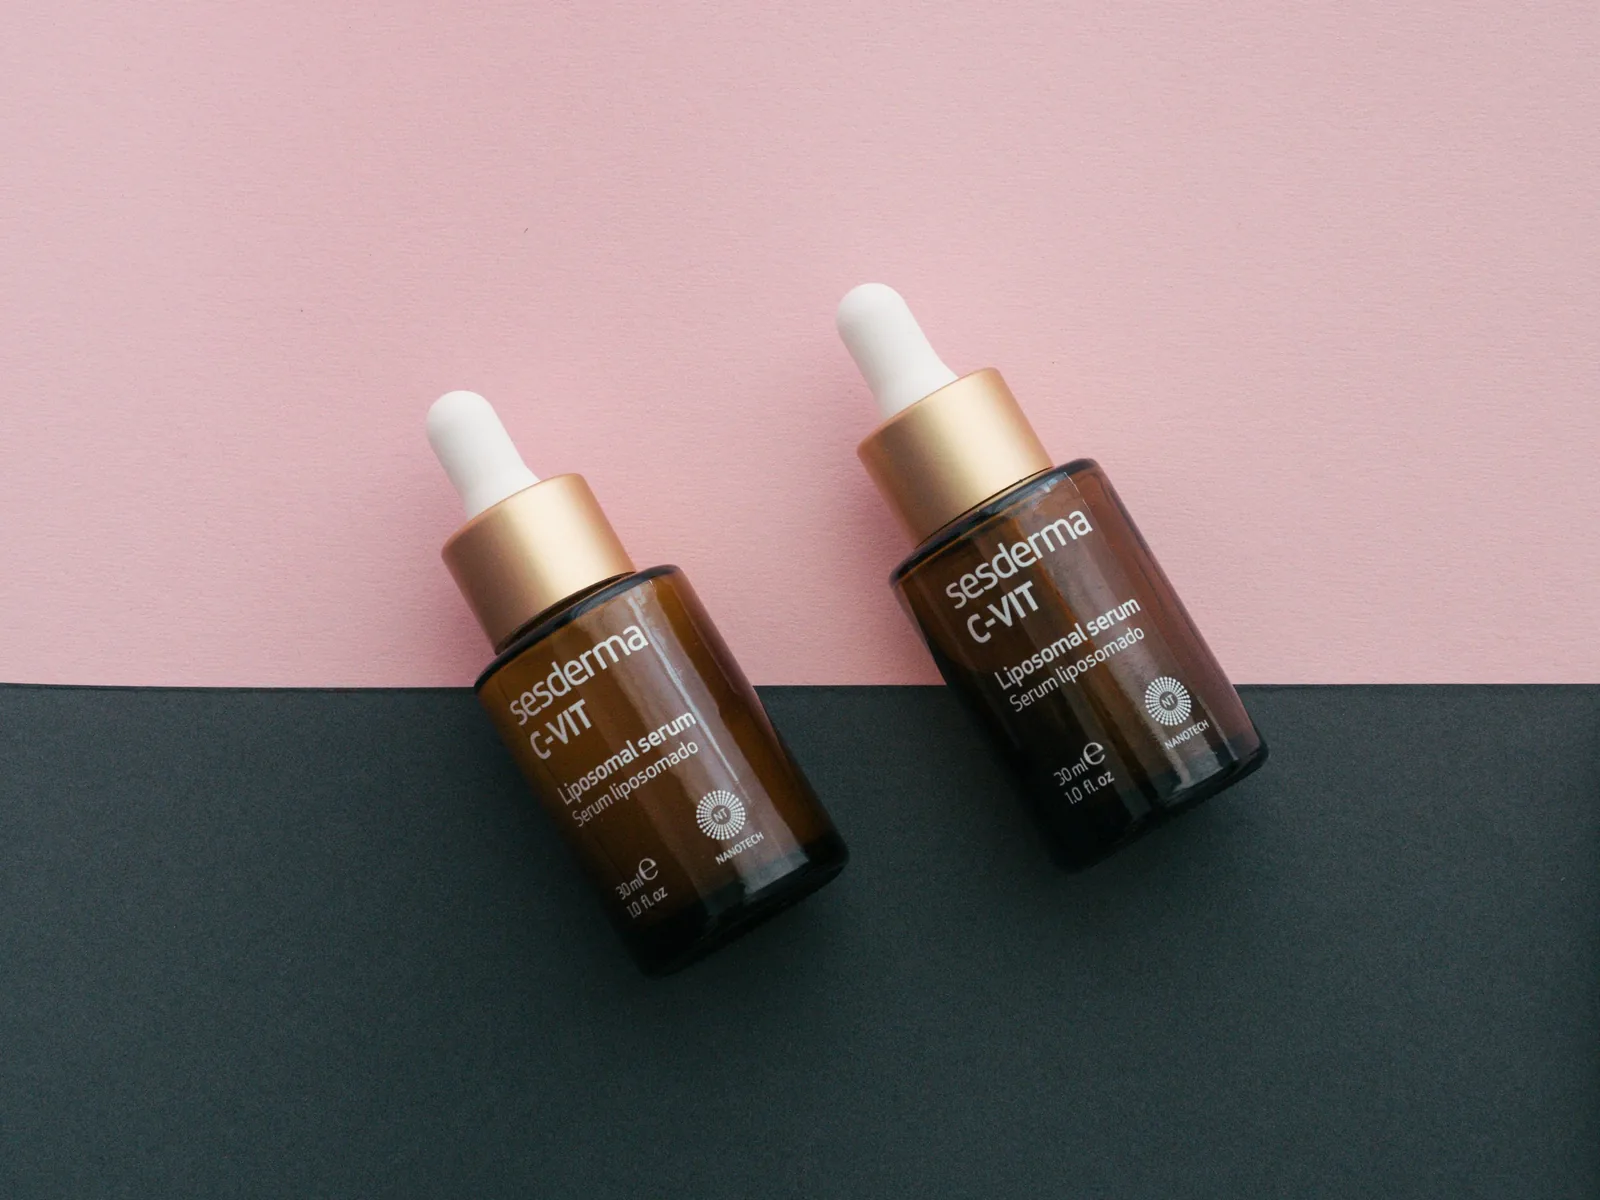
- Props support, never compete. Flowers, fabric, ingredients or a mirror can add mood, but the product stays the largest and sharpest thing in the frame.
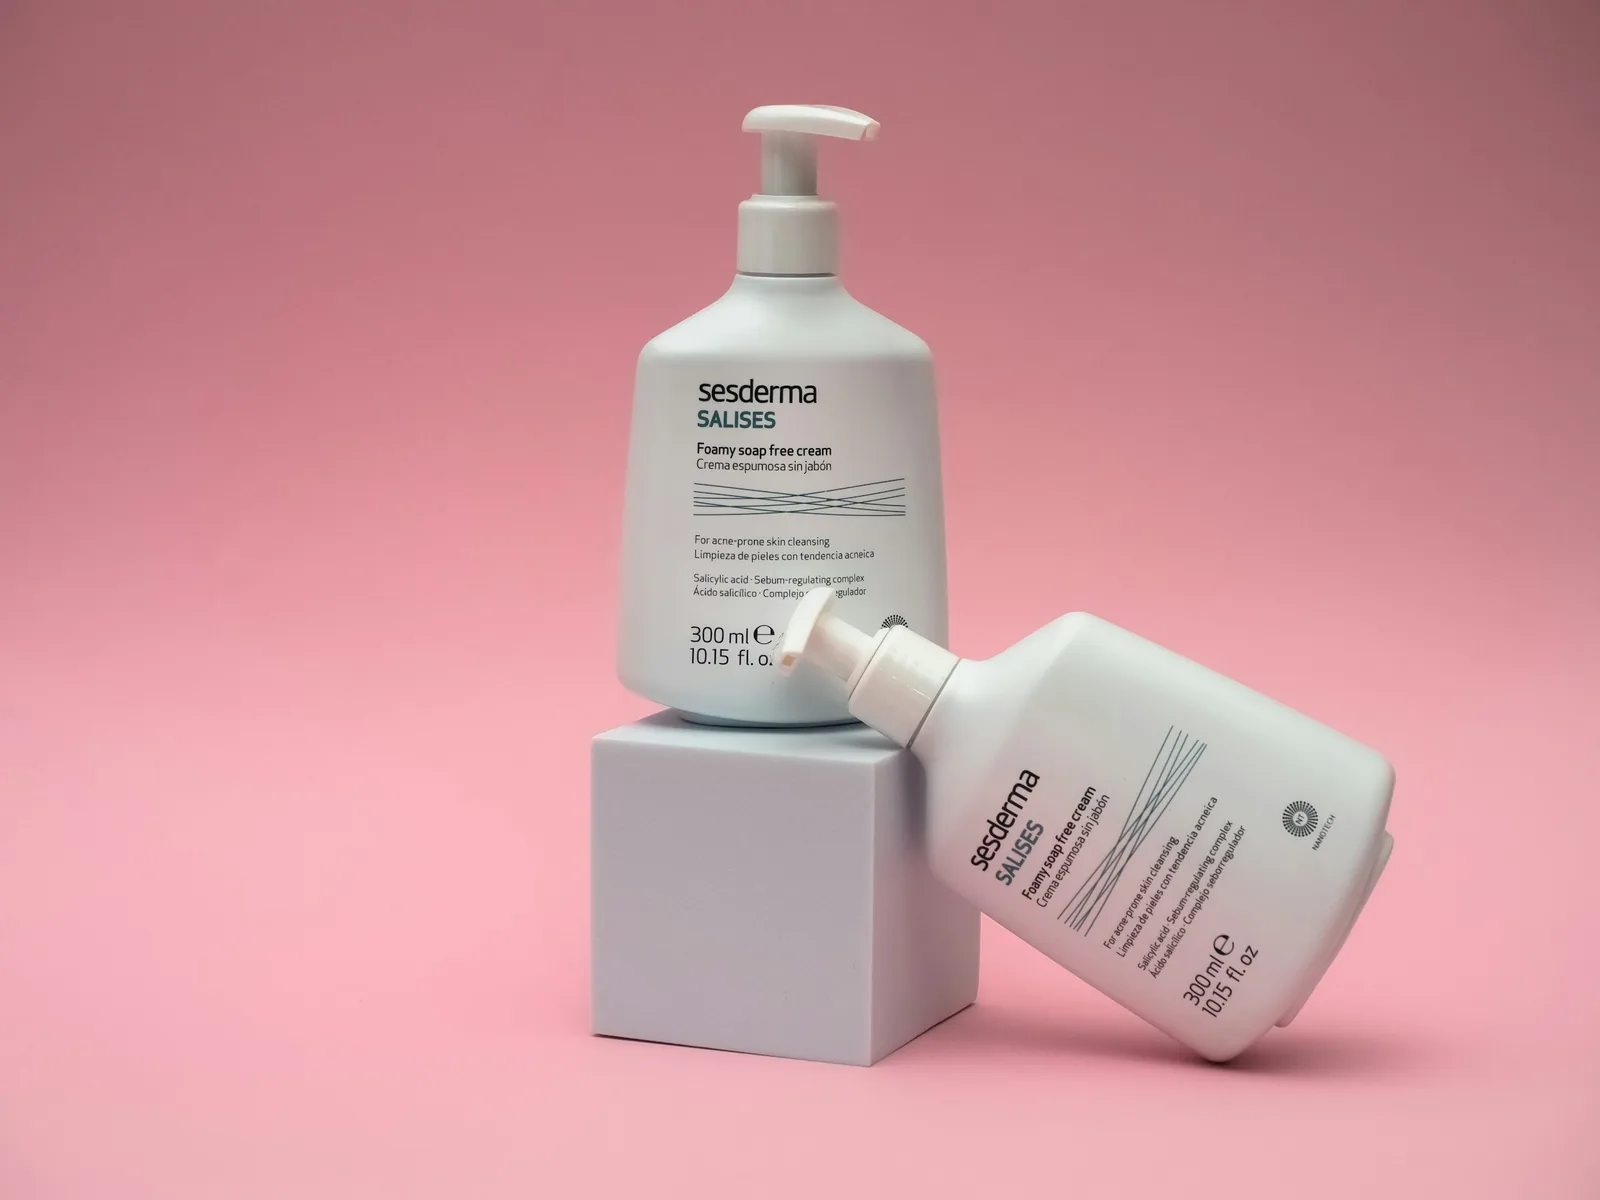
- Use risers. Cubes, plinths and stacked boxes give a group of products different heights and a clear hierarchy.
- Keep lines clean. Symmetry and straight labels look premium; center single products and balance groups.
- Clean everything. Wipe fingerprints and dust off packaging right before each shot.
- Stay consistent. Use the same light, background tones, framing and editing across your catalog, so a new launch sits naturally next to last year's products.
On-Model Beauty Shots
Beauty buyers want to see the product in use: a hand smoothing on cream, a lipstick on lips, a model holding a serum near her face. Keep the packaging readable when it is in frame, show a range of skin tones and ages, and never retouch skin in a way that changes what the product appears to do. If you have no model, Caspa's AI beauty product photography can place your product with AI models of any ethnicity, keeping the packaging unchanged.
Editing Cosmetic Product Photos
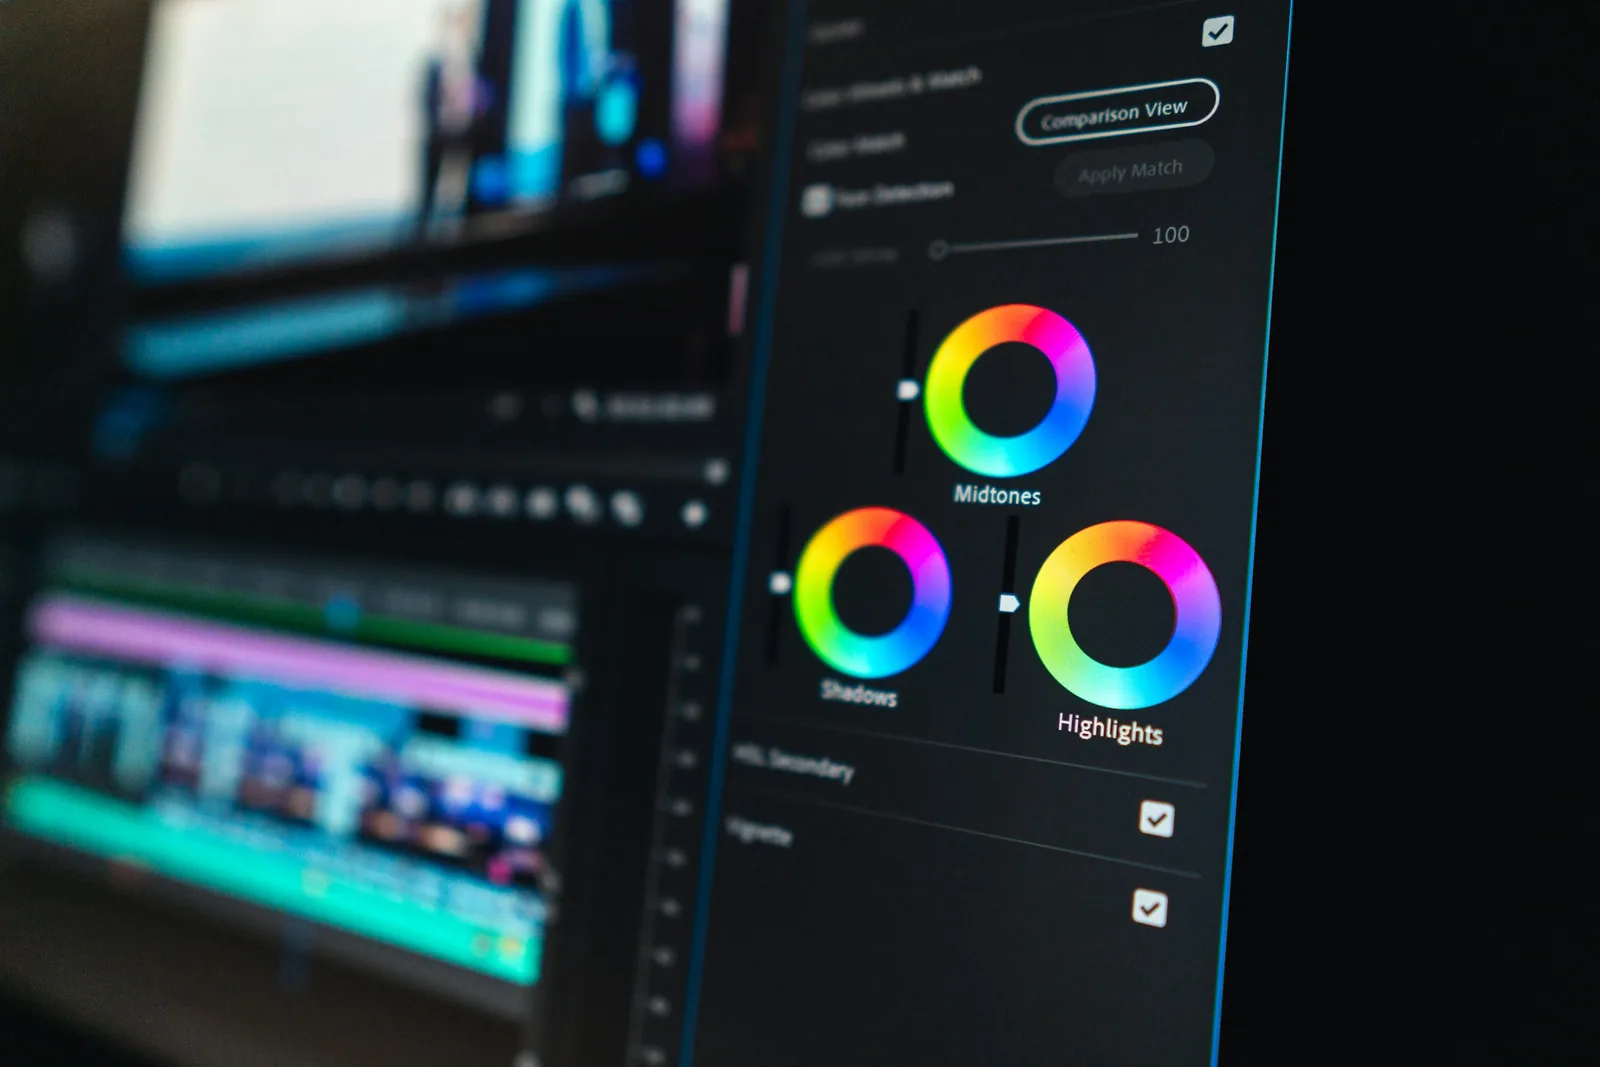
- Correct color first. Use a gray card or color checker shot, and compare shades with the real product on a calibrated screen.
- Retouch with restraint. Remove dust, scratches and fingerprints, and smooth harsh reflections, but keep real textures. Over-polished products look fake.
- Clean the background to an even white or neutral tone for listing images.
- Export consistently: the same crop, size and file format across the range. Our ecommerce image size guide and the marketplace image requirements pages cover specs.
Selling skincare? Our skincare product photography guide goes deeper on bottles, jars and textures. For the basics that apply to every product, see how to take product photos.
Frequently Asked Questions
What is cosmetic product photography?
Cosmetic product photography is the photography of makeup, skincare, haircare and fragrance products for selling and marketing them. It includes packaging shots on white, swatches and texture close-ups, styled flat lays, lifestyle scenes and on-model application shots.
How do you photograph cosmetics without reflections?
Use large, diffused light sources, shoot small items in a light tent, and place black and white cards beside the product to control what its surface reflects. Step back with a longer lens, shoot through a gap in the diffusion, and use a polarizing filter on glossy non-metal packaging.
What is the best lighting for beauty product photography?
Soft light from about 45 degrees with a white card filling the shadows works for most beauty products. Add side light for texture, backlight for transparent bottles, strip lights for tall glass bottles, and a small accent light to make shimmer and gloss sparkle.
What background is best for cosmetic product photography?
White or light gray for marketplace and catalog images. For styled shots, colored paper, acrylic, marble and stone work well; choose a color in the product's family for a calm look, or a contrasting one to make the product stand out.
How do you photograph makeup swatches?
Swatch the product on clean skin, such as the inner arm, or on white card, in the same light and white balance as your product photos. Photograph several skin tones if you can, line shades up in order, and only correct the white balance afterwards so the shades stay true.
Can you photograph beauty products at home?
Yes. A table by a window, a white or colored paper backdrop, a white card as a reflector and a phone or camera on a tripod are enough for listing and social images. A light tent helps with small, shiny products such as lipsticks and nail polish.
Make Beauty Product Photos From One Product Shot
Photograph each bottle, jar or lipstick once on a plain background, then upload it to Caspa to create the rest: marble and vanity scenes, bathroom shelves, botanical flat lays and on-model shots with models of any ethnicity. Your packaging and label stay unchanged in every image.
Every plan comes with a 30-day money-back guarantee. See more on our skincare and perfume photography pages.