
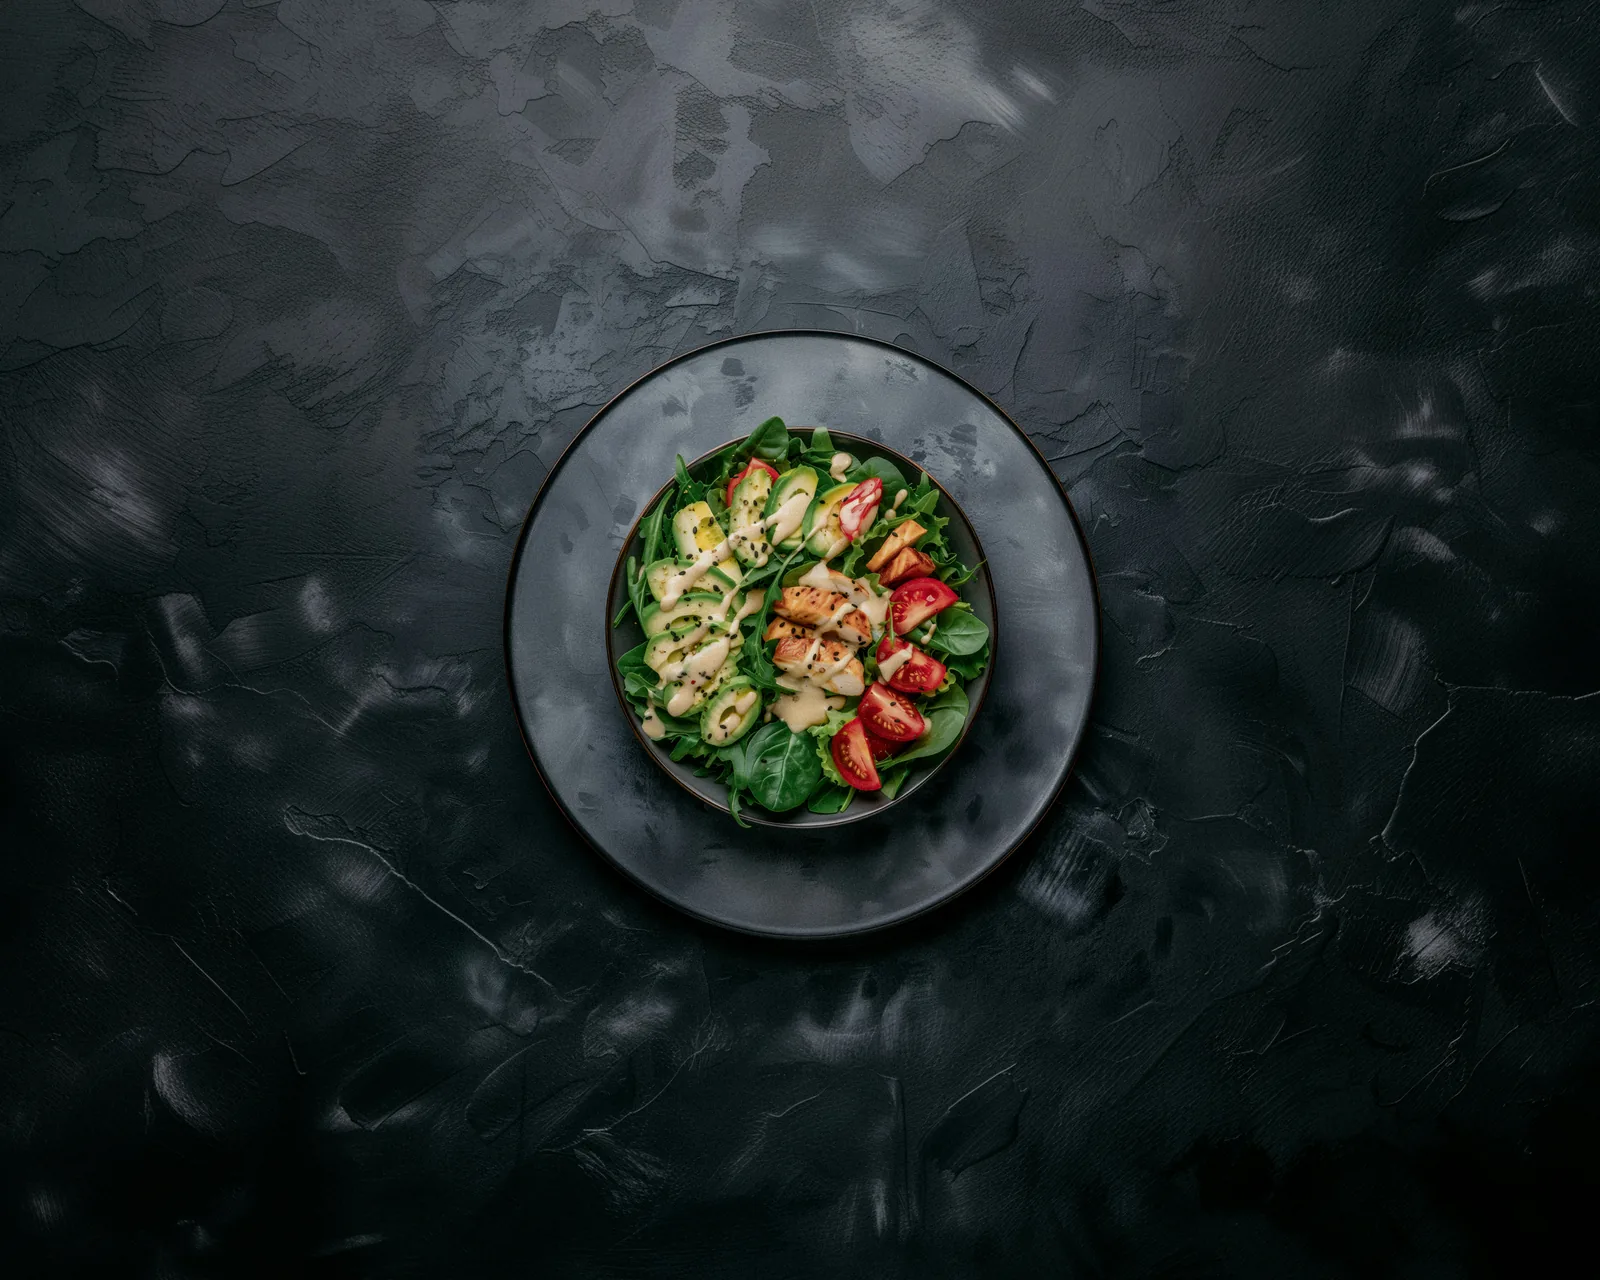
Food product photography covers every photo a food brand uses to sell: pack shots of jars, bags and bottles for your store and marketplaces, styled scenes for social posts and ads, and recipe shots that show the product in use. This guide is for food brands, makers and restaurants that sell products online and want to shoot them well, from gear and lighting to styling, settings and editing.
In this guide
- Types of food product photography
- The gear you need
- Pack shots of packaged products
- Light, angles and composition for styled shots
- Styling food so it looks fresh
- Camera settings
- Editing
- The shots a food product listing needs
- FAQ
Types of Food Product Photography
Most brands need several of these. Commercial food photography is the umbrella term: food photographed for business use on packaging, menus, websites, delivery apps and ads.
- Pack shots: the product alone on a clean, usually white background, for your store, marketplaces, retailer catalogs and sell sheets.
- Product in a mood scene: the product surrounded by its ingredients or an occasion, such as jam next to ripe berries or a tea tin on a breakfast table. Ideal for artisan brands that want to show origin or story.
- Recipe shots: a dish made with your product, as proof it tastes good.
- Lifestyle shots: the product in real life, often with people: a picnic, a family breakfast, a barista at work.
- Advertising shots: bold light and composition, with empty space left for the headline and logo.
- Editorial shots: story-led images for cookbooks, magazines and blog posts: a spoonful lifted, a loaf just sliced.
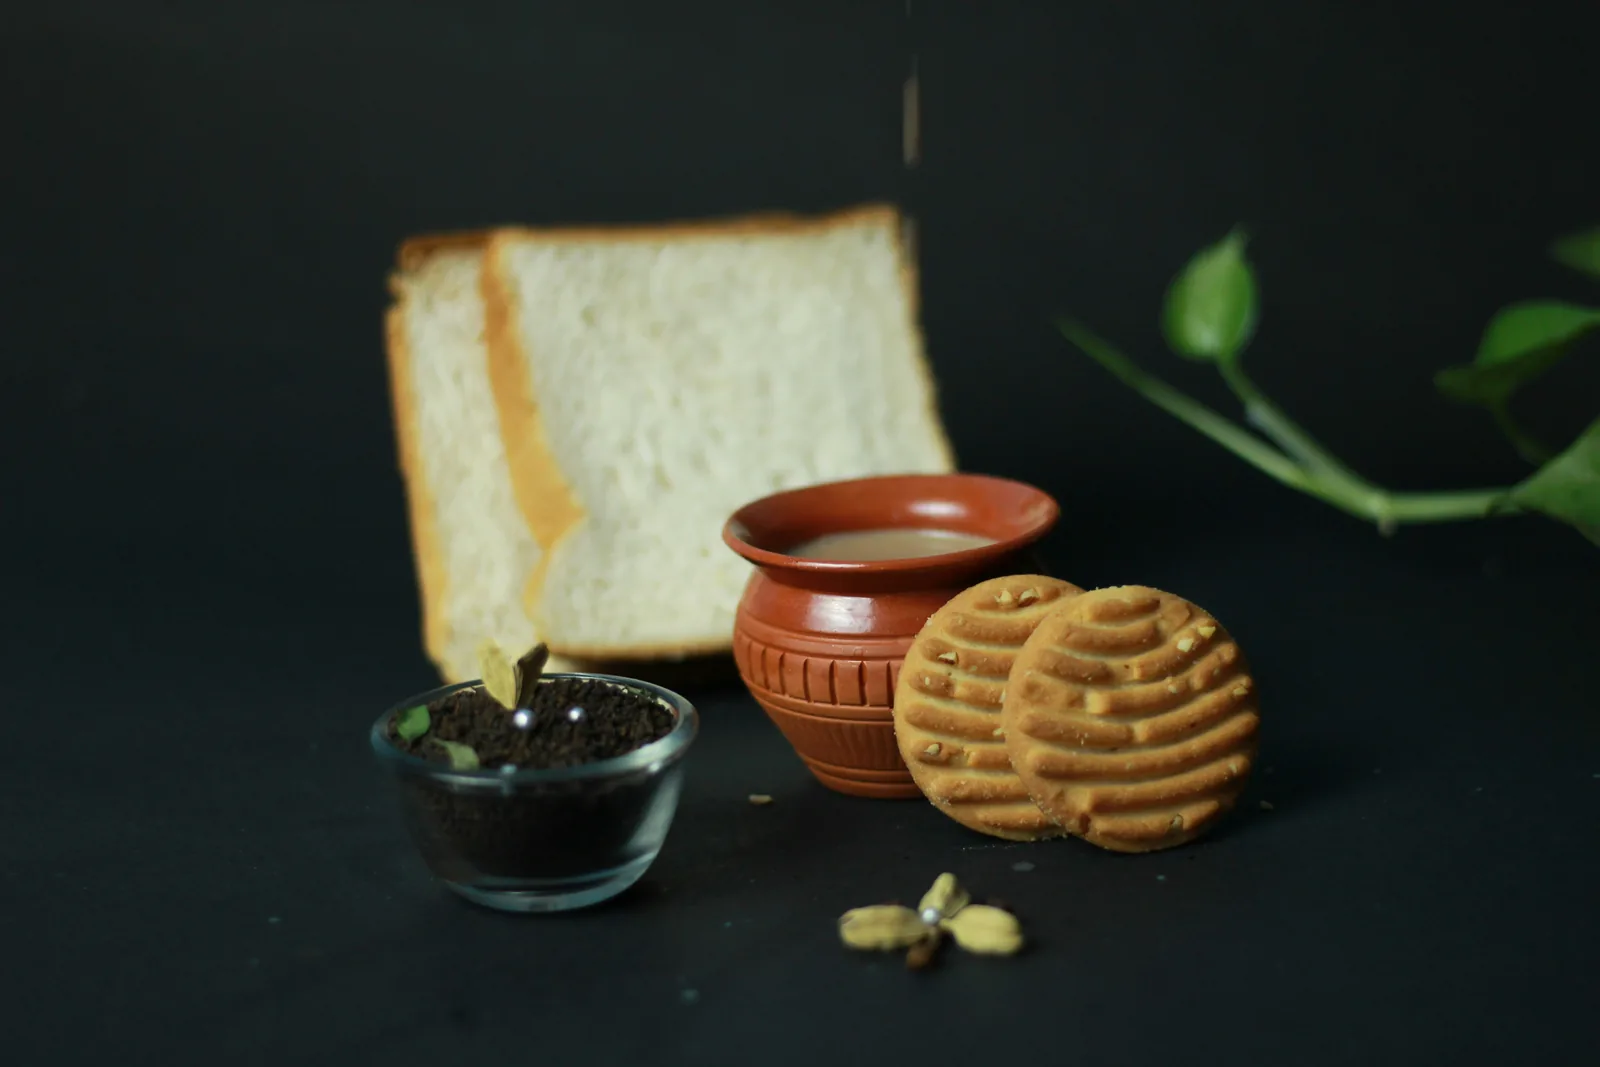
For more ideas by style, see our food photography examples.
The Gear You Need
- Camera: a recent phone works for social posts and simple listings; a mirrorless or DSLR camera gives you more control for pack shots and ads.
- Lens: a 50mm prime is the usual starting point (on a crop-sensor camera it behaves like about 75-80mm, which flatters food). Add a 90-105mm macro lens for texture close-ups. Our guide to the best lens for food photography compares options.
- Tripod with an overhead arm for flat lays and for repeatable pack shots.
- Light: a large window, or one large softbox, strip box or octabox. Continuous LED lights also let you film video.
- Light control: a diffuser, white foam boards to bounce light, black foam boards to deepen shadows, and clamps and stands to hold them.
- Surfaces and backdrops: painted boards, marble, wood and linen for styled shots, and white paper for pack shots.
- A color checker card so brand colors on packaging come out right.
- Editing software such as Lightroom or Photoshop.
Pack Shots: Photographing Packaged Food Products
Pack shots are the images shoppers see first on a listing, so they need to be sharp, straight and true to color.
- Prepare the pack. Use your best unit: no dents, scuffs or fingerprints, with the label centered and straight. Keep spares.
- Keep the camera level with the label and use a lens of 85mm or longer from further back. Tilting the camera down at a tall jar or bottle makes its sides lean in.
- Light it evenly. Two softboxes, one on each side, or one large softbox with a white board opposite, give even light across the label.
- Control reflections. Glass jars, cans and foil bags reflect the room. Use large diffused lights, strip lights on each side for clean vertical highlights on bottles, and black cards beside the product to define the edges of glass. Move white boards until reflections fall where you want them.
- Make the background white. Light the background separately, or clean it up in editing. Check the current rules for each marketplace on our marketplace image requirements pages.
- Keep the whole label sharp. Use f/8 to f/11, and focus stack if the front and the edges of the label cannot both be sharp in one frame.
- Shoot the range the same way. Photograph every flavor or size in the same position, light and crop, so the collection looks like a set.
- Show what is inside. A second shot with the contents beside the pack (cookies next to the box, granola poured next to the bag) answers the first question a shopper has.
Light, Angles and Composition for Styled Shots
Light
Light from the side or slightly behind the food brings out texture, steam and the shine on sauces. Diffuse window light with a thin curtain or a diffuser, bounce light into the shadows with a white board, and use a black board on the other side when you want a darker, moodier look. Turn off overhead lights, and never use an on-camera flash. Our guide to lighting for food photography covers setups in detail.
Angles
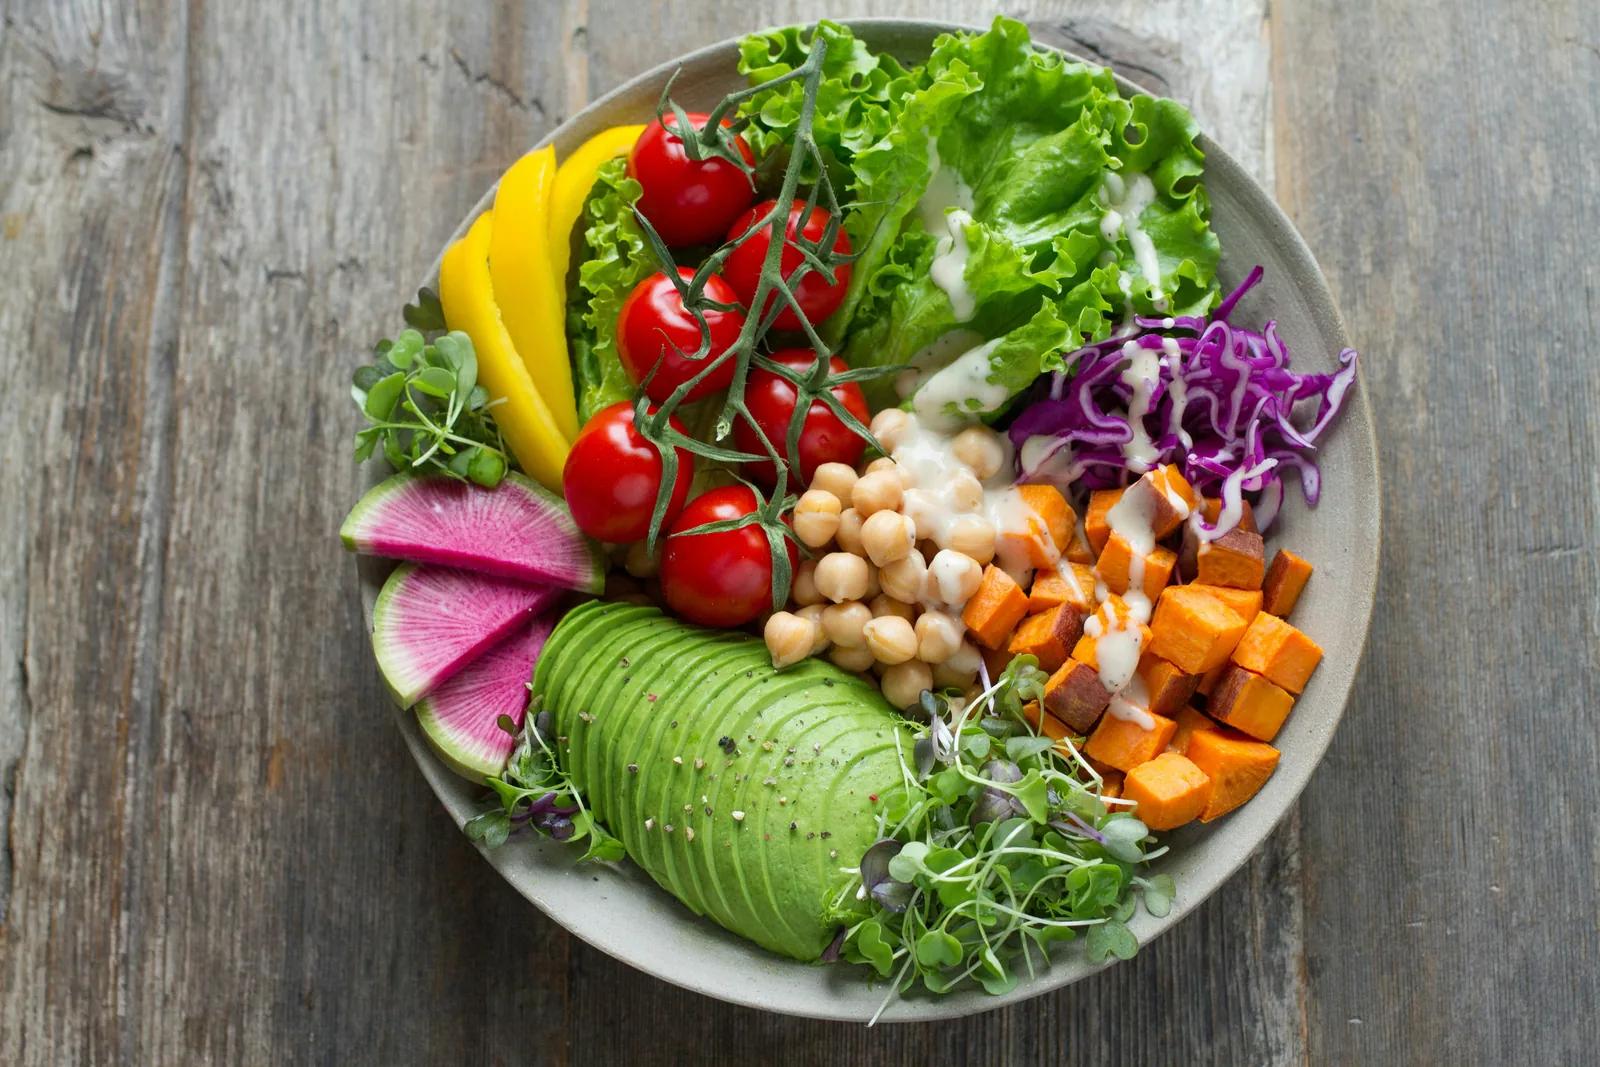
- Overhead: for flat foods and spreads, such as bowls, pizza, salads and boards.
- 45 degrees: for plated dishes; it is roughly how a diner sees the plate.
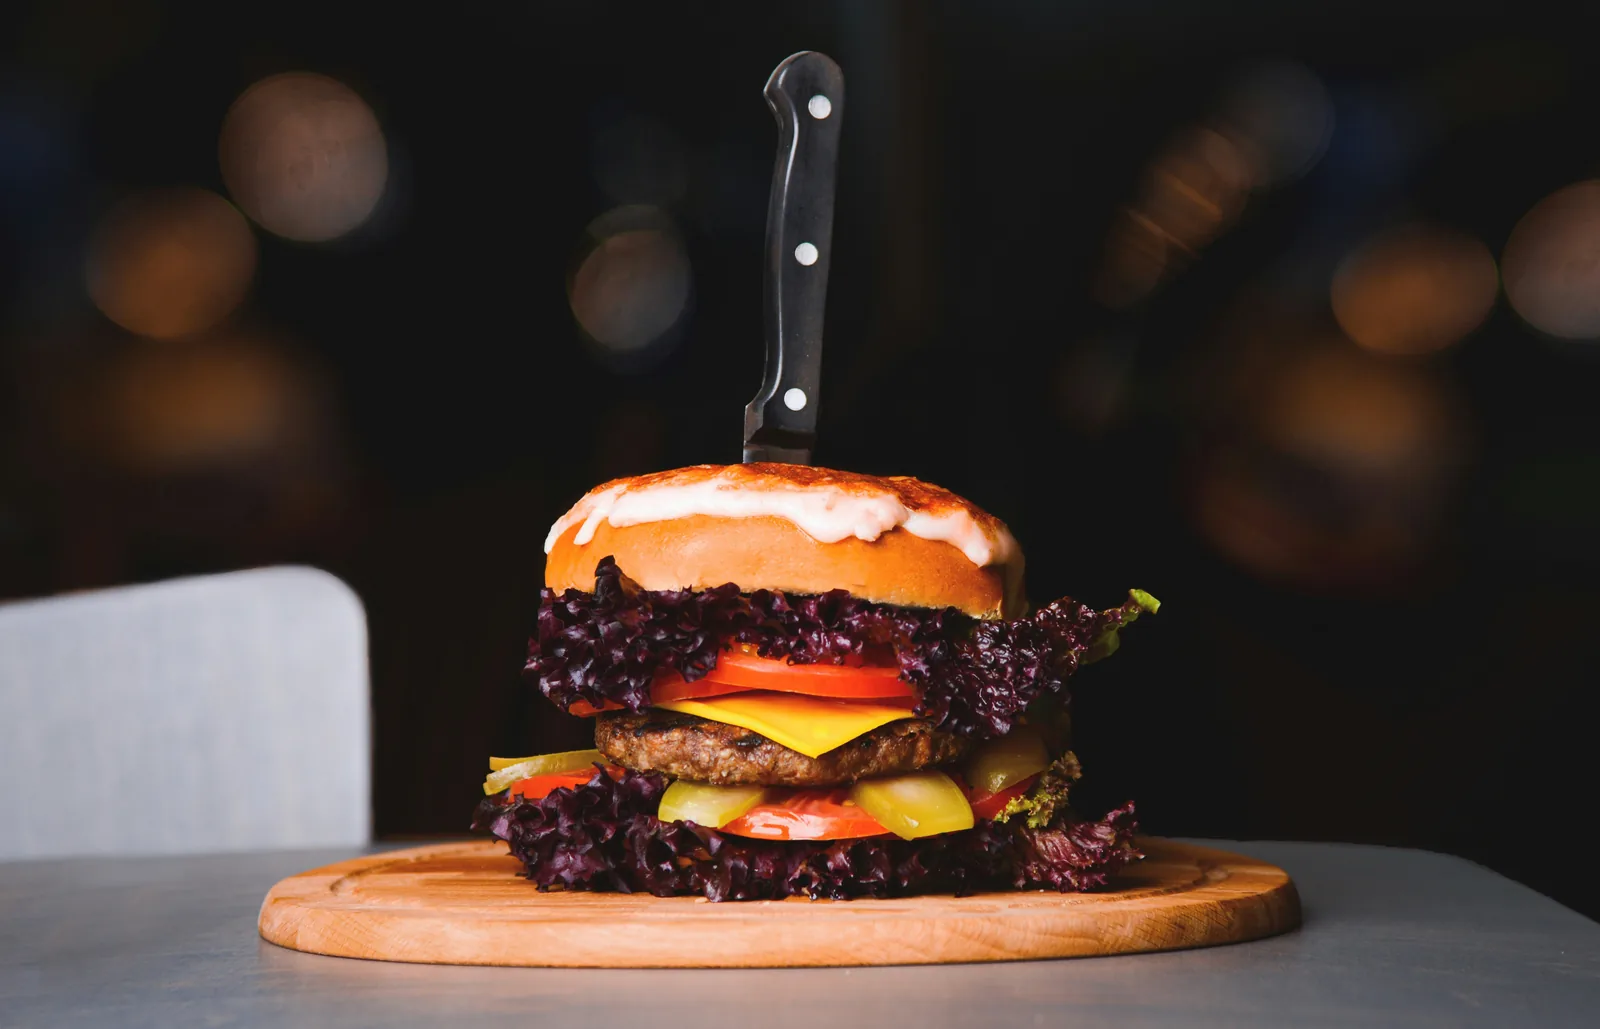
- Straight on: for tall food and packaging, such as burgers, stacked pancakes, jars, bottles and drinks.
Composition
- Place the product on a third of the frame, not dead center, unless it is a pack shot.
- Use lines (a knife, a napkin, a row of ingredients) to lead the eye to the product.
- Leave empty space where an ad or a banner will need text.
- Keep it simple: one product, a few supporting items, nothing that competes.
- Move closer instead of zooming, and fill the frame with what matters.
Styling Food So It Looks Fresh
- Pick hero pieces: the best-looking cookies, berries and slices go at the front.
- Undercook vegetables slightly so they keep their color and shape.
- Add shine and freshness: brush food with a little oil, and spray fruit and salad with water (a water and glycerin mix keeps the droplets longer).
- Keep some imperfection: a few crumbs, a drip of sauce or a torn edge makes food look real and appetizing.
- Use secondary ingredients: the raw ingredients of your product scattered around it, such as cocoa beans next to chocolate or herbs next to a sauce.
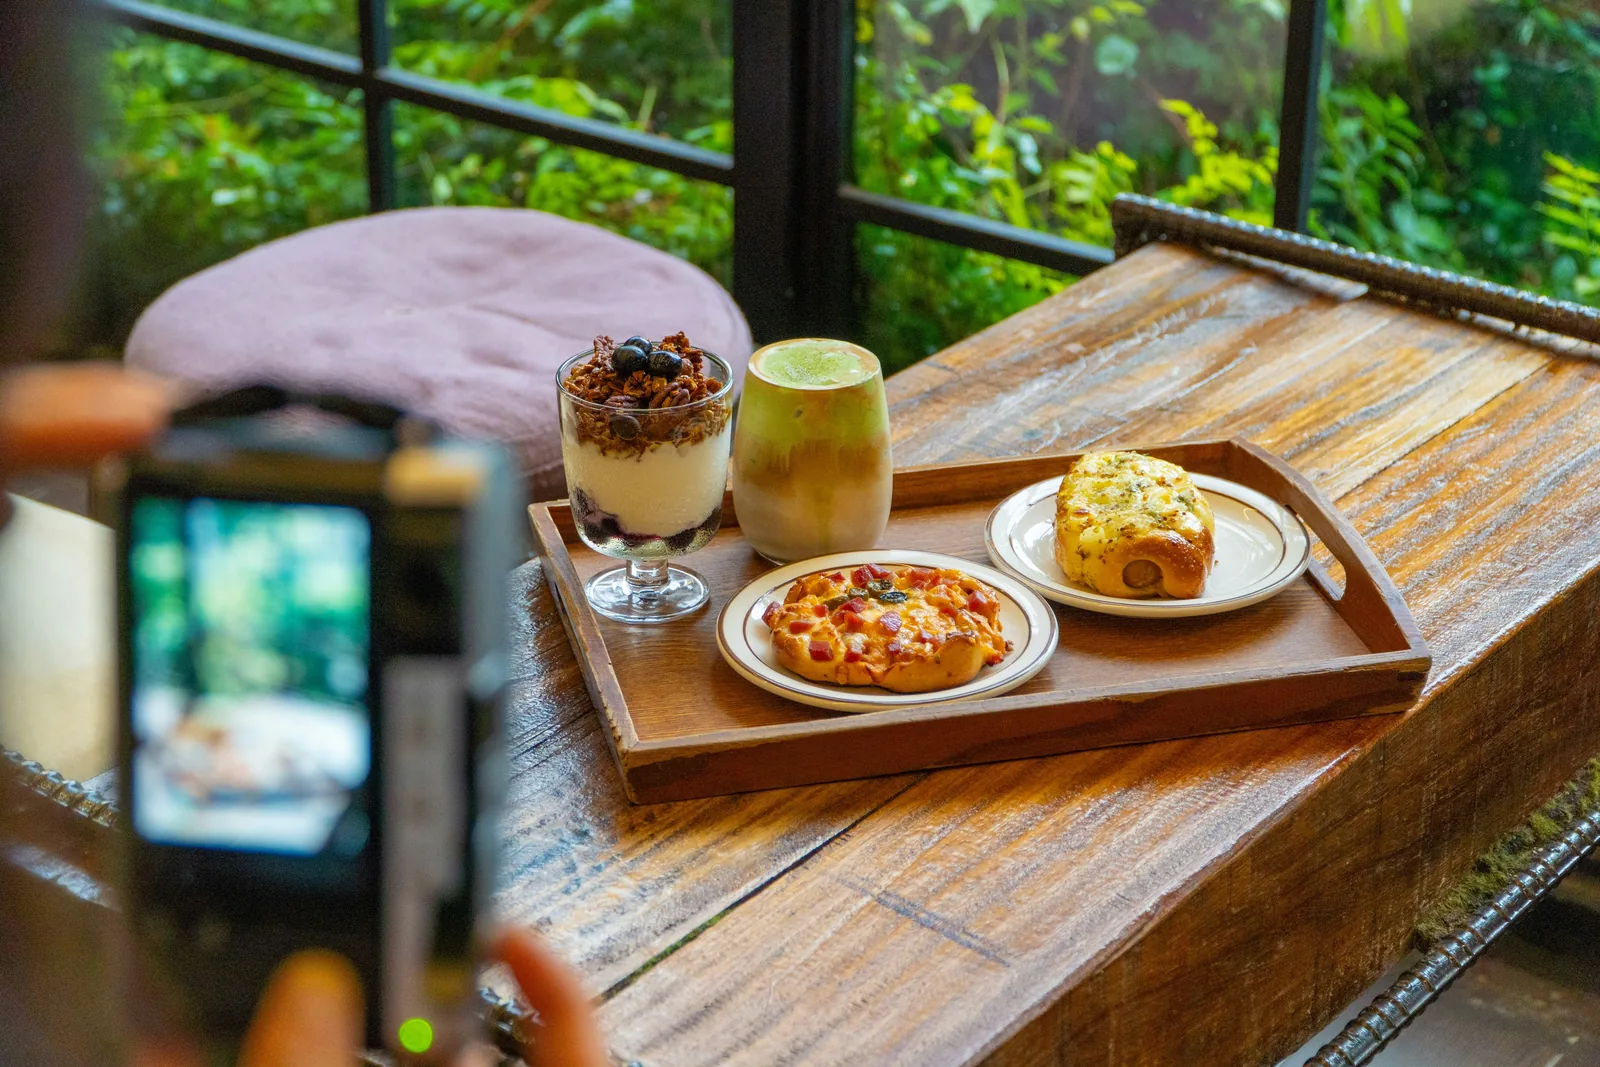
- Choose props that fit the brand: plates, linens, cutlery and seasonal items. Set cutlery correctly (forks on the left, knives and spoons on the right, the blade facing the plate) and lay chopsticks side by side, never crossed or standing in rice.
- Add hands and people for lifestyle shots: a hand reaching for a slice or pouring a drink makes a scene feel lived in.
- Capture motion: pours, drizzles, sprinkles and splashes, frozen with a shutter speed of 1/500 second or faster or with an off-camera flash.
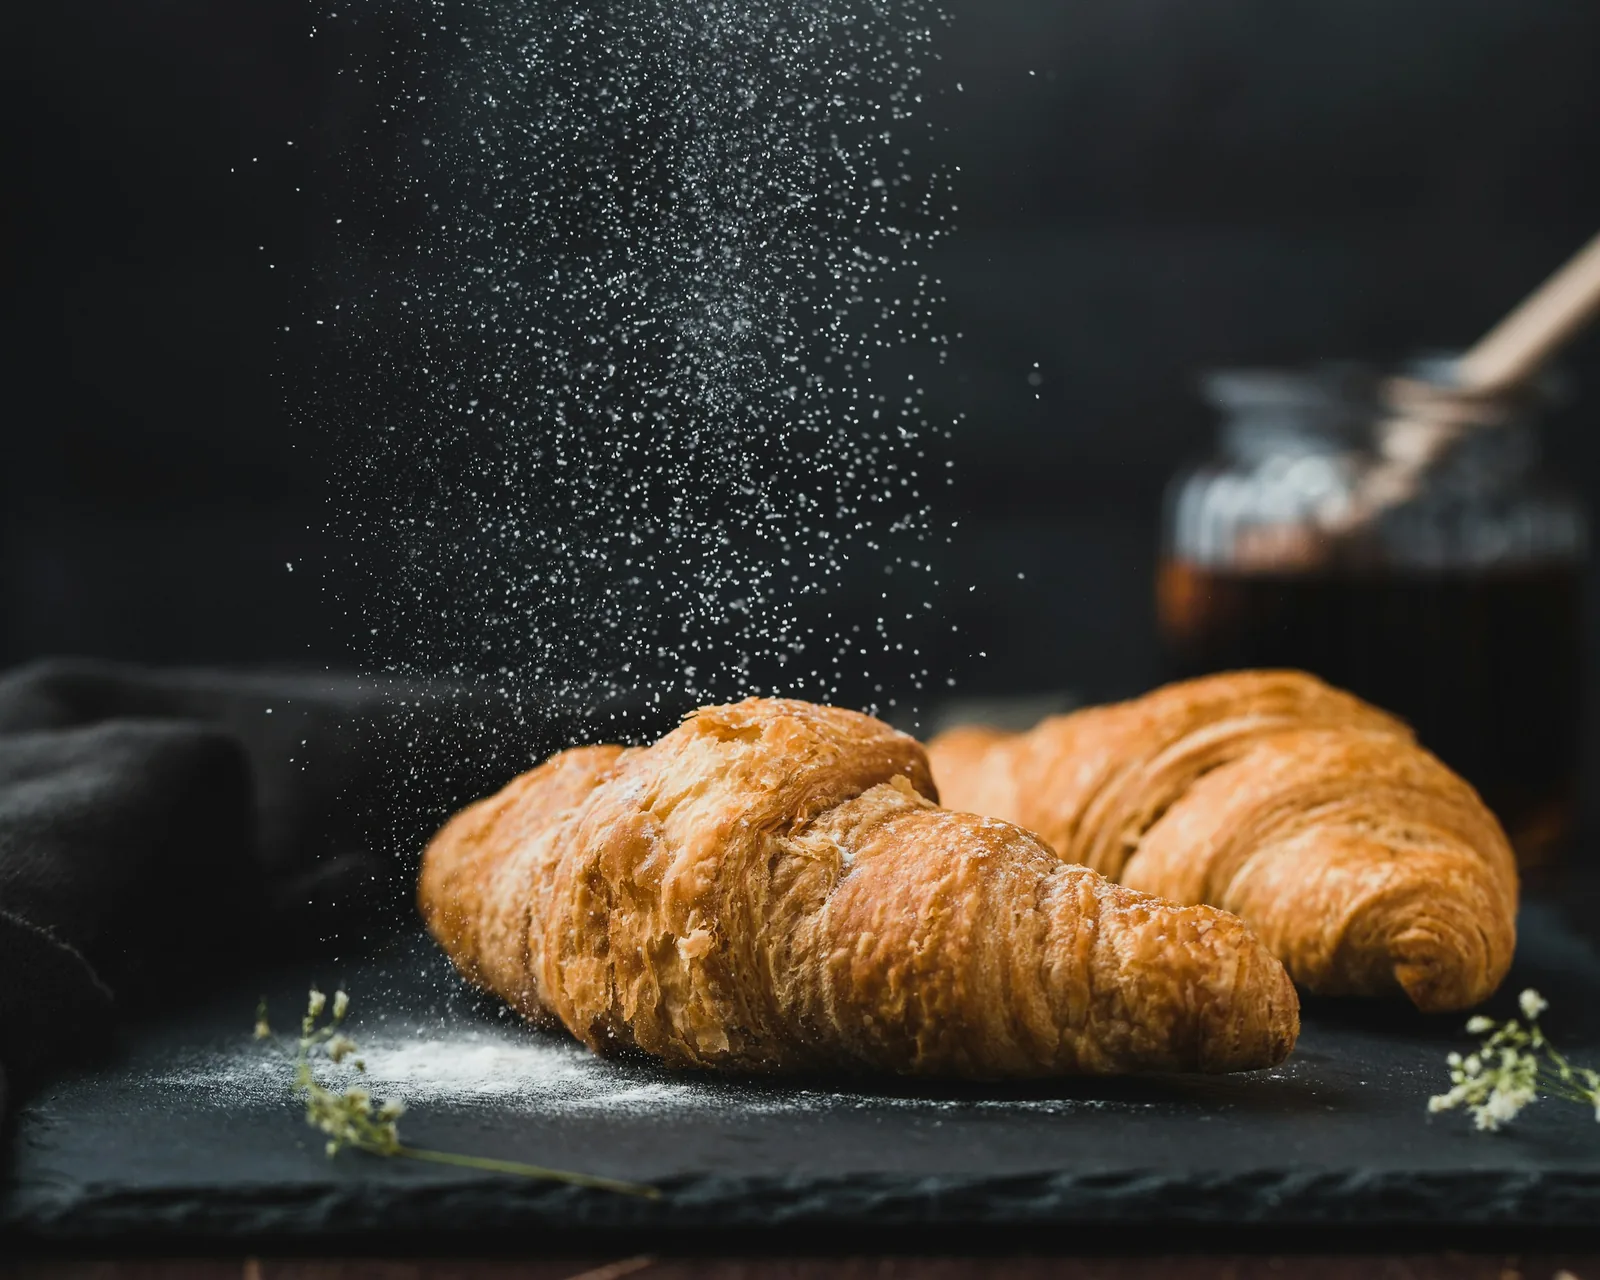
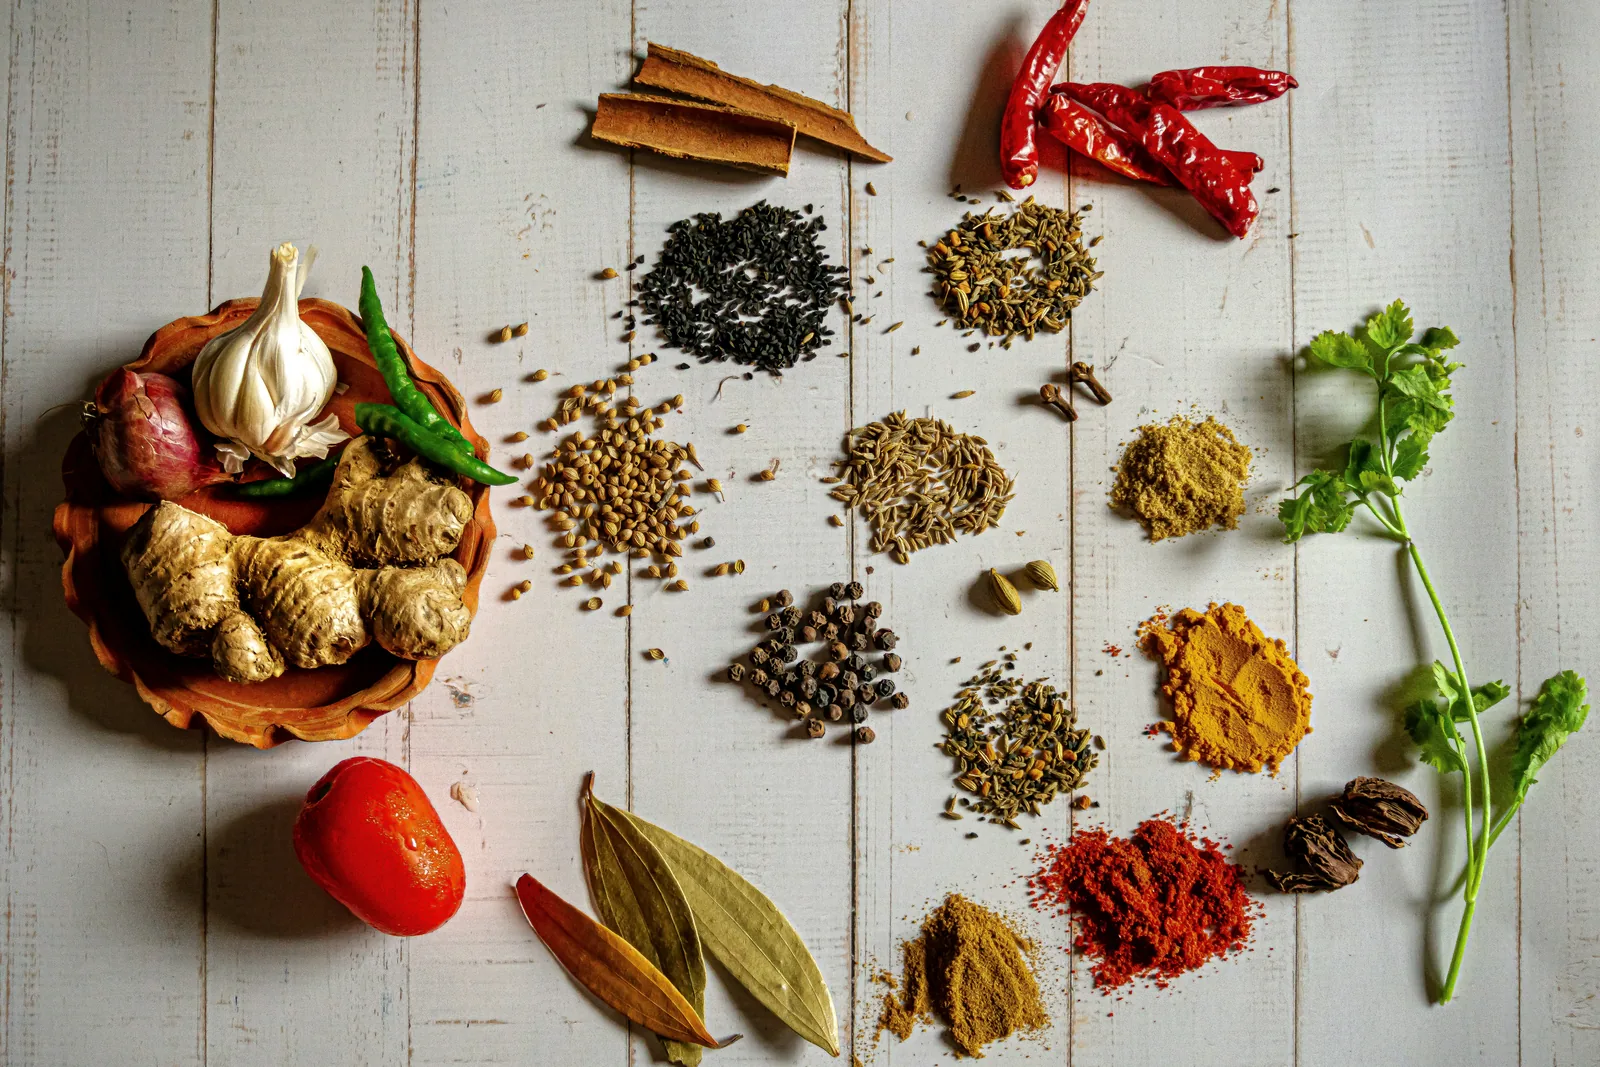
Keep a brand mood board (colors, surfaces, props) so styled shots stay consistent across channels.
Camera Settings for Food Product Photography
- Aperture: f/2.8 to f/5.6 for 45-degree and straight-on styled shots with a soft background; f/8 to f/11 for overhead flat lays and pack shots.
- Shutter speed: any speed works on a tripod for still scenes; 1/125 second or faster handheld; 1/500 second or faster for pours and sprinkles.
- ISO: 100 to 400.
- White balance: set it from a gray card or color checker; auto white balance shifts with the colors in the frame.
- Format: RAW.
- Check as you go: tether the camera to a laptop, or zoom in on the camera screen, to check focus and color before you move the set.
- Phone: use the main or 2x lens, lock focus and exposure, and use portrait mode only for styled shots, never for pack shots.
Editing Food Product Photos
- Brightness first: food usually looks best bright, without losing detail in white plates or packaging.
- White balance: a blue cast makes food look cold and unappetizing; aim for neutral to slightly warm.
- Color: match packaging to the real brand colors and keep food color natural. Small saturation changes only.
- Clean-up: remove stray crumbs, dust and blemishes on packaging.
- Background: make pack shot backgrounds pure and even.
- Stay honest: the product must look like what arrives.
Our guide on how to edit food photography goes through each step in Lightroom.
The Shots a Food Product Listing Needs
- The front of the pack on white.
- The back of the pack, with ingredients, allergens and nutrition readable.
- The pack with its contents beside it.
- A close-up of the texture: crumb, filling, glaze or pour.
- A serving suggestion or recipe shot.
- A lifestyle shot of the product in use.
- A size cue, such as the pack in a hand or next to a mug.
- The whole range together, if you sell several flavors.
Drinks and kitchenware need their own techniques; see drink product photography, cocktail photography and kitchen product photography. If you are deciding whether to hire a food photographer instead, our product photography pricing guide has a food photography section with current published rates.
Frequently Asked Questions
What is food product photography?
Food product photography is photography of food and drink products for selling and marketing them: pack shots on white for online stores and retailers, styled scenes with ingredients, recipe shots and lifestyle images for websites, packaging, menus, social media and ads.
What is commercial food photography?
Commercial food photography is food photographed for business use rather than personal or editorial use: product pages, packaging, menus, delivery apps, websites and advertising. The images are planned around a brand and usually licensed for a set of channels.
How do you photograph food products for an online store?
Start with a pack shot on a white background, lit evenly from both sides with the camera level with the label. Add a back-of-pack shot, the contents beside the pack, a texture close-up and one or two styled or lifestyle images. Shoot every flavor in the same setup.
What is the best lighting for food product photography?
Soft light from the side or slightly behind the food, from a diffused window or a large softbox, with a white board to fill shadows. For packaged products, light evenly from both sides and use strip lights and black cards to control reflections on glass and foil.
What camera settings should I use for food photography?
Use f/8 to f/11 for pack shots and overhead flat lays, f/2.8 to f/5.6 for styled shots with a soft background, ISO 100 to 400, a tripod, a custom white balance and RAW files. Freeze pours and sprinkles at 1/500 second or faster.
How do you make food look fresh in photos?
Photograph it as soon as it is ready, use the best-looking pieces, undercook vegetables slightly, brush food with a little oil for shine and spray fruit or salad with water. Light from the side or behind so texture and moisture catch the light.
Make Food Product Photos From One Pack Shot
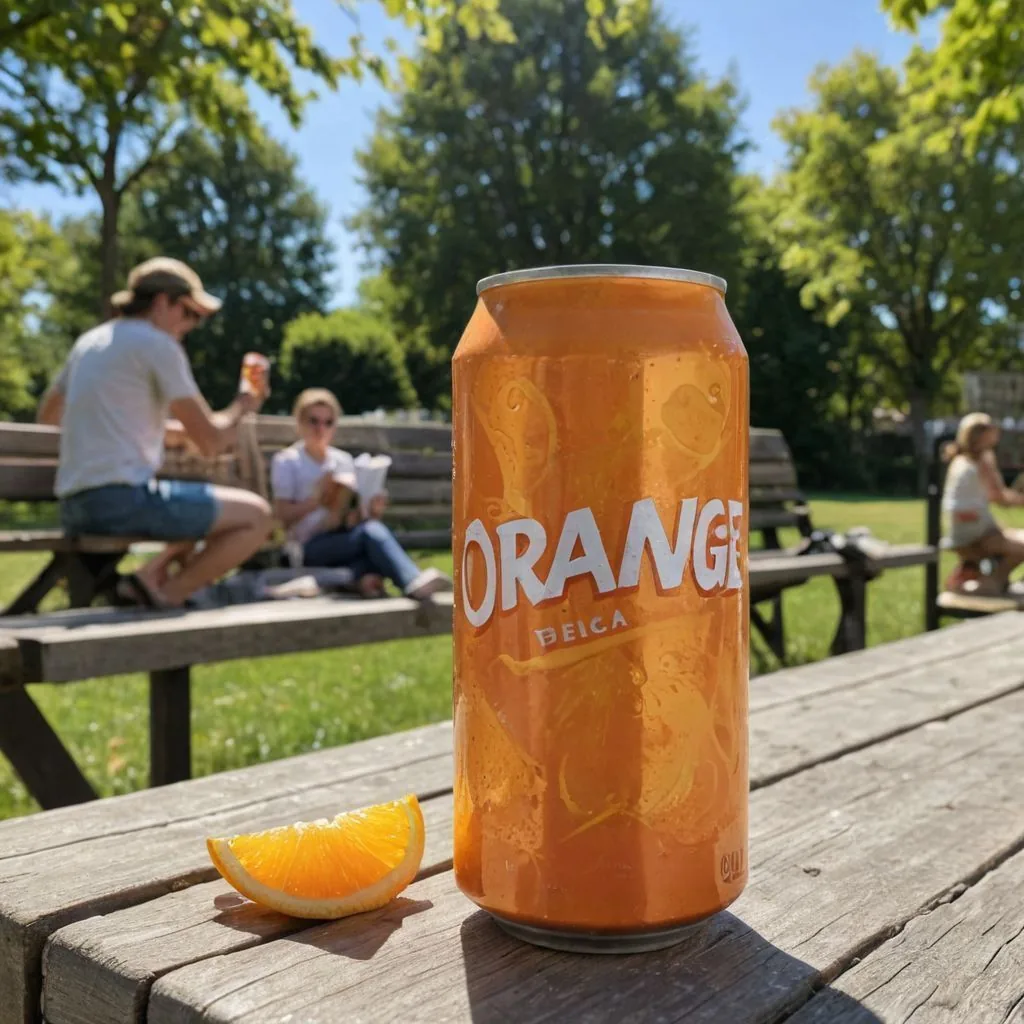
Photograph each product once on a plain background, then upload it to Caspa to create the styled scenes: a breakfast table, a picnic bench, a café counter, a kitchen with a person using the product. Your packaging and label stay unchanged in every scene, so one pack shot covers your listing, social posts and ads.
Every plan comes with a 30-day money-back guarantee. See examples for food and beverage, coffee and tea and wine and spirits brands.