
These 20 product photography ideas and examples cover the three kinds of image every store needs: clean shots that sell on the listing, creative shots that stop the scroll, and lifestyle shots that show the product in use. Each idea explains how to set it up, most of them with household items, and the table at the end shows where each finished photo works best.
In this guide
- Clean ideas for listing photos (1 to 8)
- Creative ideas you can shoot at home (9 to 15)
- Lifestyle and story ideas (16 to 20)
- Product styling: make any idea look intentional
- Which ideas to use where
- FAQ
Clean Ideas for Listing Photos
These are the workhorses. They show the product accurately, look consistent across a catalog and need only a backdrop, soft light and a tripod. If you have not built a set yet, start with our DIY product photography setup.
1. The White Sweep Hero Shot
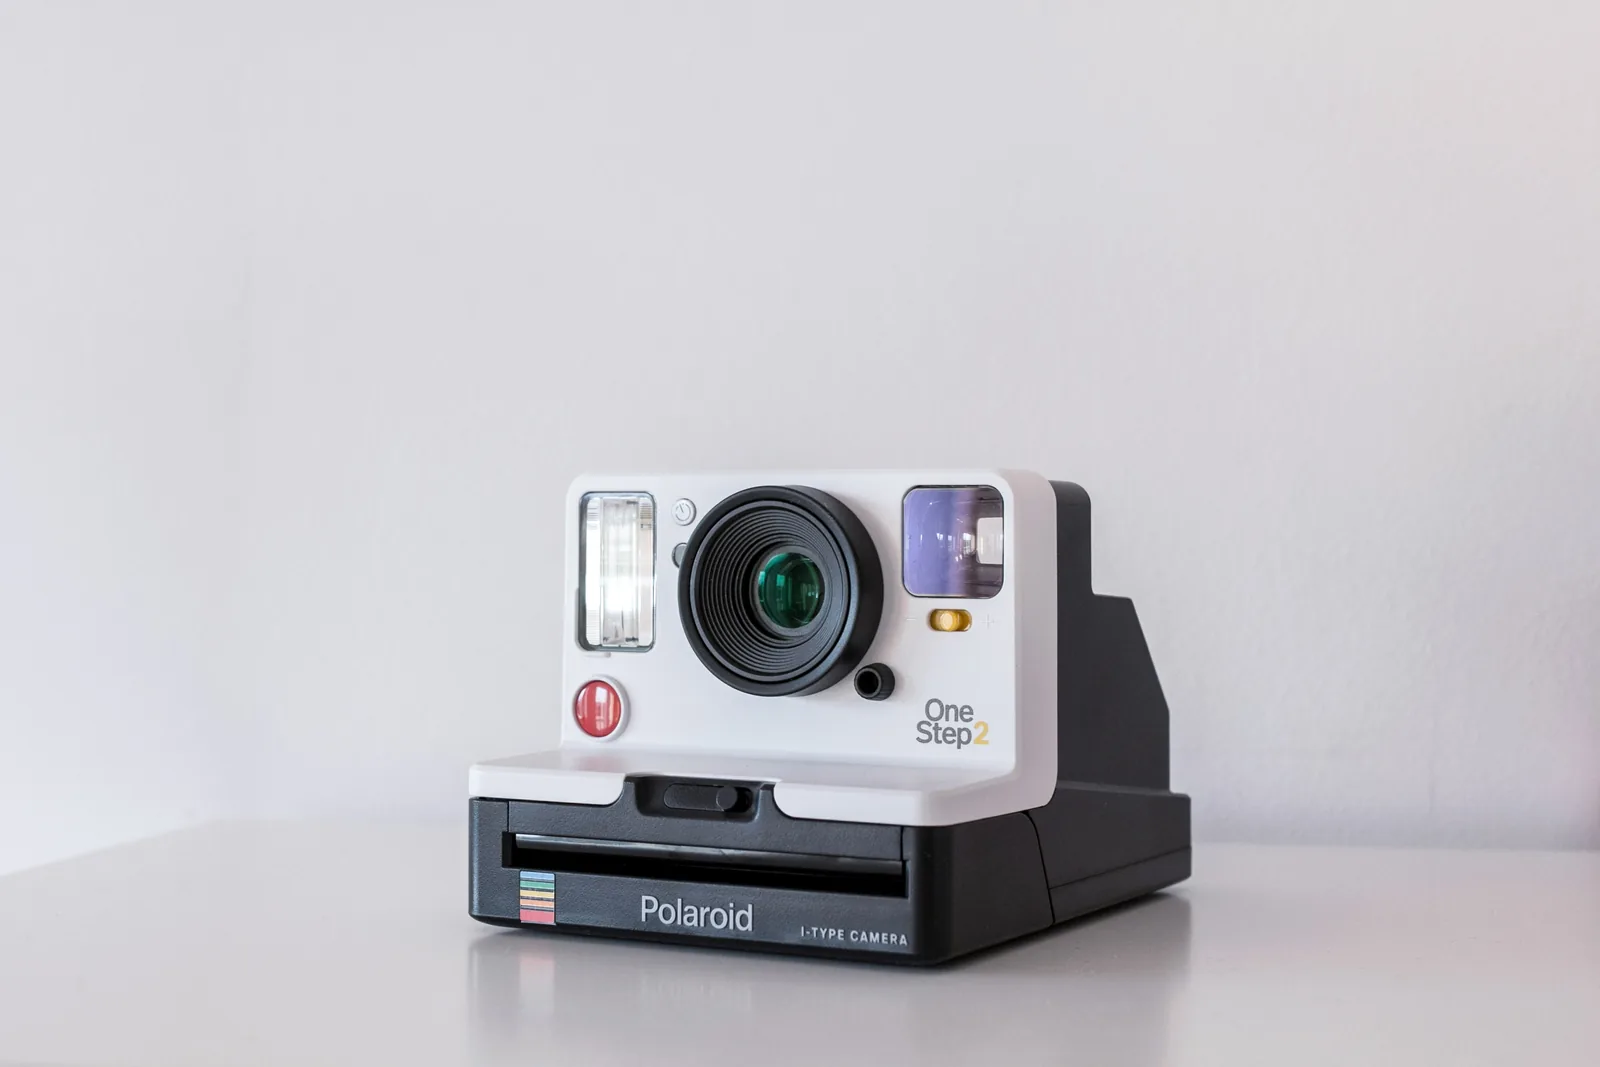
The product alone on a seamless white or light gray background, filling most of the frame. Curve a roll of paper from the wall onto a table, light from 45 degrees through a diffuser and bounce light back with a white card on the other side. Shoot slightly above eye level so the top and front both show. This is the photo shoppers compare against competitors, so make it your sharpest and most color-accurate. Marketplaces set rules for the main image; check the current marketplace image requirements before you shoot it.
2. Minimal Backdrop, One Prop
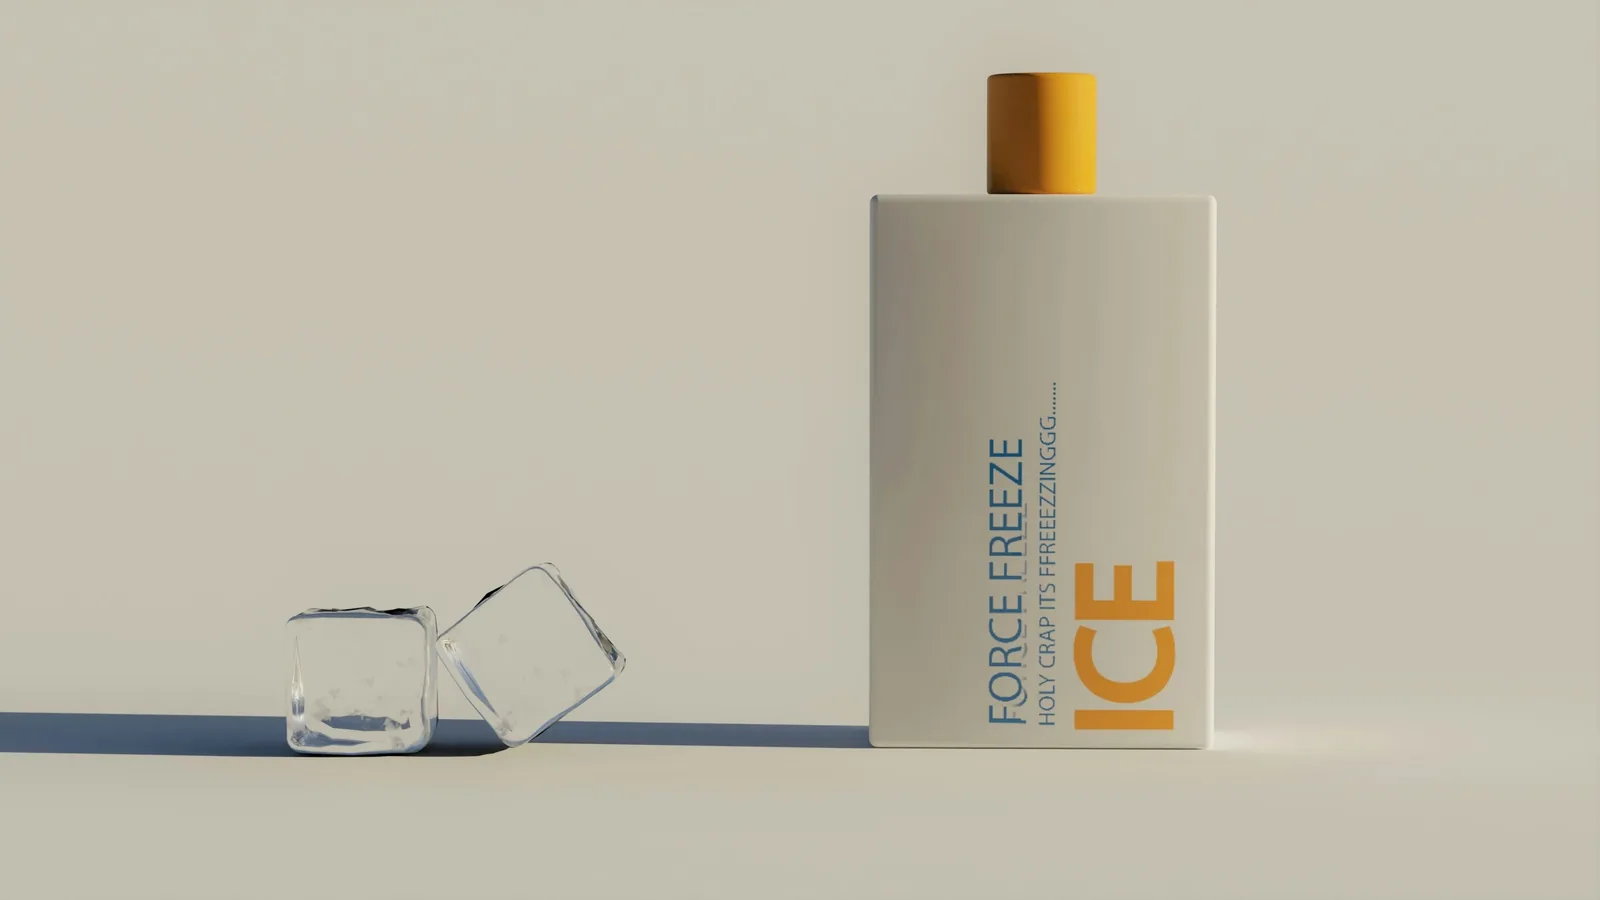
A soft-colored background and a single prop that hints at the product's promise: glass ice cubes beside a cooling gel, a sprig of lavender beside a sleep spray. Keep the prop smaller than the product and to one side. The empty space makes the image easy to crop for banners and leaves room for text in ads and emails.
3. Color Blocking and Tonal Color
Set the product against a bold color from the opposite side of the color wheel (lilac packaging on mint, blue on orange) for maximum pop, or match the background to the product for a calm, tonal look. Colored paper from a craft store is enough. Pick colors from your brand palette so the shots work together on your store and social feed.
4. Group Shots and Bundles
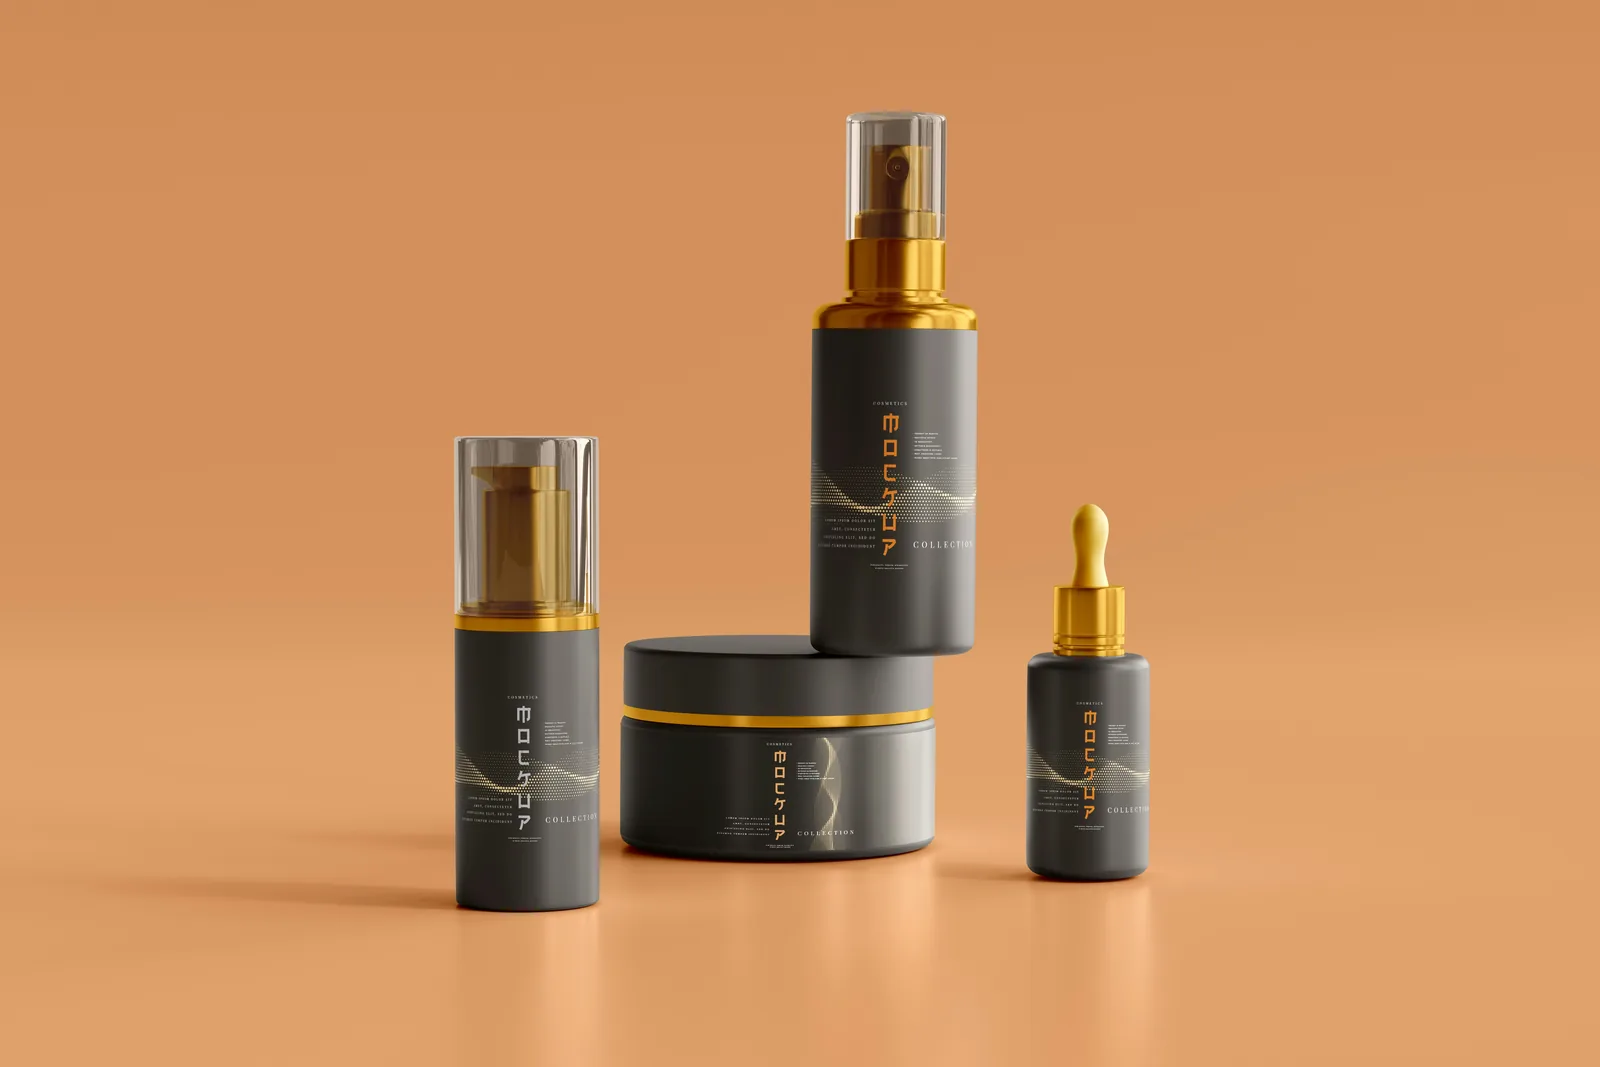
Show a range, a set or a bundle in one frame to sell the collection and suggest add-ons. Odd numbers (three or five items) usually look more balanced than even ones. Vary heights, place the hero item slightly forward, and keep labels facing the camera. This is also the natural main image for a product sold as a set.
5. Pattern and Repetition
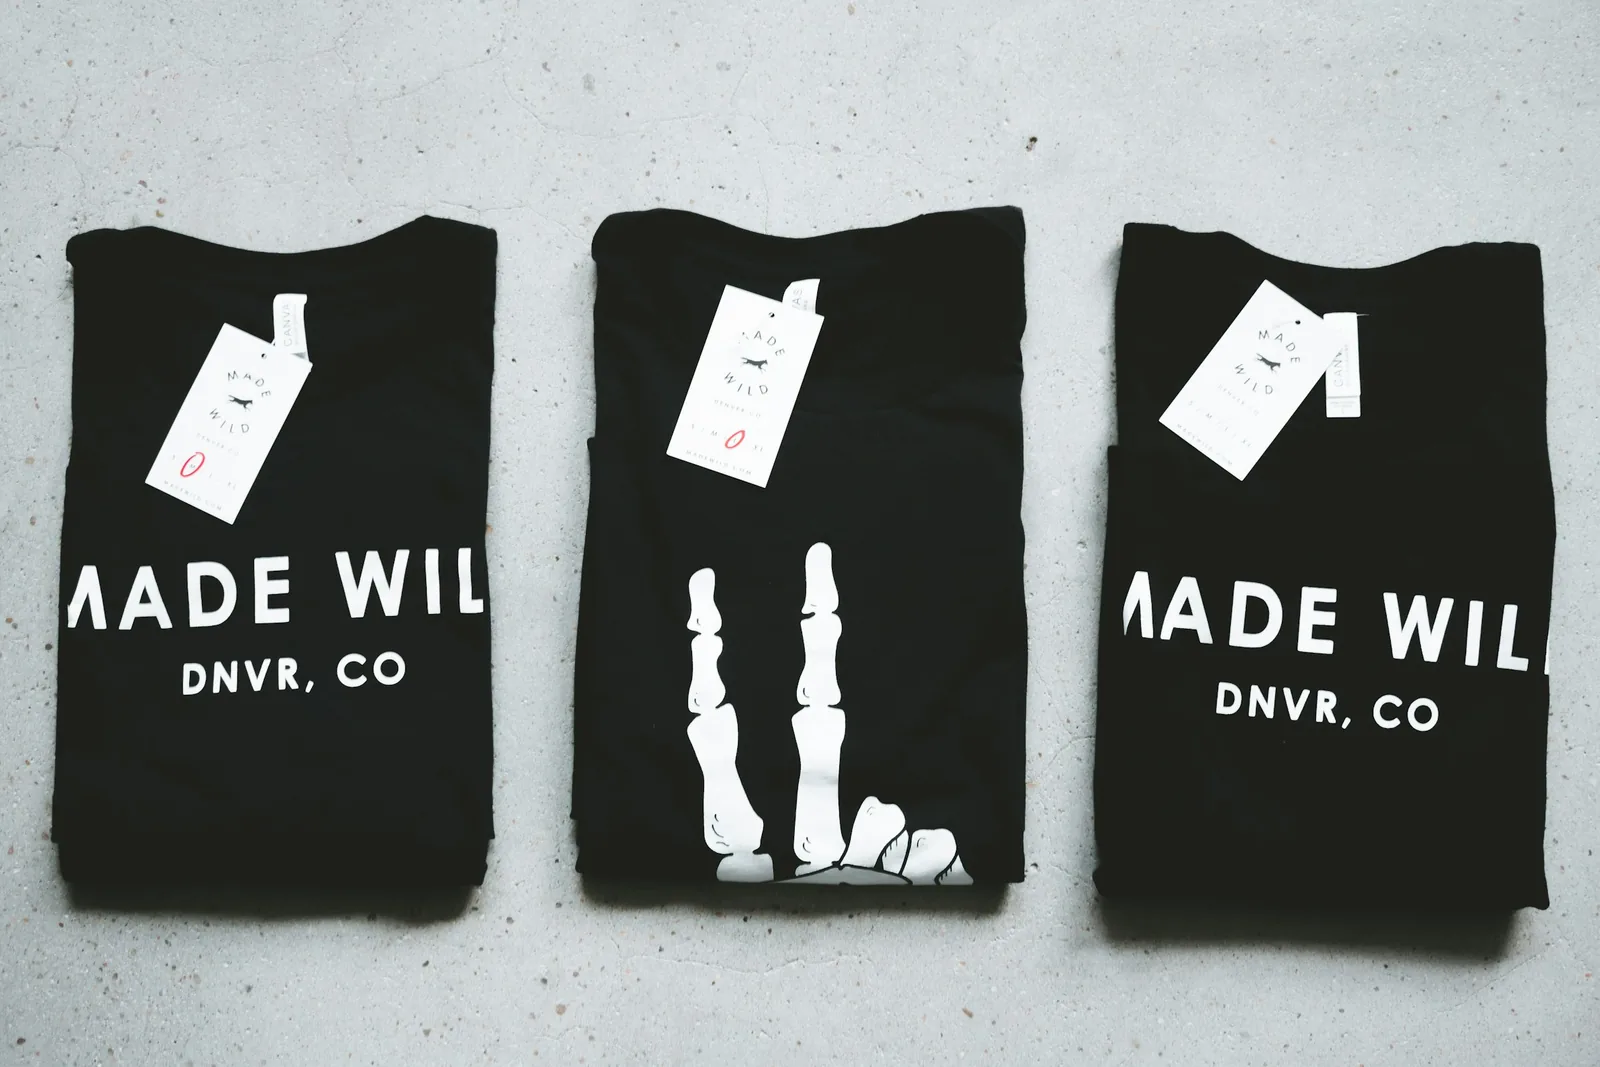
Repeat the product in a grid, a row or a spiral, then break the pattern once (one item turned, one in a different color) to give the eye a place to land. It works best for small or flat products, multiple colorways and anything sold in packs. Shoot from directly overhead with a tripod arm or a step ladder.
6. Detail Close-Ups
Get close enough to show what a shopper would check in a store: stitching, fabric weave, a clasp, the texture of a cream, the grain of wood. Use a macro lens or your phone's 2x lens, and light from a low angle at the side so texture casts tiny shadows. One close-up often answers the question that would otherwise end up as a return.
7. Scale Shots
Show size with something everyone knows: a hand holding the product, a phone beside a wallet, a coffee cup next to a planter, a person sitting on the chair. Dimensions in a description are easy to misread; a scale shot is not.
8. Every Angle With a Turntable
Put the product on a lazy Susan covered with white paper, lock the camera on a tripod and rotate the product in equal steps between shots. You get a consistent front, side, back and three-quarter view, and enough frames for a spin view if your store supports one. This suits shoes, bags, furniture and electronics, where buyers want to see every side.
Creative Ideas You Can Shoot at Home
These ideas are for social posts, ads and the later images in a listing gallery. Most need nothing more than a window, some fishing line or a spray bottle.
9. Shadow Play
Use hard light on purpose. Let direct sun through a window frame or blinds, hold a plant between the light and the set, or cut shapes from card and place them in front of a lamp. The shadows add mood and a sense of time and place, and they can point the eye at the product. Keep the product itself well lit and recognizable.
10. Reflections
Place the product on a mirror, a sheet of black or clear acrylic, or a glass tabletop to get a clean reflection below it. Black acrylic makes bottles and electronics look premium; a mirror suits jewelry and cosmetics. Wipe the surface first, because every speck shows, and shoot at a low angle to see more of the reflection.
11. Levitation
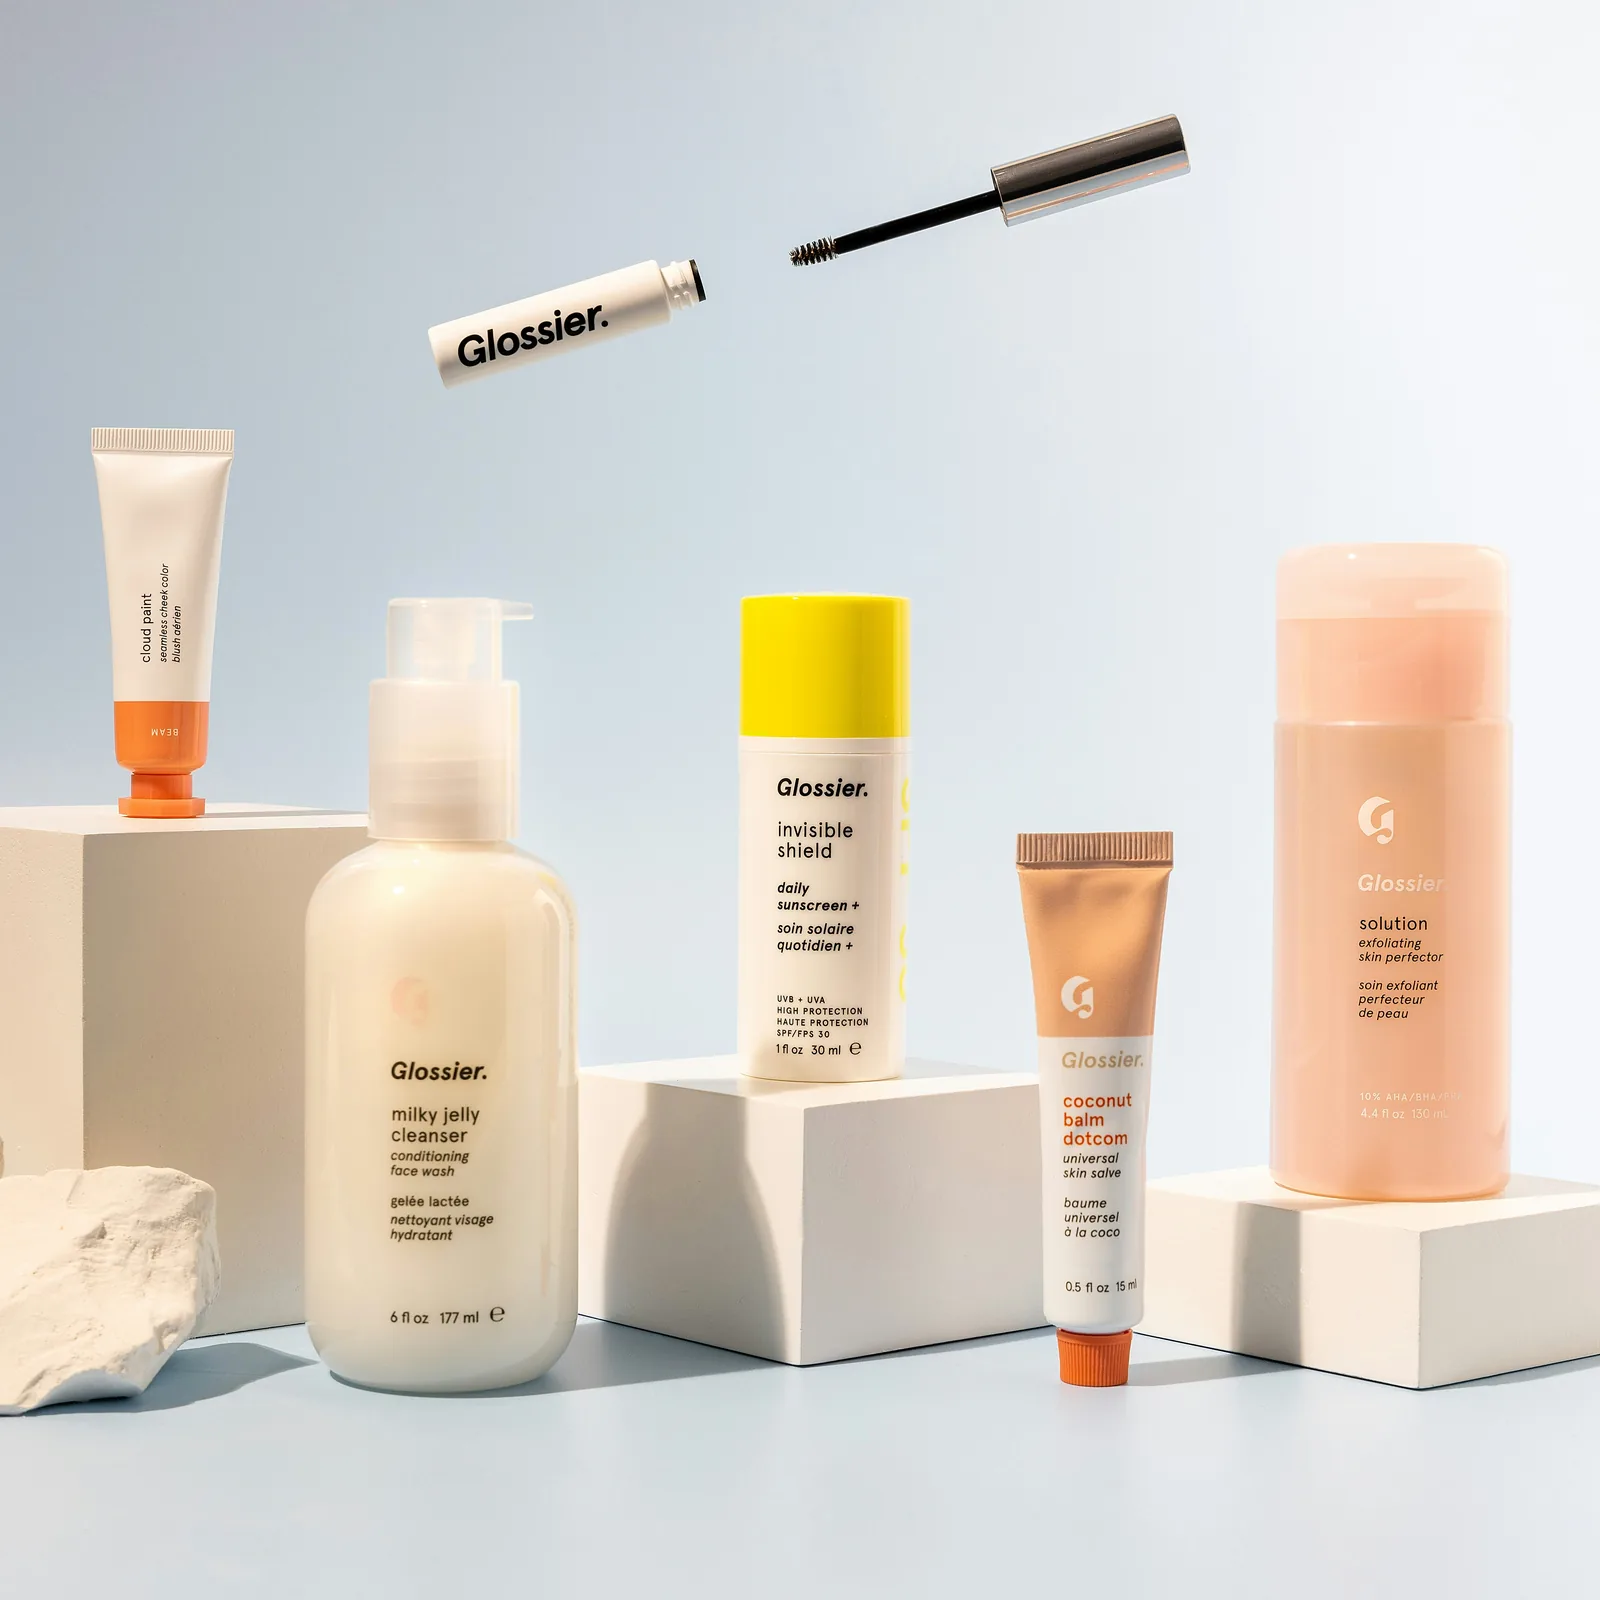
Make the product float. Hang it from a stand or a bar overhead with clear fishing line, or rest it on a small clear support, then remove the line in editing with a healing brush. A plain background makes the clean-up quicker. Floating items read as light and playful, and a lid or applicator lifted off its product shows how it opens.
12. Risers and Plinths
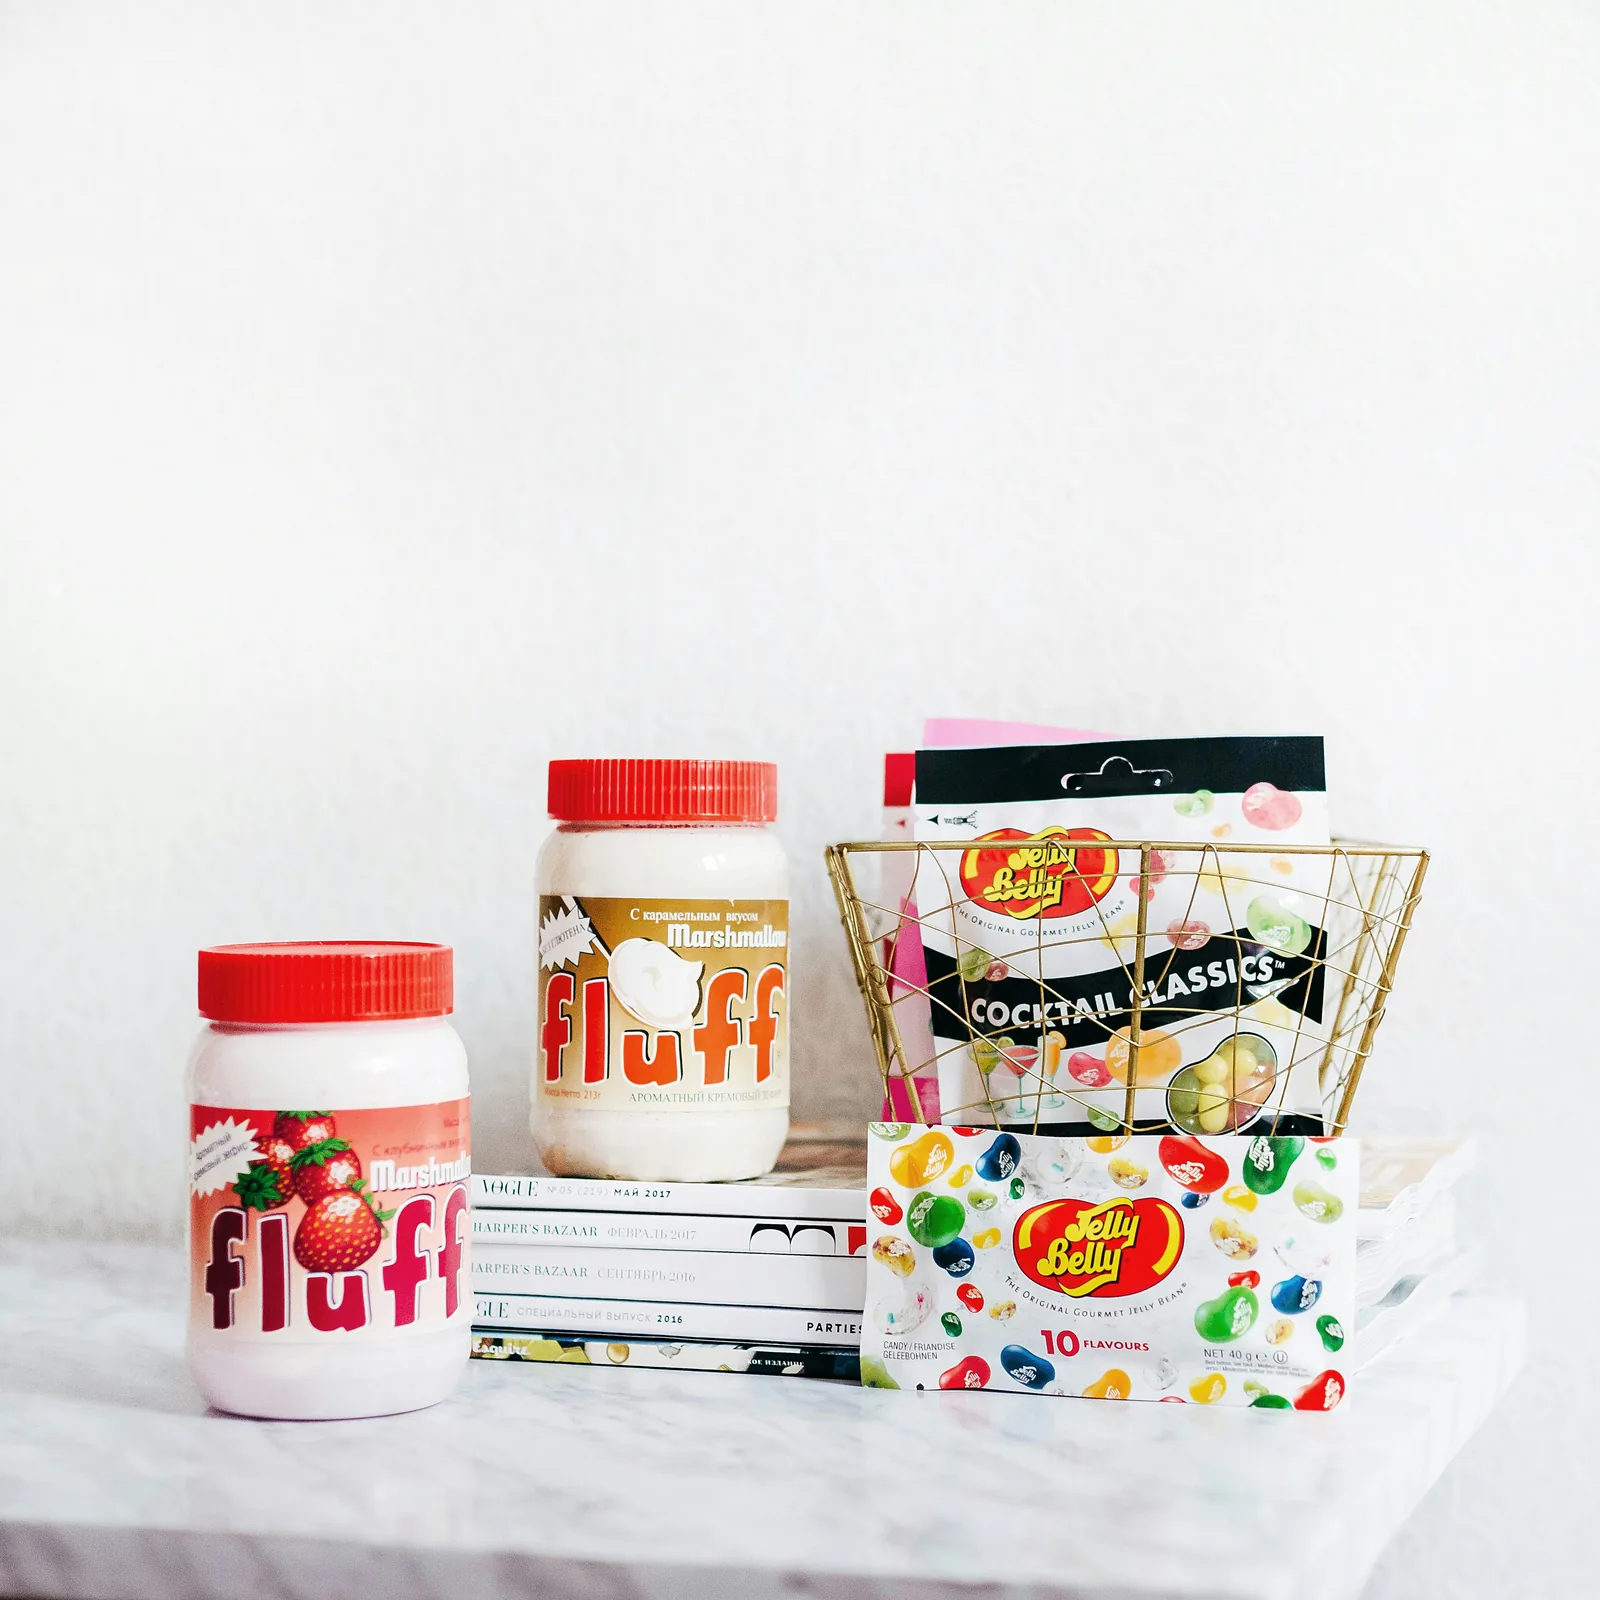
Lift products onto cubes, stacked books, stones, wooden blocks or upturned bowls to create levels. Different heights let you fit a whole range into one frame without lining everything up like a shelf, and they give the composition depth. Paint risers white or gray if they compete with the product.
13. Splash and Water
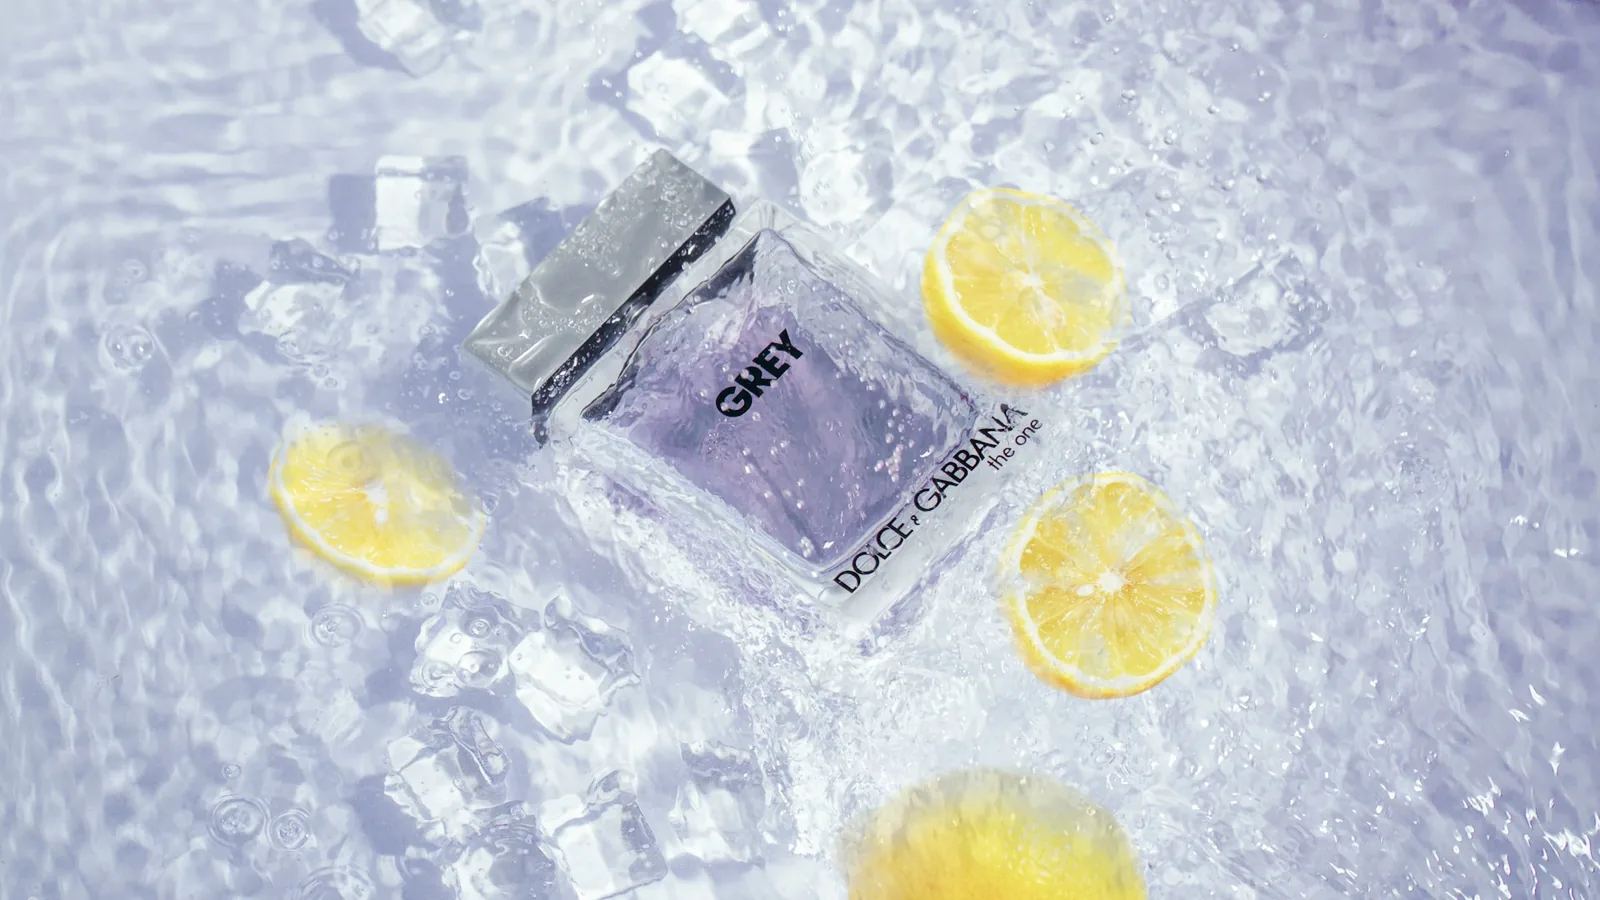
Drop the product into water, pour liquid around it or shoot it lying in a shallow tray with ice and fruit, as in the image at the top of this page. Use a fast shutter speed (1/500 s or faster) or flash to freeze droplets, protect your camera with a clear bag or distance, and check the product is waterproof first. It suits drinks, skincare, fragrance and anything fresh or cooling.
14. Cold Drinks With Lasting Droplets
For bottles and cans that look ice cold, mist them with a mix of water and glycerin from a spray bottle. The glycerin keeps the droplets from running and slows evaporation, so they last for the whole shoot instead of a minute. Our guides to drink product photography and cocktail photography cover lighting for glass and liquid.
15. Frozen Motion
Capture something moving: powder bursting from a brush, flour falling on a baking tool, a pour from a bottle, a shoe mid-step. Use a fast shutter speed or a flash, prefocus where the action will happen and shoot a burst. Expect to take dozens of frames for one keeper.
Lifestyle and Story Ideas
Lifestyle images show what owning the product looks like. Our full guide to lifestyle product photography covers planning, models and locations; these five ideas are the quickest wins.
16. The Product in Use
Show it doing its job: the blender mid-smoothie, the serum on a fingertip, the backpack on a commuter. Hands-only shots work if you do not want faces, and they show scale at the same time. Direct an action ("pour", "zip", "apply") rather than a pose so it looks natural.
17. The Right Location
Take the product where it is used: hiking gear on a trail, sunscreen by the pool, sneakers on city pavement, a mug on a cozy windowsill. Match the setting to your buyer and shoot in soft light, either in open shade or on an overcast day.
18. The Flat Lay Story
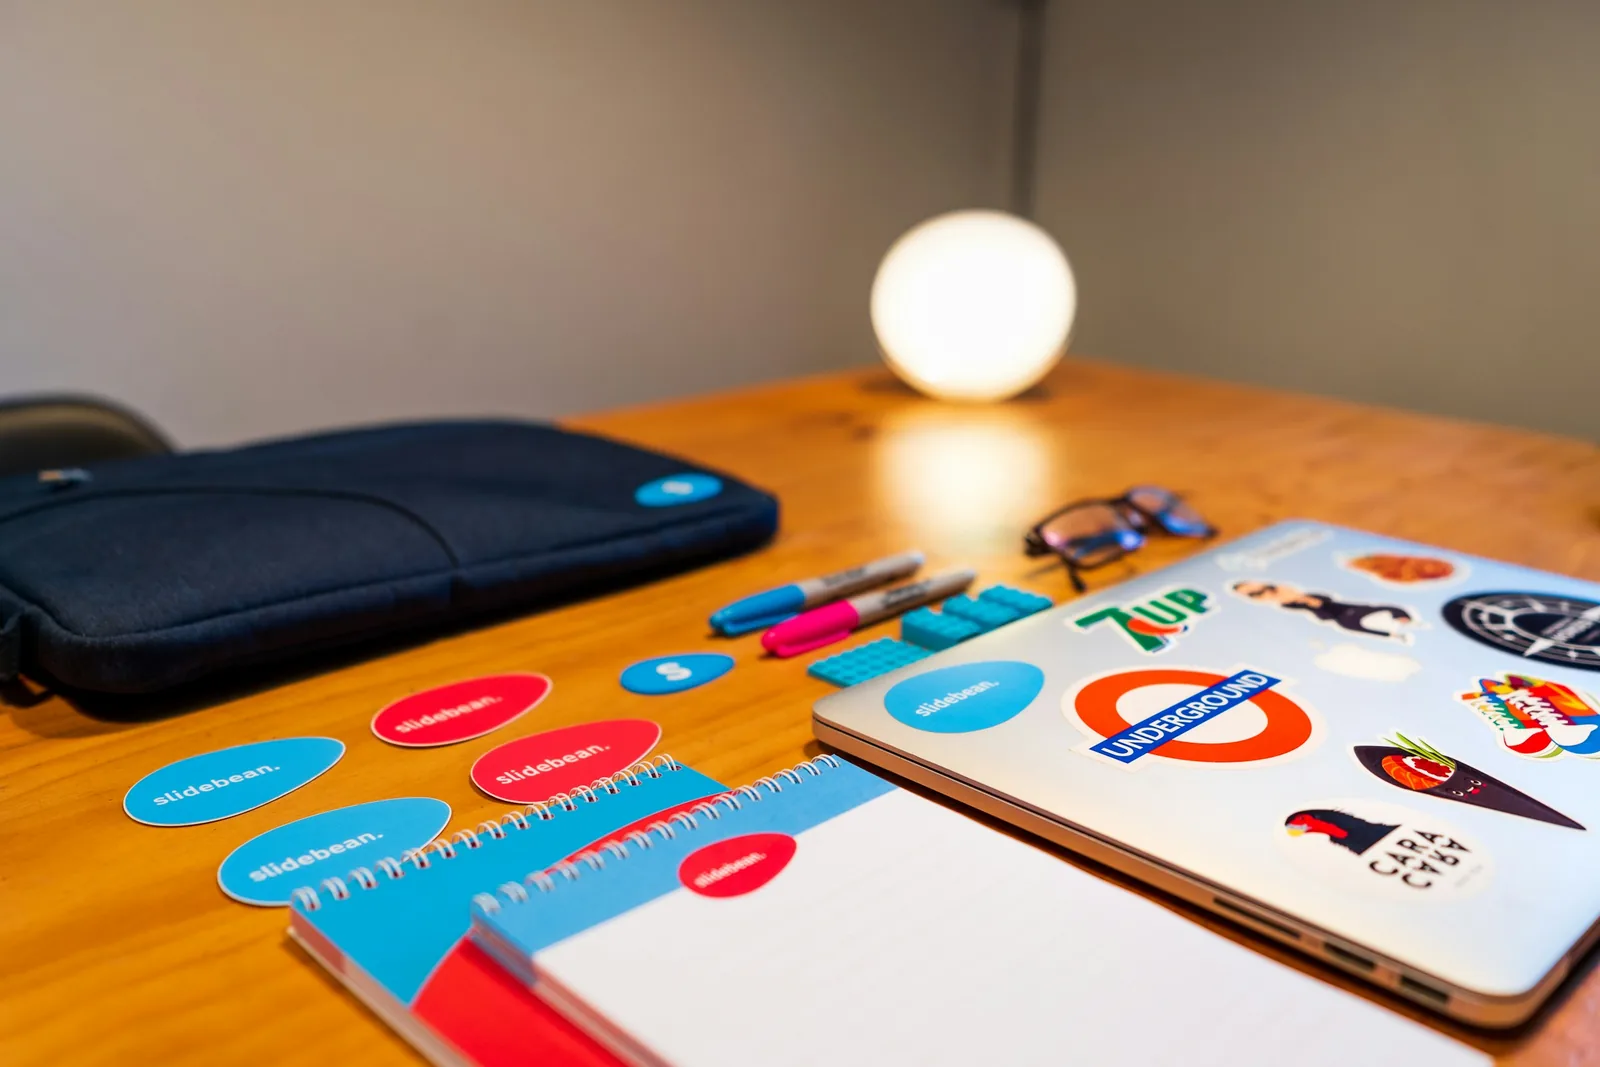
Shoot from directly above the product surrounded by the things used with it: a morning skincare routine, a coffee setup, a packing list for a weekend away. Leave space between items, keep the product largest and most central, and stick to two or three colors. Clothing works especially well; see our flat lay clothing photography ideas.
19. Hanging and Draped
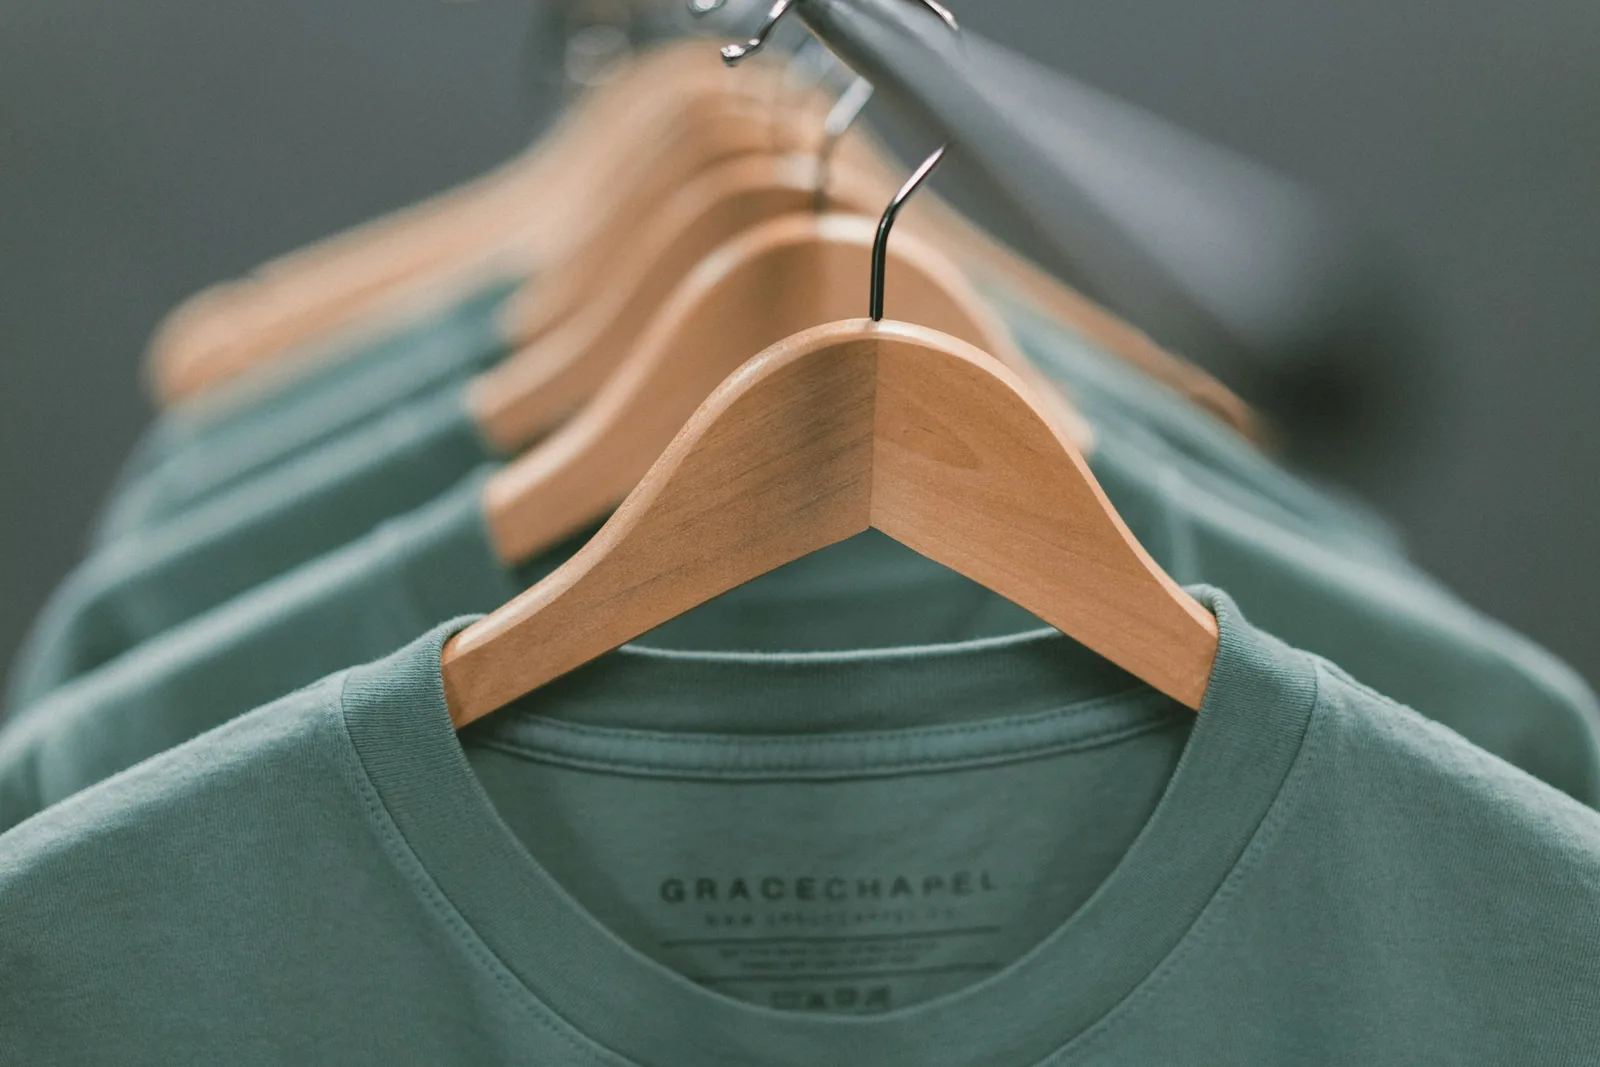
Hang garments on wooden hangers on a rail, earrings from a branch, a bag from a hook, or drape a scarf over a chair. Hanging shows how fabric falls and gives a boutique feel without a model. For apparel, see our guide to clothing photography.
20. Seasonal and Gift Scenes
Restyle the same product for each campaign: fairy lights and wrapping paper in December, flowers in spring, sand and sunglasses in summer. Keep a box of seasonal props and you can refresh your ads and homepage several times a year without new stock.
Product Styling: Make Any Idea Look Intentional
Product styling is the set of choices about props, color, surfaces, light and arrangement that decide whether a photo looks planned or accidental. A few rules cover most of it:
- Give every prop a job. Use three props at most: one for scale (a hand, a cup), one for use (what the product is used with) and one for positioning (marble and linen read premium, kraft paper and wood read handmade). If a shopper might think a prop is included, leave it out.
- Limit the palette. The product's colors plus one or two others. Complementary colors make the product pop; tonal colors feel calm and premium.
- Light for shape, then for texture. Take one soft, even shot for the overall form and a second with low, raking side light for the material close-up.
- Leave room to crop. Keep space around the product so one photo can become a square post, a vertical story and a wide banner.
- Write down your house style. Background, camera angle, light position, shadow and margins. Following the same notes for every product makes a catalog look like one brand.
- Check fidelity. Colors must match the real product, logos and labels must read clearly, and no prop should hide a selling feature.
- Test one change at a time. When you try a new style in ads or on a listing, change only the image and keep price and copy the same, so you know what made the difference.
Which Ideas to Use Where
| Where | Ideas that fit | Why |
|---|---|---|
| Listing main image | 1, or 4 for sets | Clear, comparable and within marketplace rules |
| Listing gallery | 6, 7, 8, 16 | Answers the questions a shopper would ask in a store |
| Social posts | 3, 5, 9, 11, 13, 18 | Stops the scroll and shows your brand's look |
| Ads | 16, 17, 20 | Shows the outcome, not just the object |
| Email and banners | 2, 4, 12 | Space for text and room to show a range |
For the technical side of shooting any of these, read our step-by-step guide on how to take product photos, browse the types of product photography, and finish your images with these editing steps.
Frequently Asked Questions
What are some easy product photography ideas for beginners?
Start with a white sweep hero shot by a window, a minimal backdrop with one prop, an overhead flat lay of the product with the things used alongside it, a group shot of your range and a few detail close-ups. None of them needs special equipment: a roll of paper, a white card reflector and a tripod or a steady surface are enough.
How can I make product photos look professional at home?
Use soft, diffused light from one direction with a white card filling the shadows, a clean seamless backdrop and a tripod so every product is framed the same way. Clean the product before shooting, set white balance correctly and edit all images with the same preset. Consistency across the catalog is what makes photos look professional.
What is product styling in photography?
Product styling is arranging the product, props, colors, surfaces and light so the image shows the product's use, quality and brand at a glance. Good styling keeps the product the hero: a limited color palette, two or three props that each explain something, and a consistent house style across every image in the catalog.
What props are good for product photography?
Props that explain the product: a hand or a cup for scale, the ingredients or tools it is used with, and surfaces such as marble, wood or linen that set the mood. Risers like cubes, books and stones add height. Keep props neutral or in your brand colors, use fewer than you think, and avoid anything a shopper could mistake for part of the purchase.
What is the difference between a hero shot and a lifestyle shot?
A hero shot shows the product alone on a clean background, usually white, so buyers can see exactly what it looks like; it is typically the main listing image. A lifestyle shot shows the product in a real setting, often in use by a person, to show scale, purpose and who it is for. Most listings need both.
How do you take creative product photos without expensive equipment?
Use household tricks: a window and a white card for light, foil on cardboard as a reflector, fishing line for levitation, glycerin and water for droplets, a lazy Susan for turntable shots and a cardboard box lined with tissue paper as a light tent. Creativity comes from the idea and the styling more than from the camera.
Try These Ideas Without Building Every Set
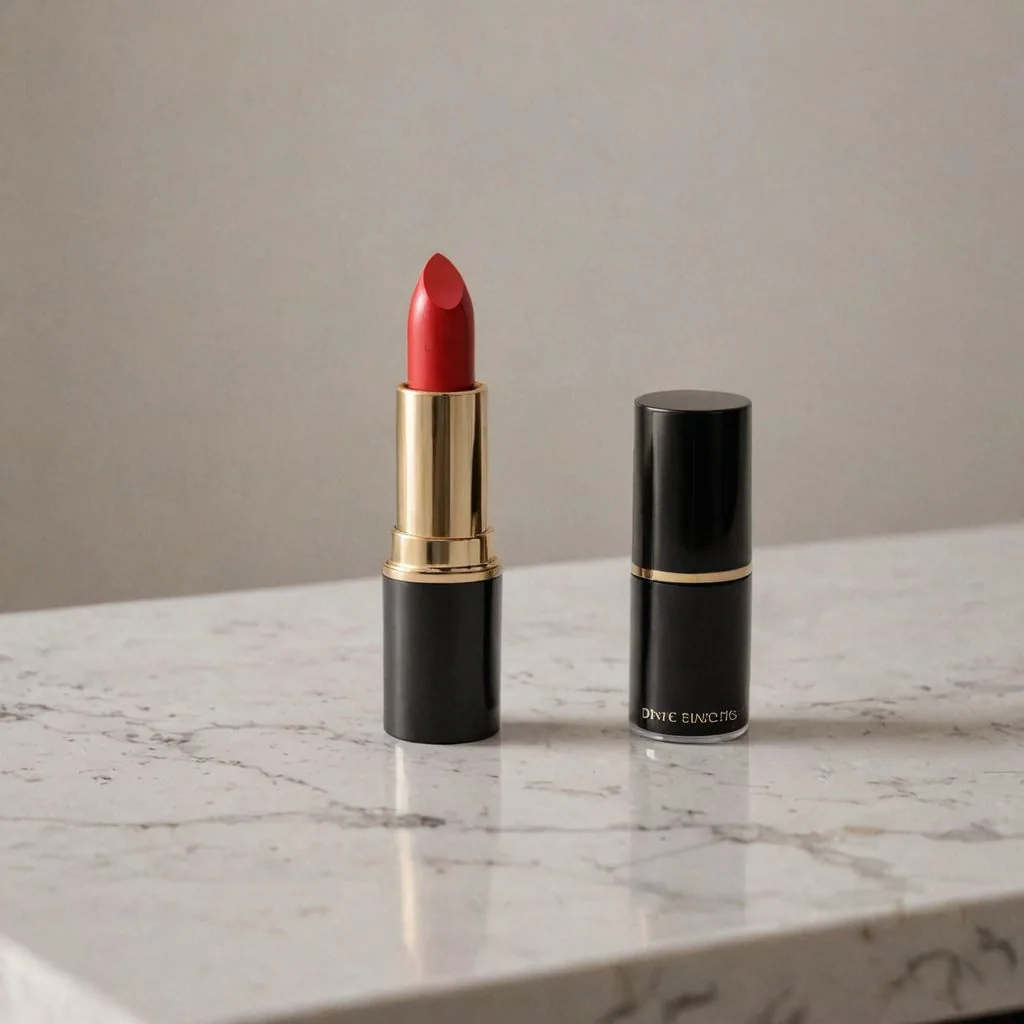

Many of the ideas above need a new set each time: a marble slab, a picnic table, a model, a seasonal scene. With Caspa you upload one photo of your product and generate those scenes around it, with the product kept unchanged, so you can try five backgrounds before you buy a single prop. Both images above were made on Caspa.
Create product scenes with Caspa
Every new account gets 10 free credits, no credit card required.