
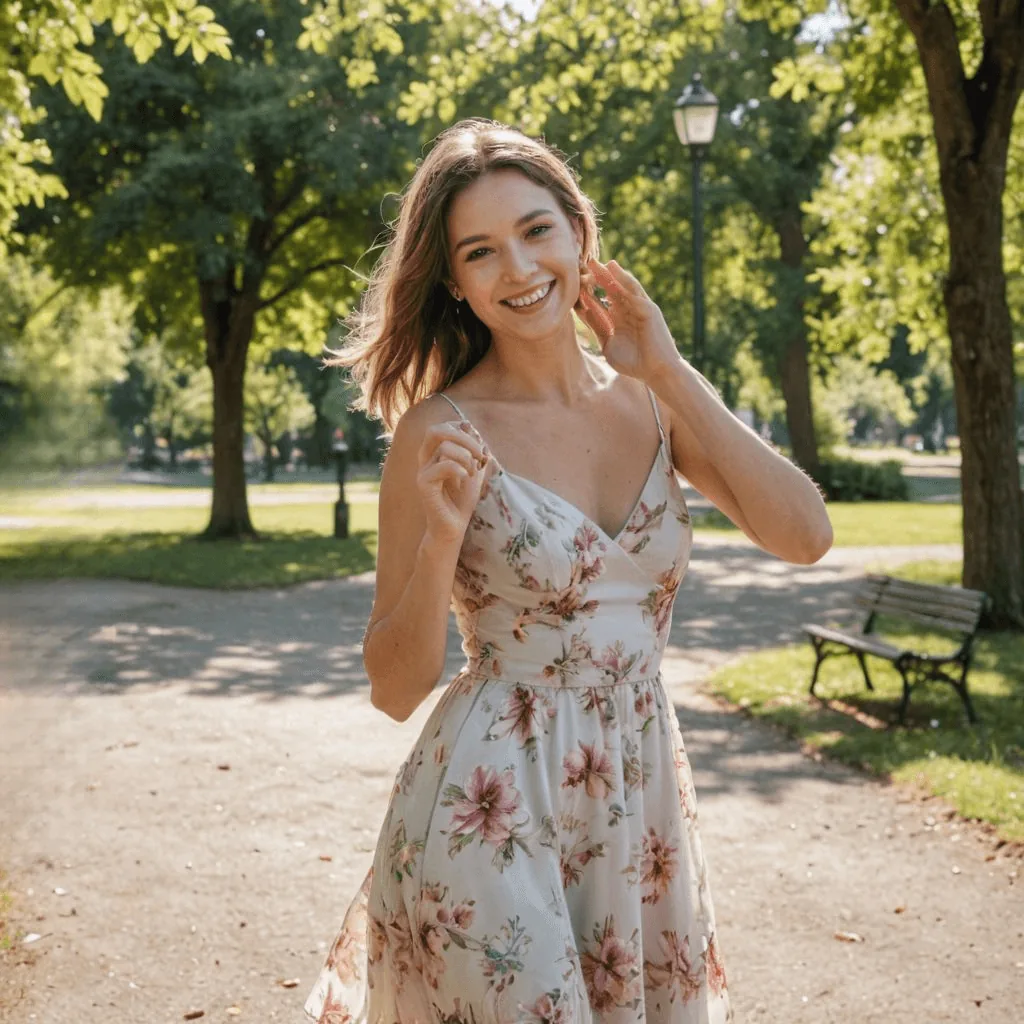
Lifestyle product photography shows your product in a real setting, usually being used, so shoppers can see its size, how it works and who it is for without reading a word. It is the counterpart to the clean white-background shots on your listing: those show exactly what the product is, lifestyle images show what owning it looks like. This guide covers when lifestyle photos are worth the effort, how to plan and shoot them at home or on location, and ideas for different product types.
In this guide
- What lifestyle product photography is
- When lifestyle photos earn their place
- How to plan and shoot a lifestyle set
- 10 lifestyle product photography ideas
- Lifestyle photos by product type
- Can AI create lifestyle product photos?
- FAQ
What Is Lifestyle Product Photography?
Lifestyle product photography, also called in-context photography, places a product in the environment where it is used, often with a person using it. A few examples:
- A water bottle on a kitchen counter next to a packed gym bag suggests a morning routine.
- A watch on a wrist at the beach says weekend, not boardroom.
- A sofa in a styled living room shows its size next to a coffee table and a person sitting on it.
Here is how it differs from standard studio product photos:
| Studio photos | Lifestyle photos | |
|---|---|---|
| What they show | The product alone: shape, colour, details | The product in use, in a setting |
| Question they answer | What exactly am I buying? | Is this for me, and how does it fit my life? |
| Typical use | Main listing image, catalogue, zoom | Listing gallery, product pages, ads, social, email |
| Setup | Controlled light, plain backdrop | Real or styled location, props, often a model |
You need both. Studio shots make products easy to compare; lifestyle shots make them easy to want. For the full range of shot types, see types of product photography.
When Lifestyle Photos Earn Their Place
- Scale. A bag on a shoulder or a lamp on a side table answers "how big is it?" faster than a dimensions line.
- Use. The product doing its job, like a blender mid-smoothie or a jacket in the rain, explains features that are hard to see on white.
- Identity. Setting, props, colour and models tell shoppers who the product is for, whether your brand is minimal and premium or bright and playful.
- Attention. In social feeds and ads, a scene stops the scroll better than a cut-out.
- Difference. When ten sellers list the same kind of product on white, a believable scene is what makes yours memorable.
Lifestyle photos do not replace your main image. Marketplaces set rules for the first photo (see our Amazon image requirements, for example), so put lifestyle images in the gallery after the main image, on your own store's product pages and in ads.
How to Plan and Shoot a Lifestyle Set
1. Pick the Buyer and the Moment
Write one sentence: who uses this, where and when. "A runner refilling a bottle at the trailhead before sunrise" gives you the location, props, light, clothing and model in one line. Base it on the people who actually buy from you.
2. Write a Shot List
Plan four to six frames per product: a wide scene that sets the mood, the product in use, a close detail in context, a shot with hands that shows scale, and a vertical crop for stories and ads. A list stops the shoot from drifting into twenty versions of the same angle.
3. Choose a Location That Matches the Use
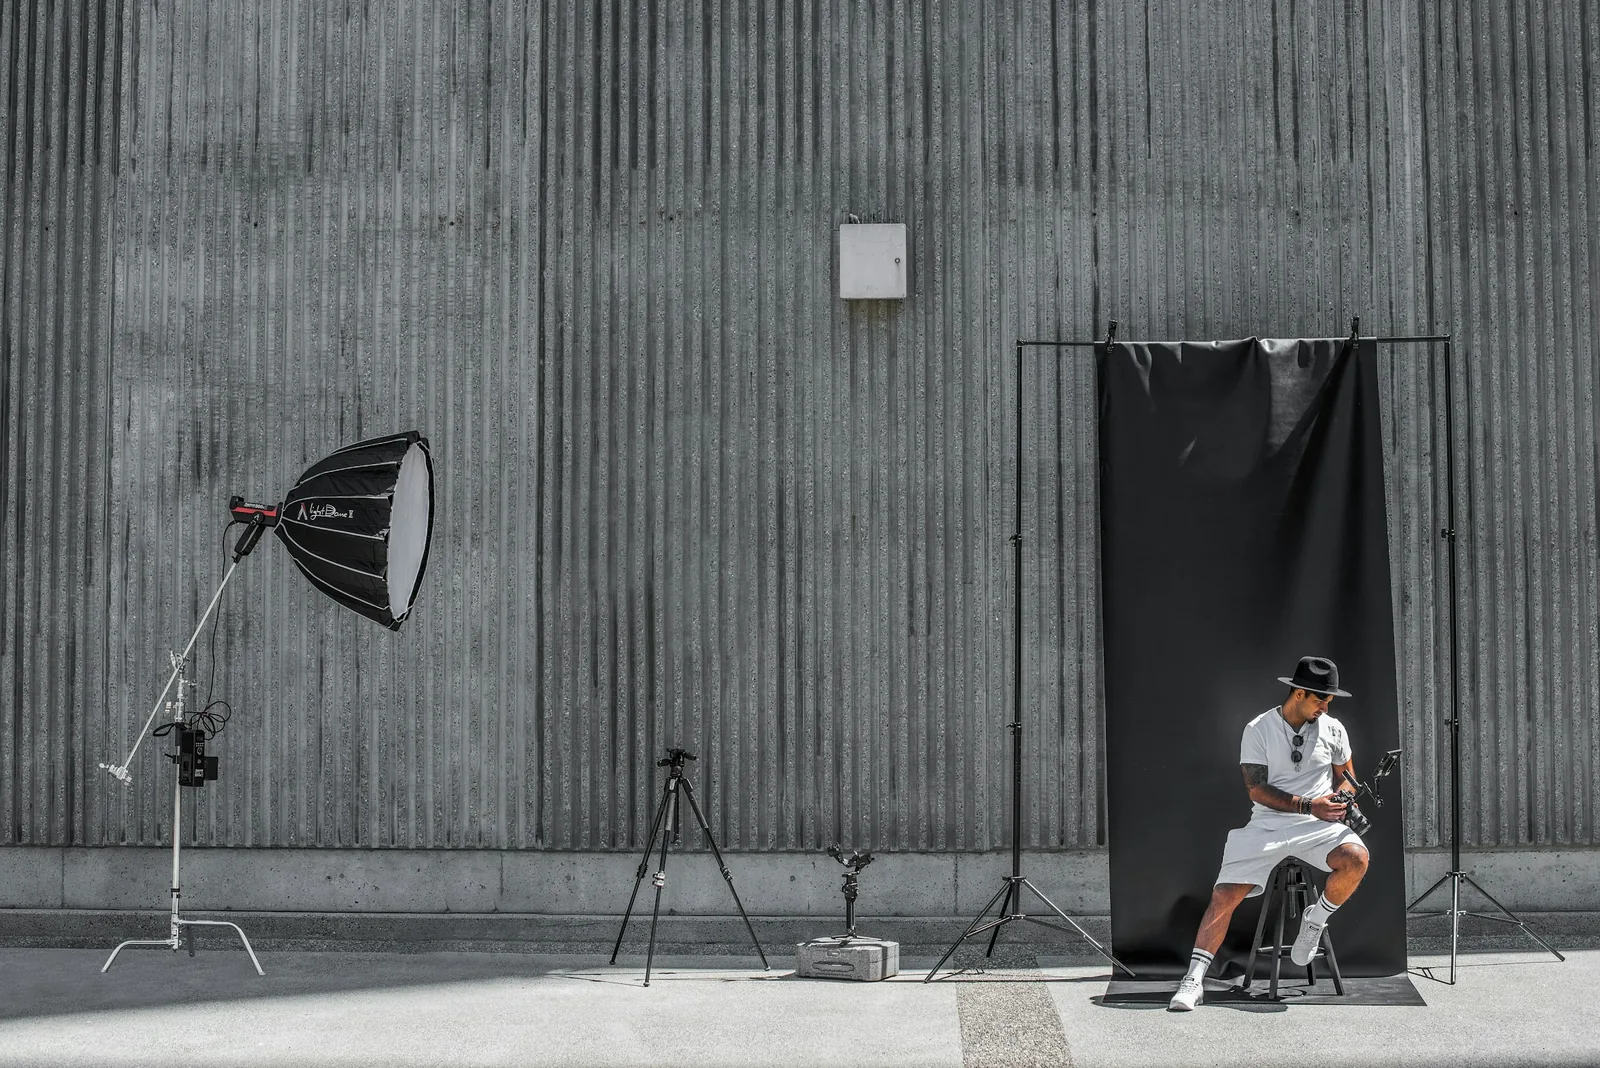
Kitchen products belong in a kitchen, swimwear by the water, office gear on a desk. Your own home often works: clear the surfaces, remove anything branded or brightly coloured that competes with the product, and shoot near a window. Outdoors, check the forecast and scout a shaded spot as a backup.
4. Choose Props With a Job
Every prop should explain something: scale (a hand, a cup), use (the ingredients, the charger, the yoga mat) or positioning (marble and linen read premium, kraft paper and wood read handmade). Keep props neutral or in your brand colours, and use fewer than you think. If a shopper might assume a prop is included, leave it out.
5. Cast the Right People
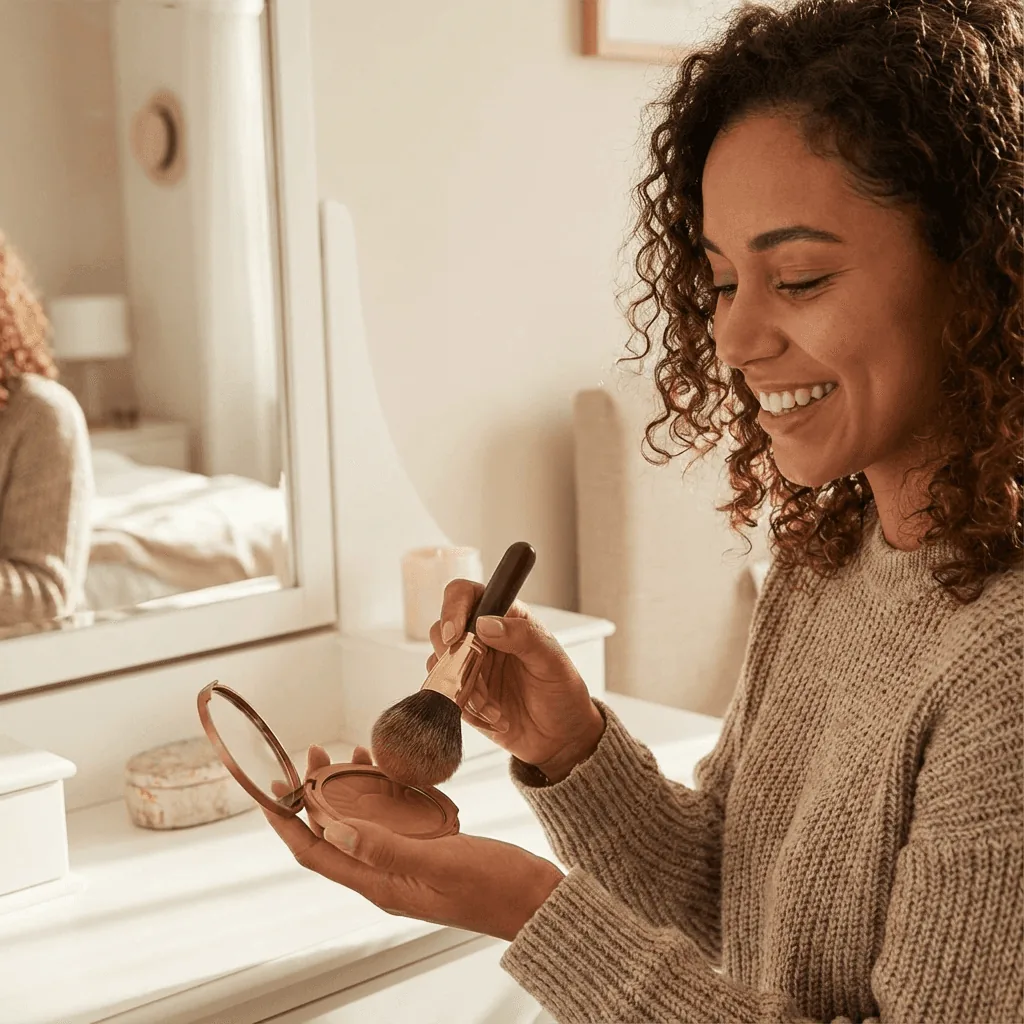
Models make products relatable, but you do not need an agency. Friends and family work, and hands-only or over-the-shoulder shots avoid faces altogether. Cast people who look like your customers, vary age, size and skin tone across your catalogue, and get written permission before using anyone's photo in your store or ads. Direct actions rather than poses: "pour the coffee", "fasten the strap", "laugh at something off camera".
6. Light It Softly
Soft natural light makes scenes feel real. Shoot near a large window or outdoors in open shade, lift shadows on faces and products with a white card, and save the warm hour after sunrise and before sunset for mood shots. Avoid harsh midday sun, which means squinting models and hard shadows. Our DIY product photography setup guide covers window light step by step.
7. Shoot Angles That Keep the Product the Hero
- Eye level: natural and honest, good for products on tables and shelves.
- Overhead: for flat lays, routines and tabletop scenes.
- Low angle: makes tall products and outdoor gear look bigger and bolder.
- Over the shoulder: puts the viewer in the user's place.
A wider aperture (around f/2.8 to f/5.6) softens the background, but check that the product itself is fully sharp. The scene supports the product; it should never become the subject.
8. Edit for One Consistent Look
Correct white balance first so the product's colour stays true, then apply the same preset across the set. Lifestyle images can be warmer or moodier than catalogue shots, but the product's real colour cannot change. See how to edit product photos for the full process.
10 Lifestyle Product Photography Ideas

- Mid-use. Catch the product doing its job: the mug being lifted, the serum dropper over a palm, the speaker on a towel by the pool.
- A scene built around a moment. Candles on a birthday cake, a picnic blanket with your snacks, a desk at 8am with your planner. Build the moment first, then place the product in it.
- Hands only. Hands holding, opening or applying the product show scale and use without a full model.
- The routine flat lay. Shoot from above the things someone uses together: skincare steps, a coffee setup, a weekend packing list.
- Room context. For furniture and decor, style a corner of a real room so shoppers can judge size and style against everyday objects.
- Seasonal scenes. Swap props and light for the holidays, summer or back to school so the same product feels new in each campaign.
- Outdoors where it is used. Hiking gear on a trail, sunscreen by the water, sneakers on city pavement.
- With a pet. Obvious for pet products, but it also works for blankets, sofas and homeware: a dog on the throw makes it look lived in.
- Close-up in context. A tight crop of the product in the scene, such as the zip of a bag on a shoulder or the clasp of a bracelet on a wrist, shows detail and use in one frame.
- Unboxing and gifting. The box being opened, what is inside laid out, or the product being handed over. Useful for gift guides and holiday ads.
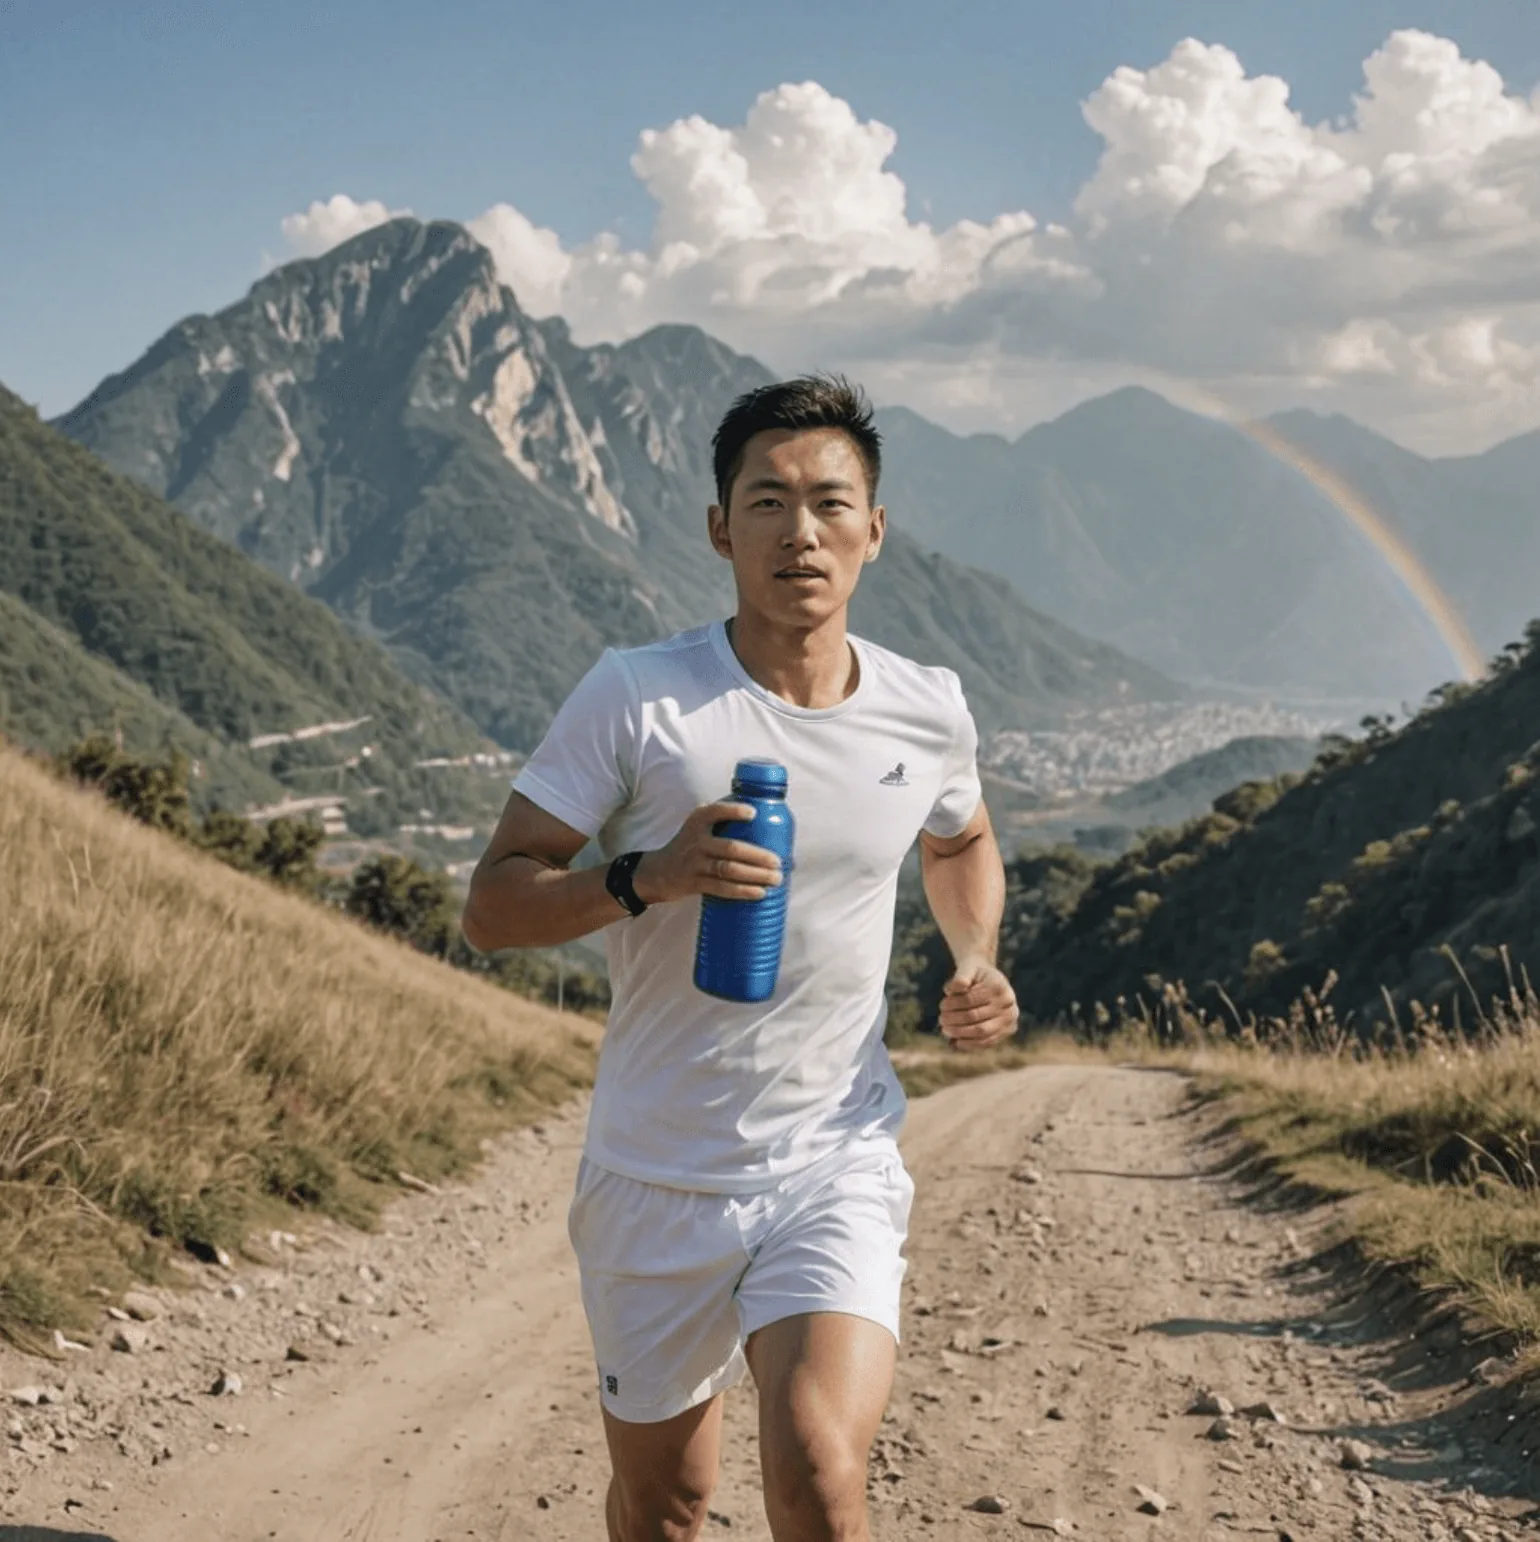
For more setups beyond lifestyle scenes, browse our product photography ideas and examples.
Lifestyle Photos by Product Type
- Fashion and apparel: show fit and movement on a person, then the outfit in a setting that matches the occasion. See clothing photography and AI fashion photography.
- Beauty and skincare: a bathroom shelf, a vanity, the product on skin, and texture swatches beside the pack. See cosmetic product photography and skincare product photography.
- Food and drink: set tables, picnics, kitchens and hands serving or pouring. See food product photography and drink product photography.
- Home and furniture: styled rooms that show scale against a person or familiar objects. See furniture product photography.
- Jewelry and accessories: close crops on the neck, wrist, ear or hand, in soft light. See how to photograph jewelry.
- Tech: desks, commutes and cafes, with hands using the device.
- Outdoor and sports: the activity itself, ideally with some motion.
Can AI Create Lifestyle Product Photos?
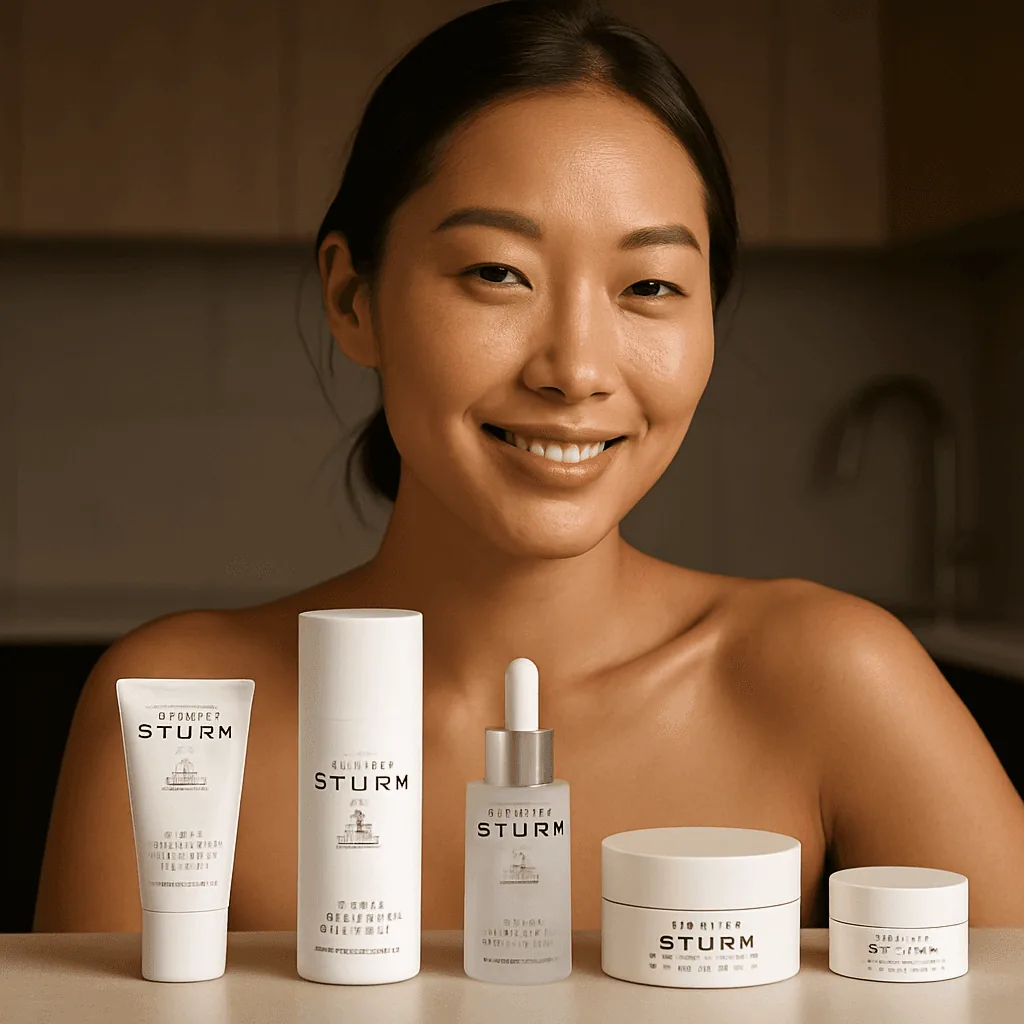
Yes. Instead of booking a location and models, you photograph the product once on a plain background and generate the scene around it: the kitchen, the beach, the model holding it. This works well for testing which settings, seasons or models your customers respond to before you pay for a shoot, and for producing variations for ads and marketplaces at volume. Two cautions: start from a sharp, true-colour photo of the real product, and check every result for accurate colour, logos and text before you publish. Our guides to using AI for product photography and AI vs traditional product photography cover the trade-offs, and you can see examples of AI lifestyle product photography with Caspa.
Frequently Asked Questions
What is lifestyle product photography?
Lifestyle product photography shows a product in a real-world setting, often being used by a person, instead of on a plain background. It helps shoppers understand the product's size, purpose and feel, and imagine it in their own life. Brands use it on product pages, in listing galleries, in ads and on social media alongside clean studio shots.
What is the difference between lifestyle and product photography?
Standard product photography isolates the product, usually on white, to show exactly what it looks like; it is ideal for the main listing image and for zoom. Lifestyle photography places the product in context, with props, a location or a model, to show how it is used and who it is for. Most stores need both.
Do lifestyle photos always need models?
No. A styled scene without people, such as a candle on a bedside table or a mug on a windowsill, is still a lifestyle photo. Hands-only shots are a good middle ground: they show scale and use without the cost of a full model. When you do use people, cast ones who look like your customers.
Where should lifestyle photos go in a product listing?
After the main image. Most listings lead with a clean studio shot that shows exactly what the product is, then use lifestyle photos in the gallery to show scale, use and who it is for. Marketplaces such as Amazon set their own rules for the main image, so check the current requirements before you choose your first photo.
How do I keep lifestyle photos consistent with my brand?
Write a short style guide: your colour palette, the kind of locations and light you use, prop rules, the type of models, and one editing preset. Brief anyone who shoots or generates images with it. Consistent light and colour across a catalogue matter more than any single photo.
Is AI-generated lifestyle photography as good as a photoshoot?
It depends on the job. AI is faster and cheaper for variations, testing settings and filling a catalogue, especially when the tool works from a photo of your real product rather than a text prompt alone. A traditional shoot still makes sense for flagship campaigns and complex scenes. Whichever you use, check that colour, shape, logos and text match the real product before publishing.
Make Lifestyle Photos From One Product Shot
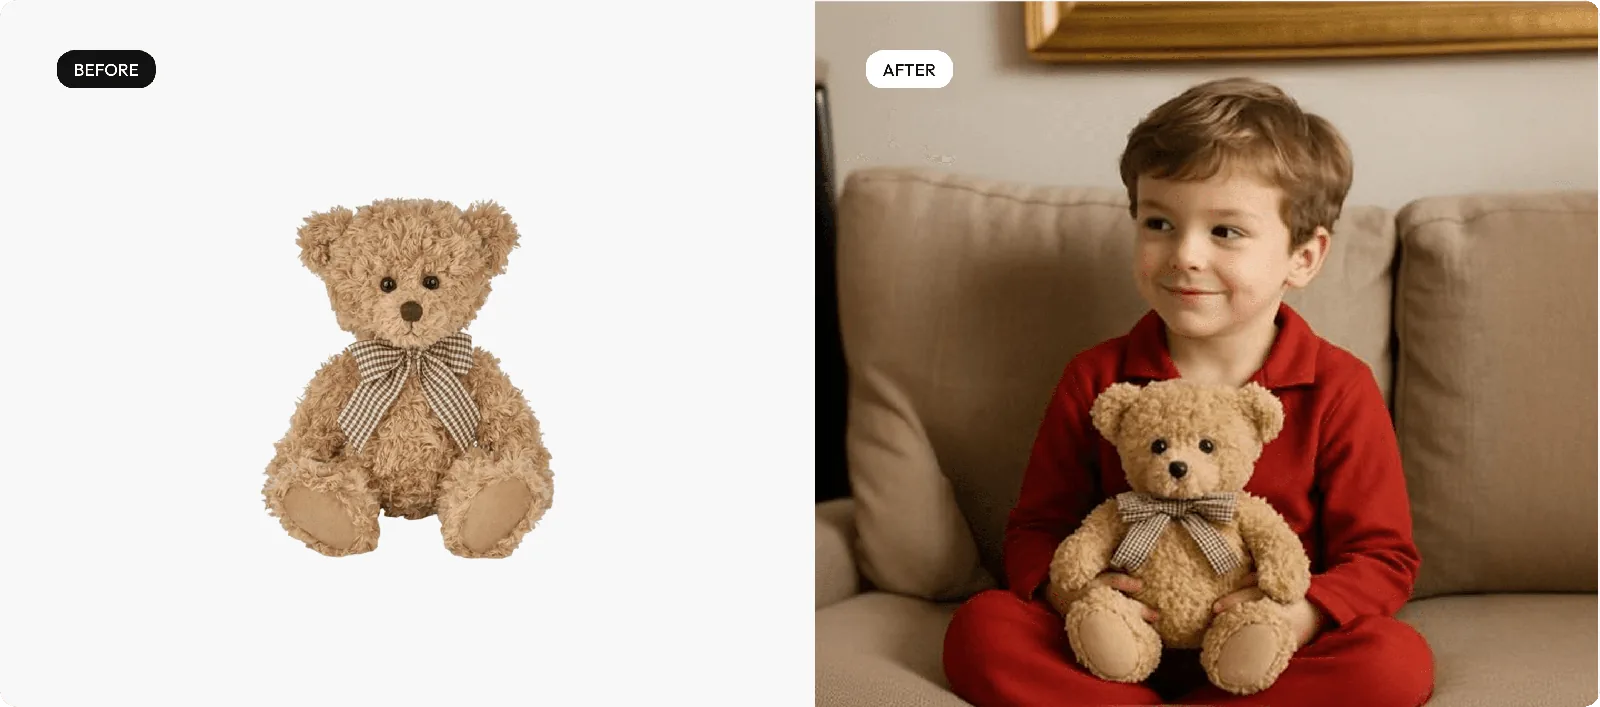
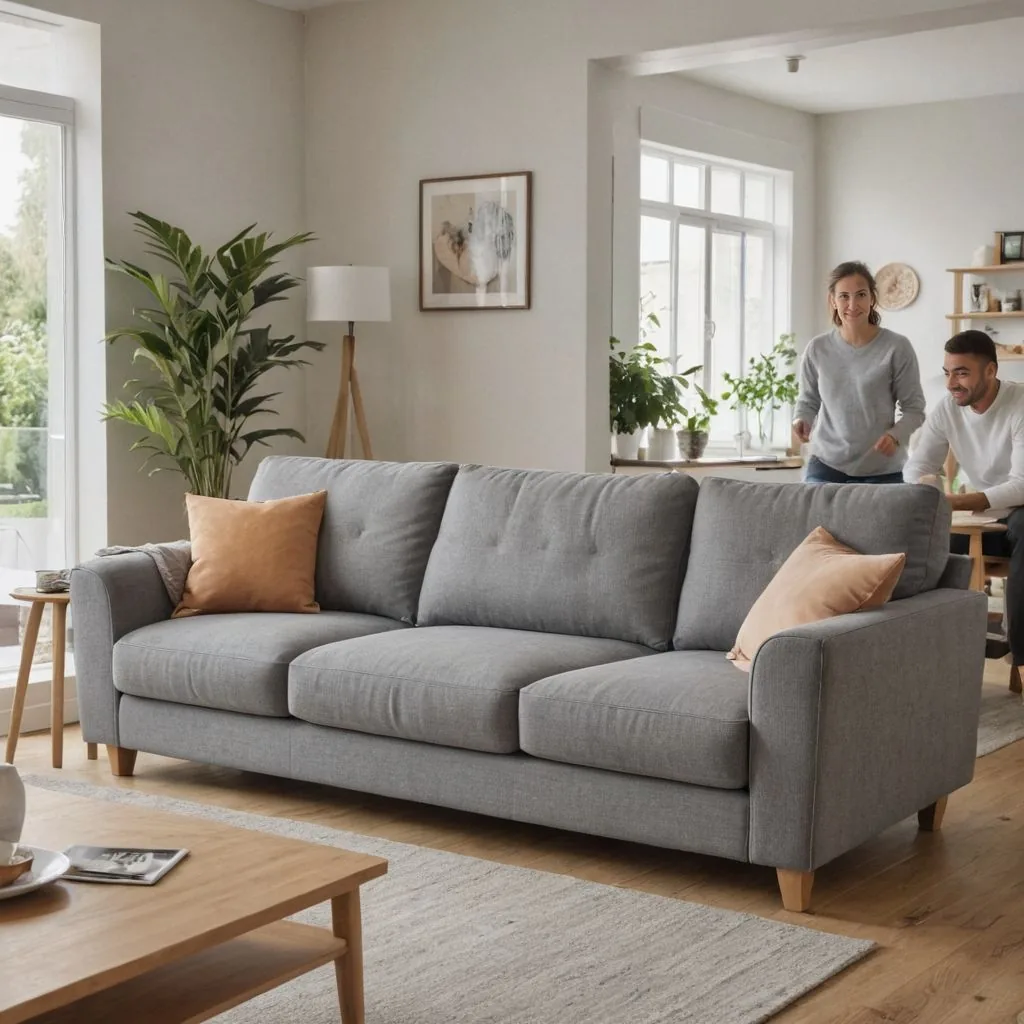
Planning a location, props and models for every product adds up fast. With Caspa you upload one photo of your product and generate lifestyle scenes around it, such as a living room, a picnic or a model holding or wearing it, with the product kept unchanged. Use them in your listing gallery, ads and social posts, and test new settings before you commit to a shoot. Both images above were made on Caspa.
Every new account gets 10 free credits, no credit card required.