
Clothing photography is how a shopper judges fit, fabric and color without touching the garment, so it decides both whether they buy and whether they send it back. This guide shows you how to photograph clothes for an online store or a resale listing: which style to choose, how to prep and light garments, the shots every listing needs, and how to edit them.
In this guide
- Choose a clothing photography style
- Prep the garments
- Set up your space
- Light clothes evenly
- Camera, lens and phone settings
- The shots every listing needs
- Creative clothing photo ideas
- Edit clothing photos
- Tips for reselling clothes online
- FAQ
Choose a Clothing Photography Style
Ecommerce clothing photos come in five styles. Pick one or two for your listing images and use them across the whole catalog; mixing styles on one collection page looks messy.
Flat Lay
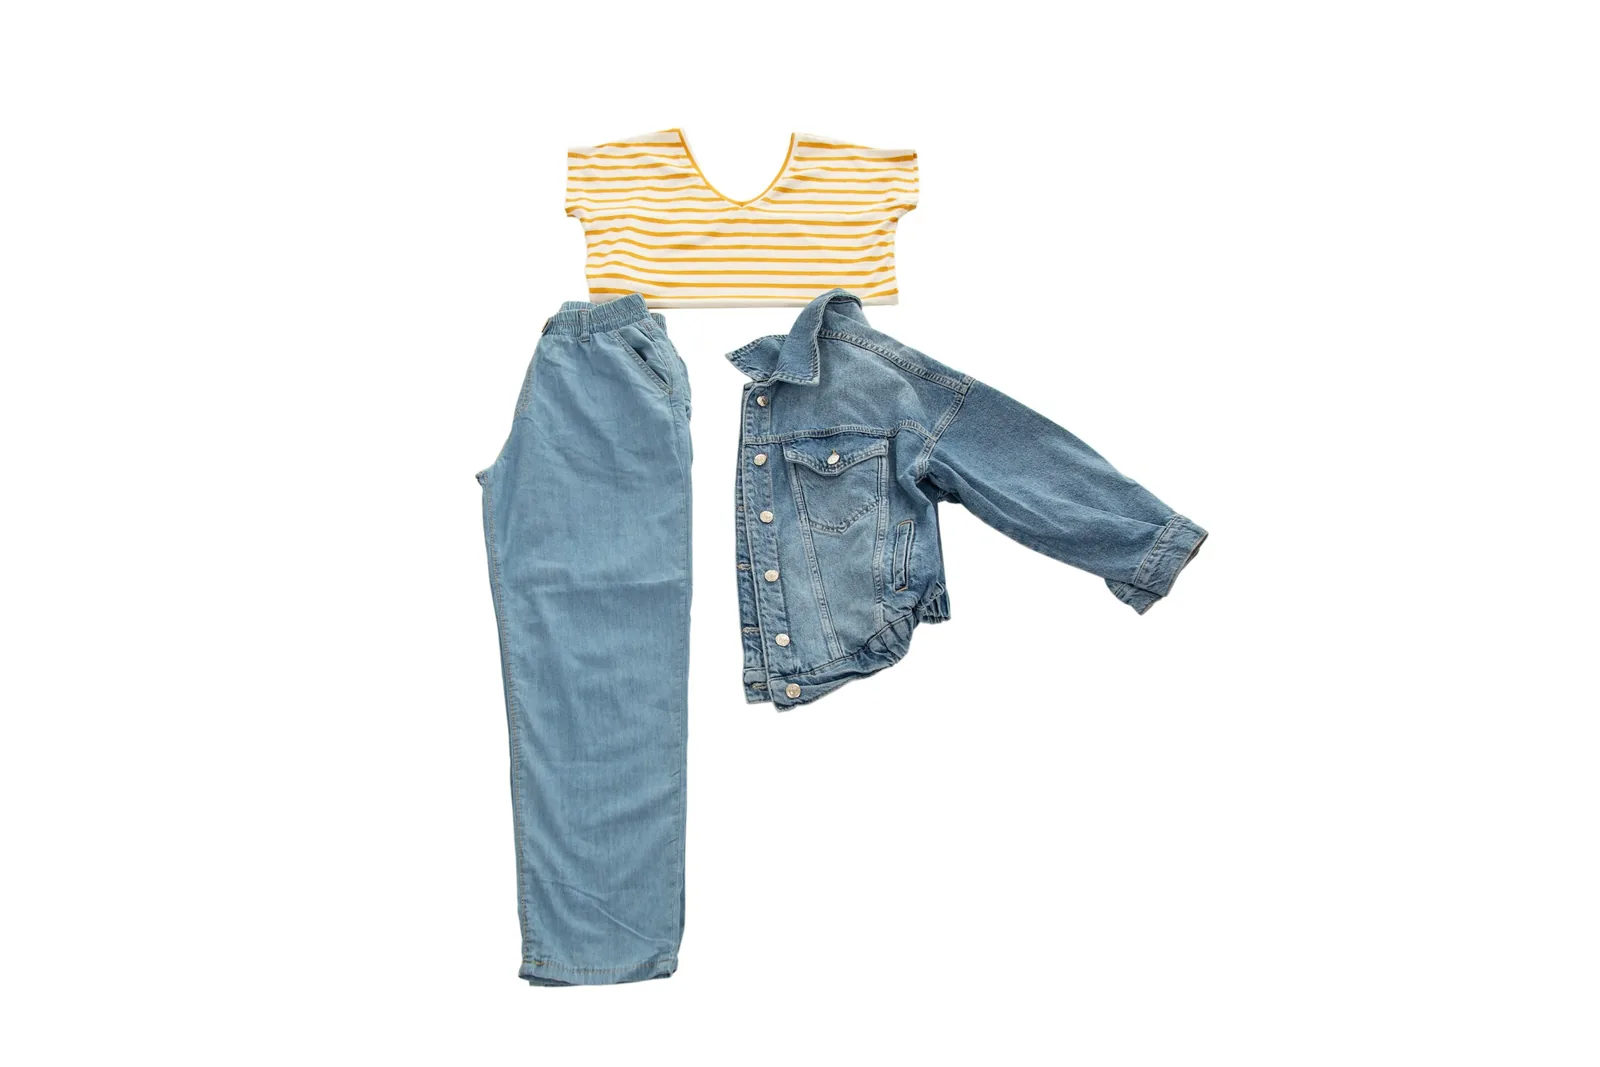
The garment laid on a flat surface and shot from directly above. It is the fastest and cheapest style and shows print and color well, but not fit. It suits T-shirts, kids' clothes, knitwear and accessories. Our guides to flat lay clothing photography and T-shirt product photography go deeper.
Ghost Mannequin
Also called invisible mannequin. You photograph the garment on a mannequin, then shoot the inside of the back neck separately and combine the two in editing, so the mannequin disappears and the garment keeps its 3D shape. It suits structured pieces such as jackets, shirts and dresses, and gives a consistent catalog look without a model.
Hanging
The garment on a hanger against a wall or rack. It is quick but can look flat. Angle the hanger slightly towards the camera for depth, or edit the hanger out for a floating look.
On-Model
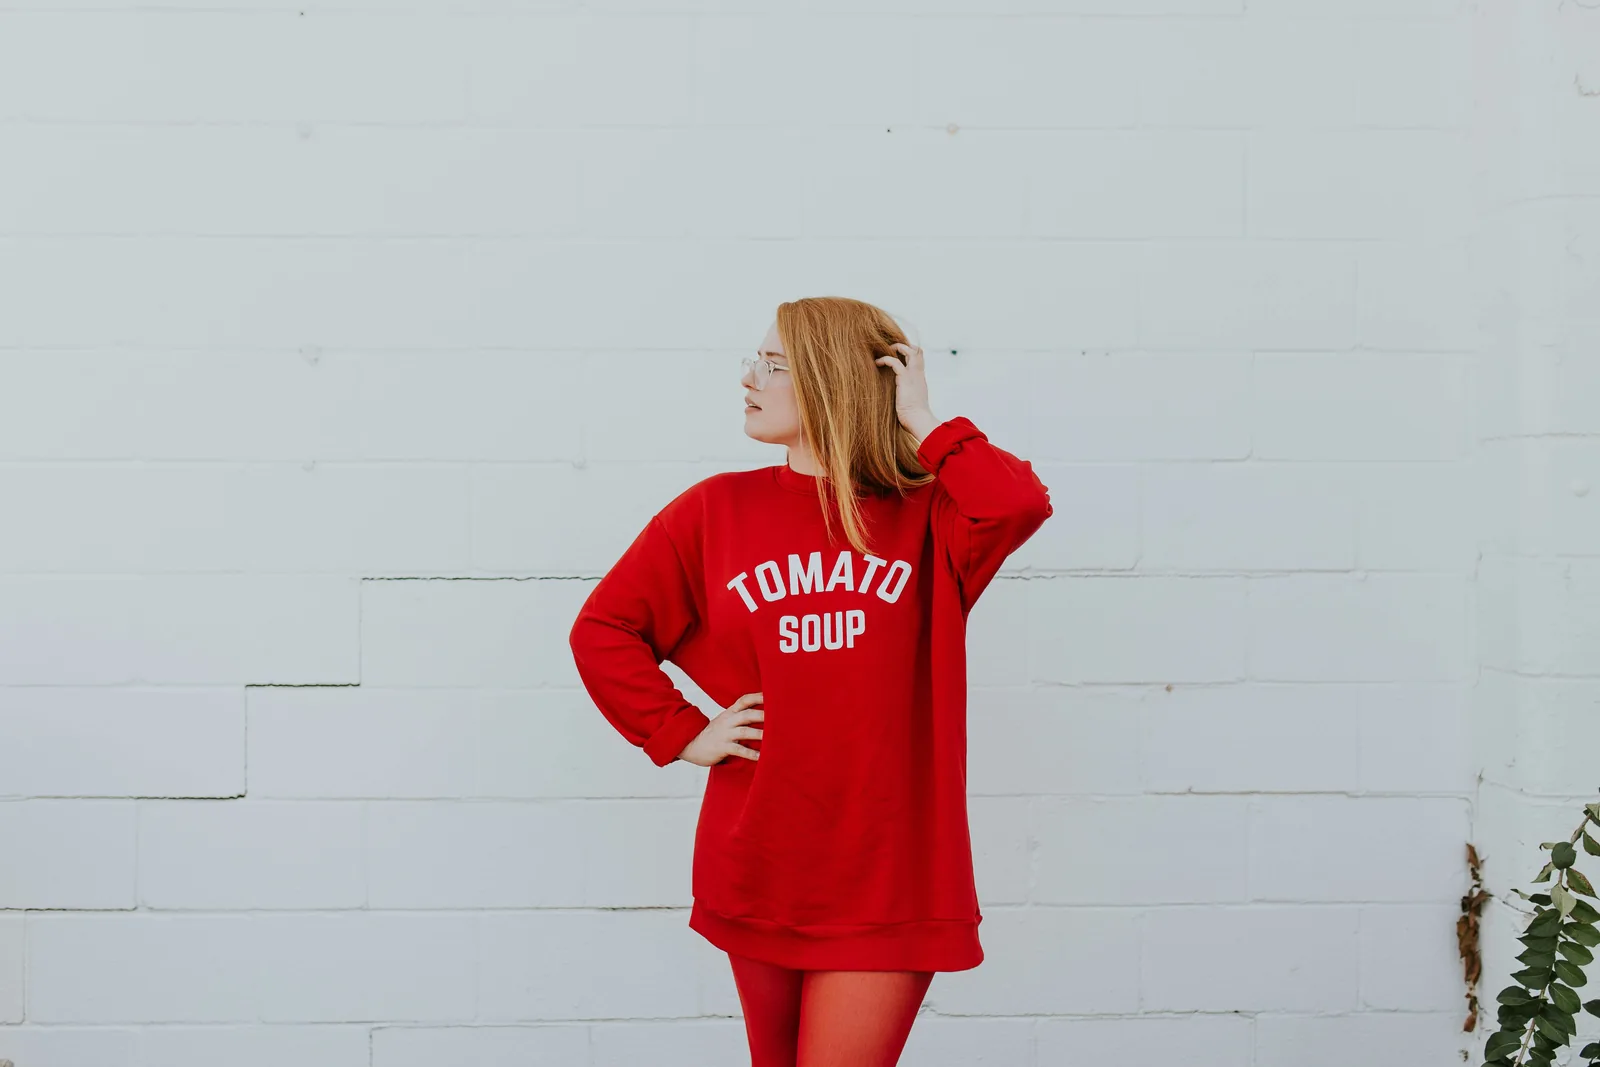
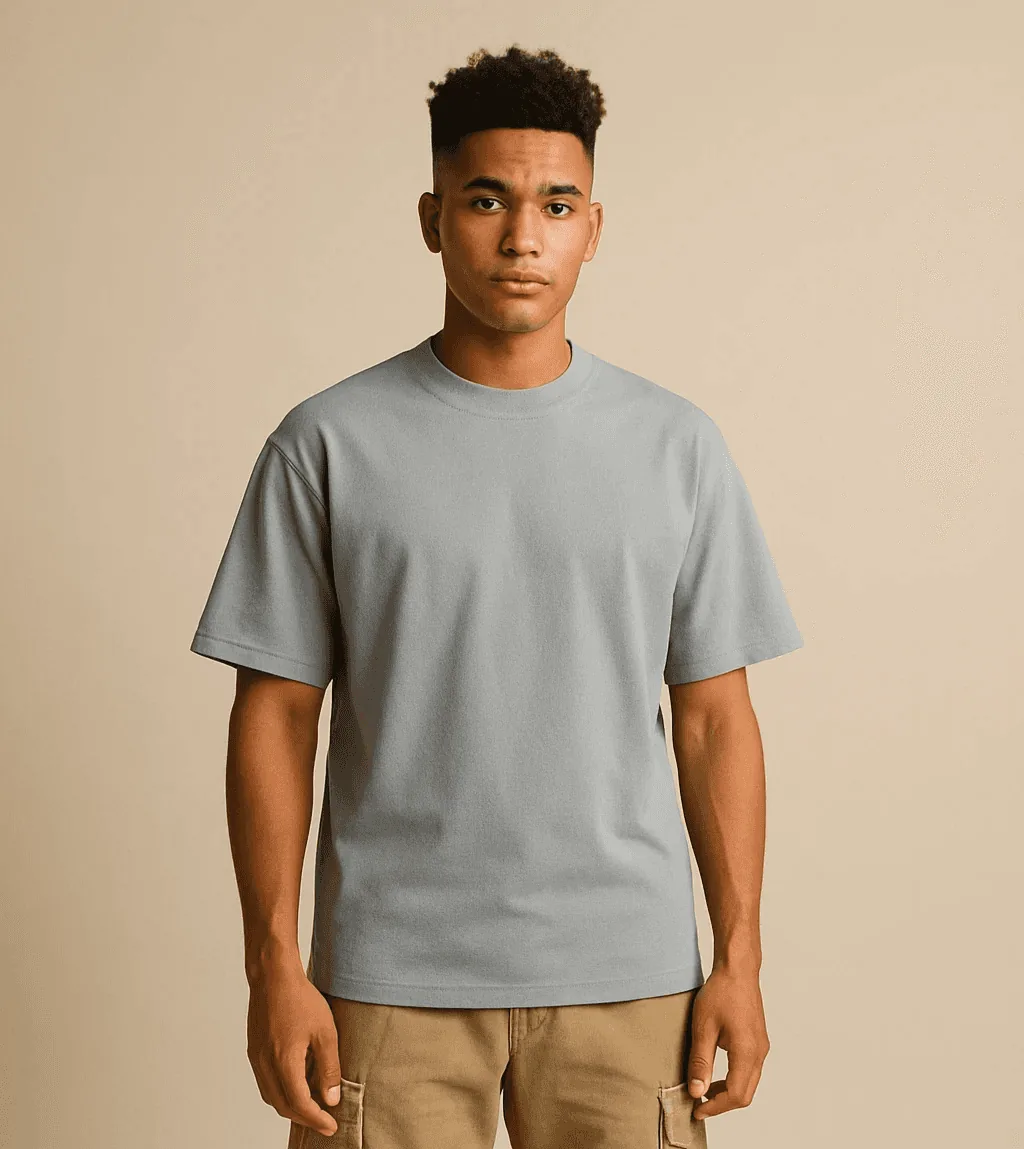
The best way to show fit, drape and movement, and the most expensive: you need a model, styling and more retouching. Put the model's height and the size they wear in the listing so shoppers can compare.
Lifestyle and Editorial
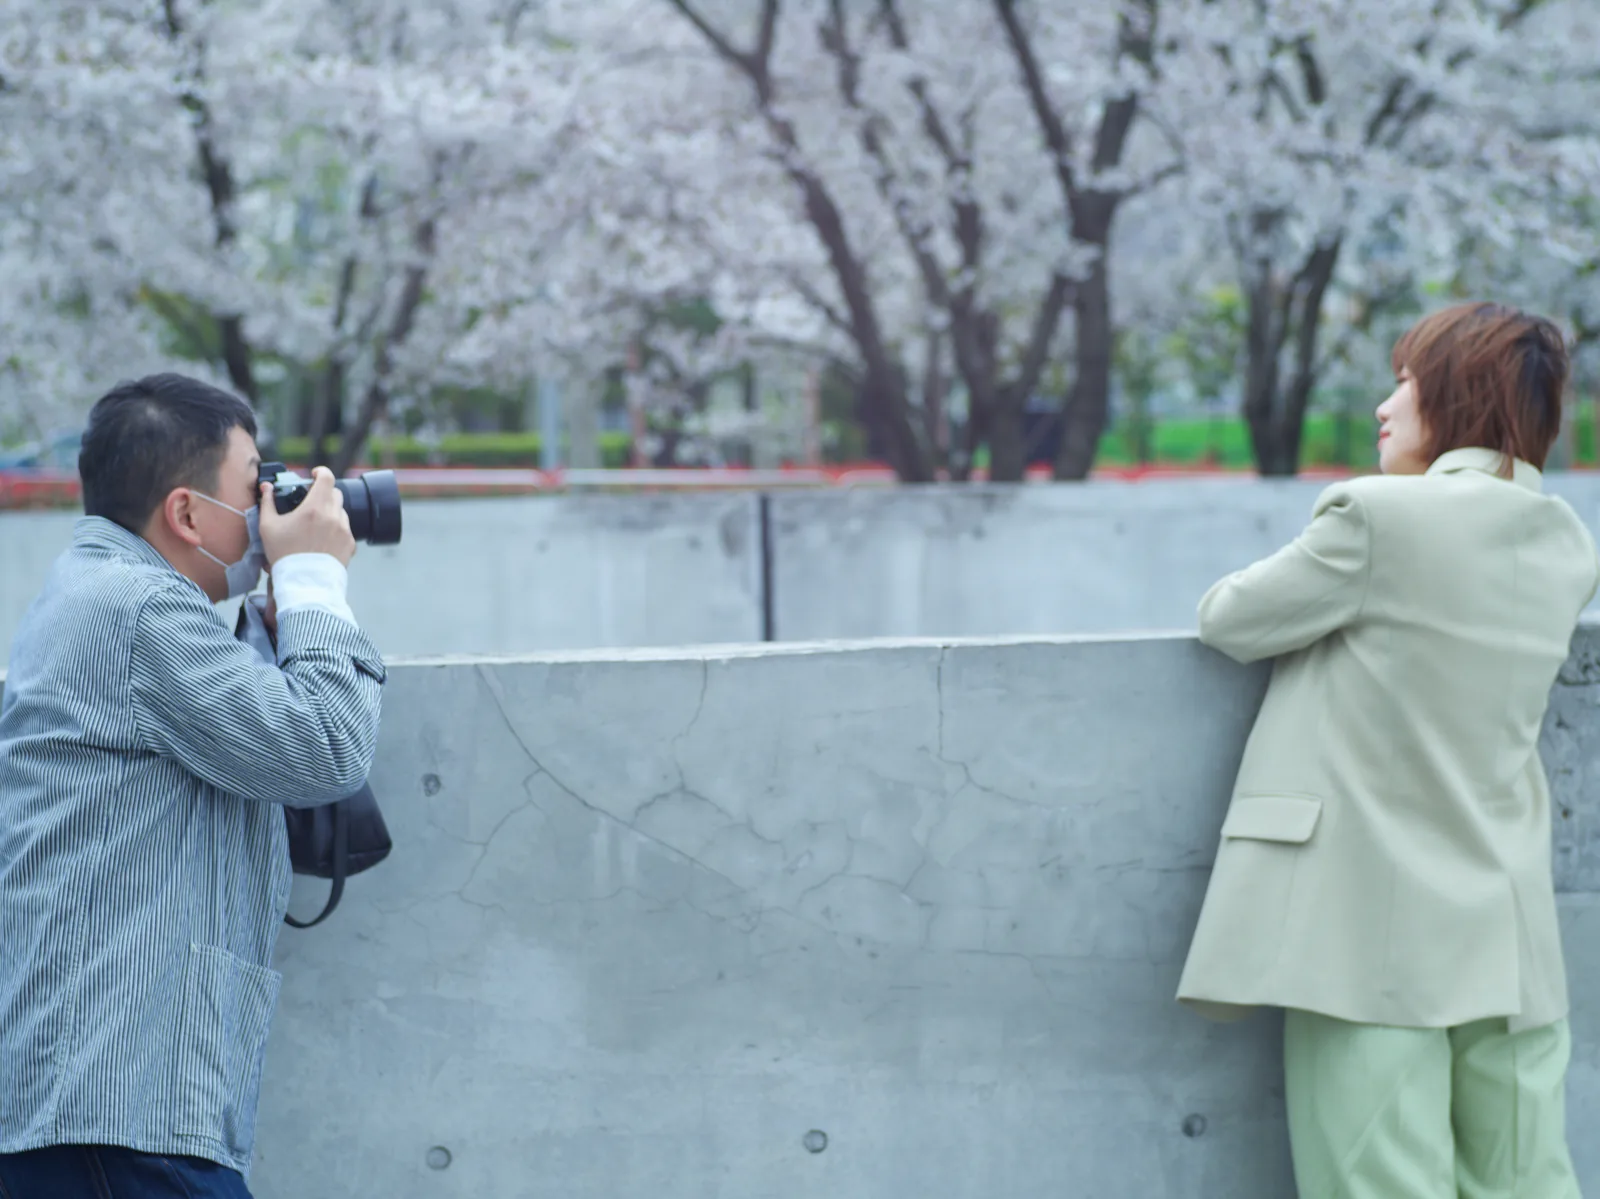
Garments worn in a real setting that matches the brand: an office for workwear, a street for streetwear. These images sell a mood and work best on social media, in ads and on campaign pages. See our fashion photography examples and clothing brand photoshoot ideas.
No budget for models? AI fashion photography can put your garments on AI models after you photograph them flat or on a hanger.
Prep the Garments
- Steam or iron everything. Creases read as damage in a photo. A handheld steamer handles most fabrics; iron crisp cotton shirts.
- De-lint with a lint roller, especially dark garments, and trim loose threads.
- Close it up: buttons done, zippers closed, collars and pockets flat, sleeves folded or posed the same way every time.
- Fit it to the mannequin with pins or clips at the back, out of view, so the front sits smooth.
- Shape flat lays with tissue paper inside the body and sleeves.
- Keep a kit on set: pins, clips, removable double-sided tape, white tack, scissors, a steamer, spare batteries and memory cards.
Set Up Your Space
Use a white or light gray backdrop: seamless paper, a painted wall or a large foam board for flat lays. Many marketplaces require a plain background for the main image, so check the current rules on our marketplace image requirements pages before you shoot. For flat lays, put the camera directly above the garment on a tripod with a horizontal arm, or stand on a step ladder. For mannequins and models, mark the floor and the tripod position with tape so every product is shot from the same spot. Our DIY product photography setup guide covers a full budget studio.
Light Clothes Evenly
- Window light: place the garment beside a large window so the light hits it from the side, and put a white foam board on the opposite side to fill the shadows. Overcast days give the softest light.
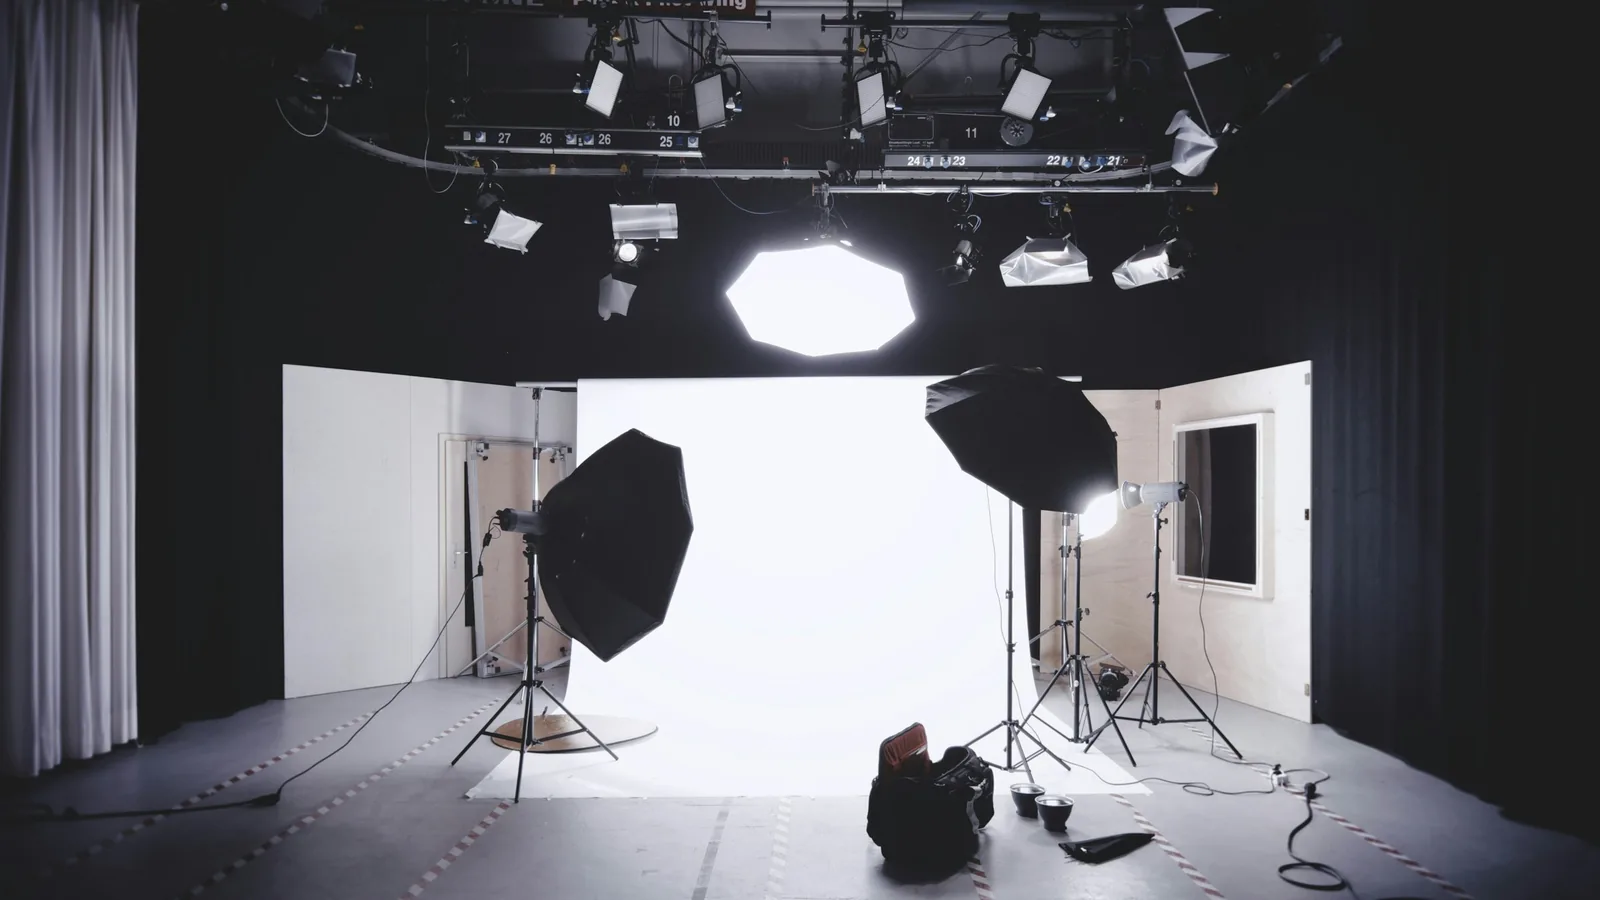
- Studio light: two softboxes at about 45 degrees on either side give the flat, even light most catalogs use. To make a white background pure white, light the background separately.
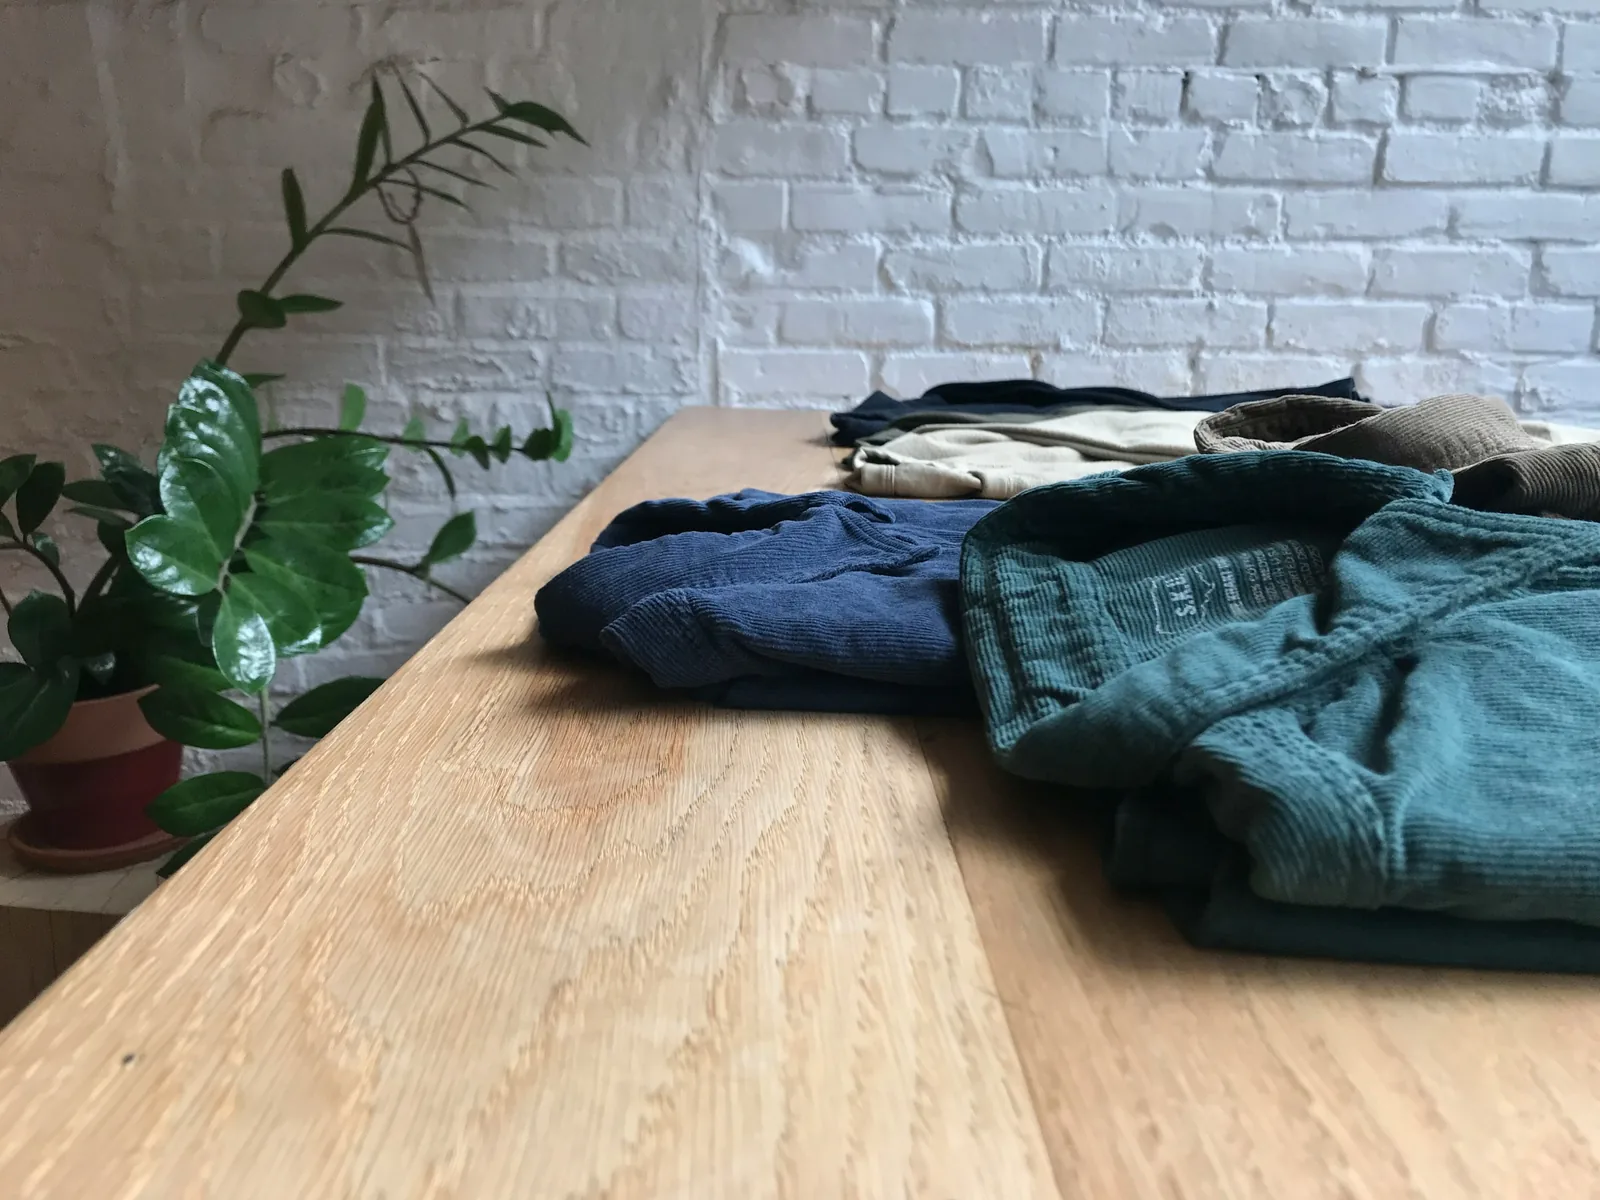
- Texture: light from a lower side angle brings out knit, linen and corduroy.
- Exposure: watch the highlights on white garments and the shadow detail on black ones; both lose texture fast.
- Color: never mix daylight with warm room lights, and set a custom white balance.
Camera, Lens and Phone Settings
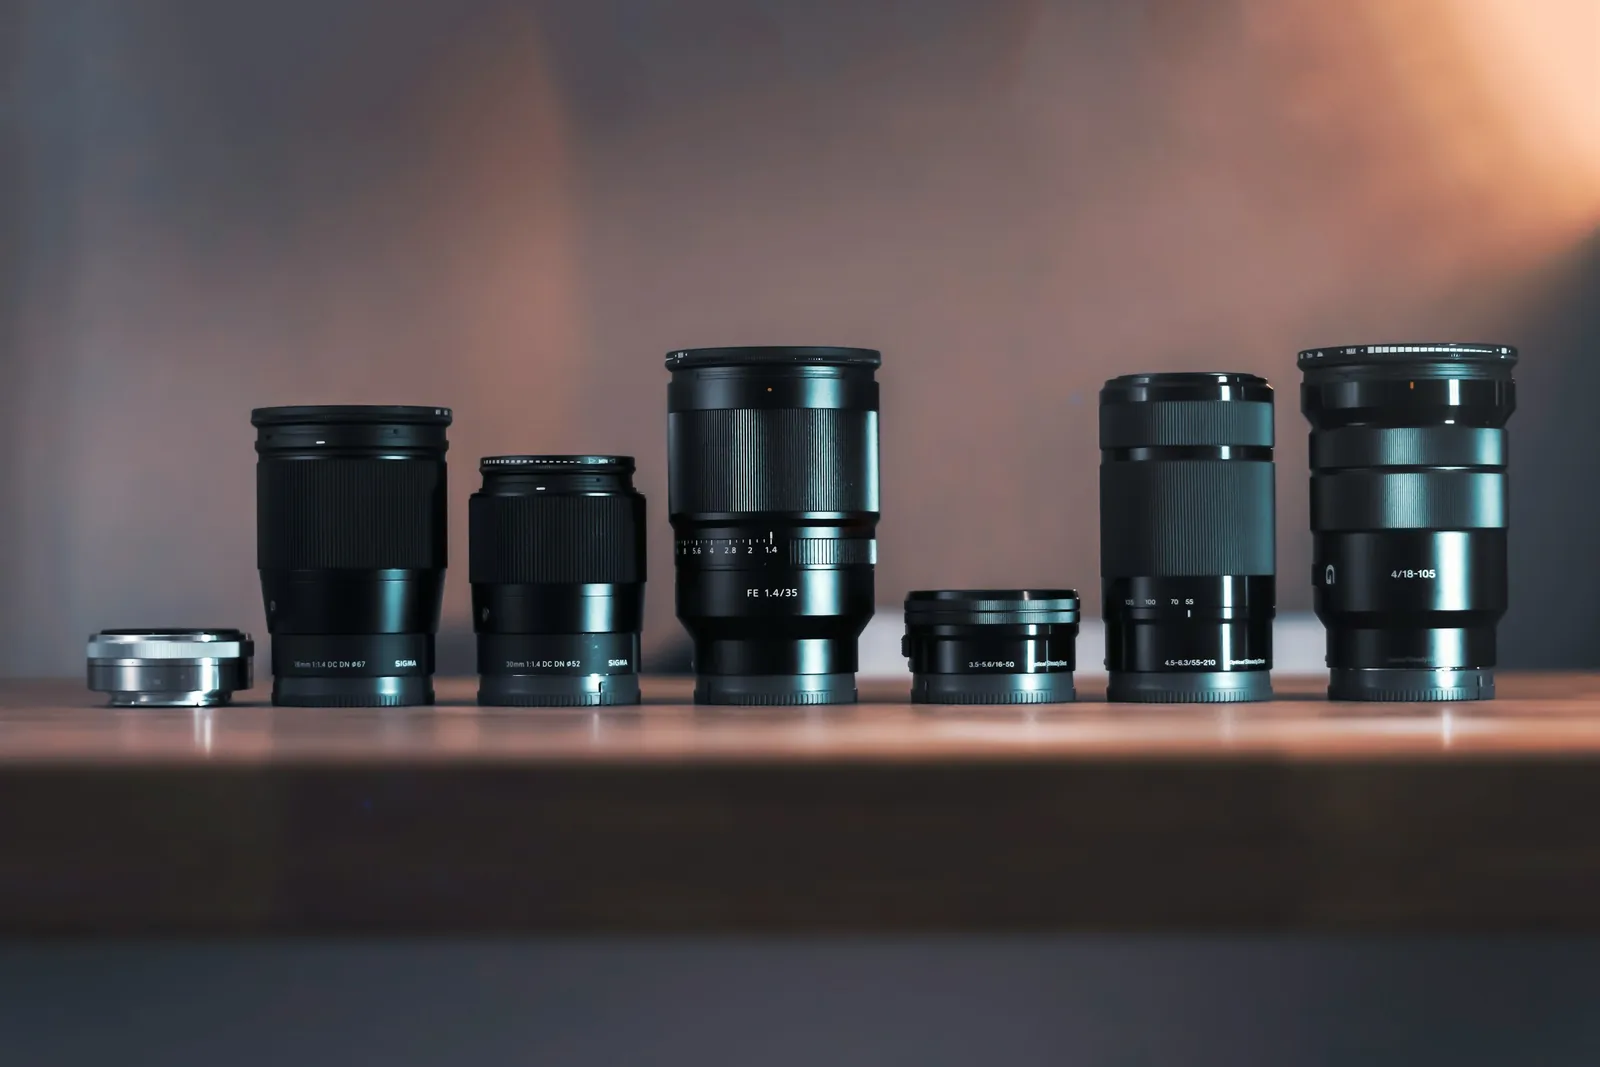
- Lens: 50mm to 100mm for garments and half-body shots, longer for full-length model shots. Wide lenses (18mm to 35mm) distort the garment and the body.
- Aperture: about f/8 for flat lays, mannequins and hangers so the whole garment is sharp; f/4 to f/8 for models.
- Shutter speed: 1/125 second or faster when photographing models handheld or in motion.
- ISO and format: ISO 100 to 400, RAW, and a custom white balance.
- Exposure check: use the camera's histogram rather than the screen, which can look brighter than the file.
- Phone: use the 2x lens from a little distance, turn on grid lines to keep hems and seams straight, lock focus and exposure, and avoid flash.
The Shots Every Clothing Listing Needs
- Front: the full garment, centered, as the main image.
- Back: shows the cut, the back neckline and any print or detail.
- Side or three-quarter: shows the silhouette and how the garment falls.
- Close-ups: fabric texture (knit, weave, sheen), seams and stitching, and features such as buttons, zippers, embroidery and trims.
- Fit on a model: including movement for dresses, skirts, wide-leg trousers and flowing tops.
- Every color: one photo per colorway, so buyers do not have to guess.
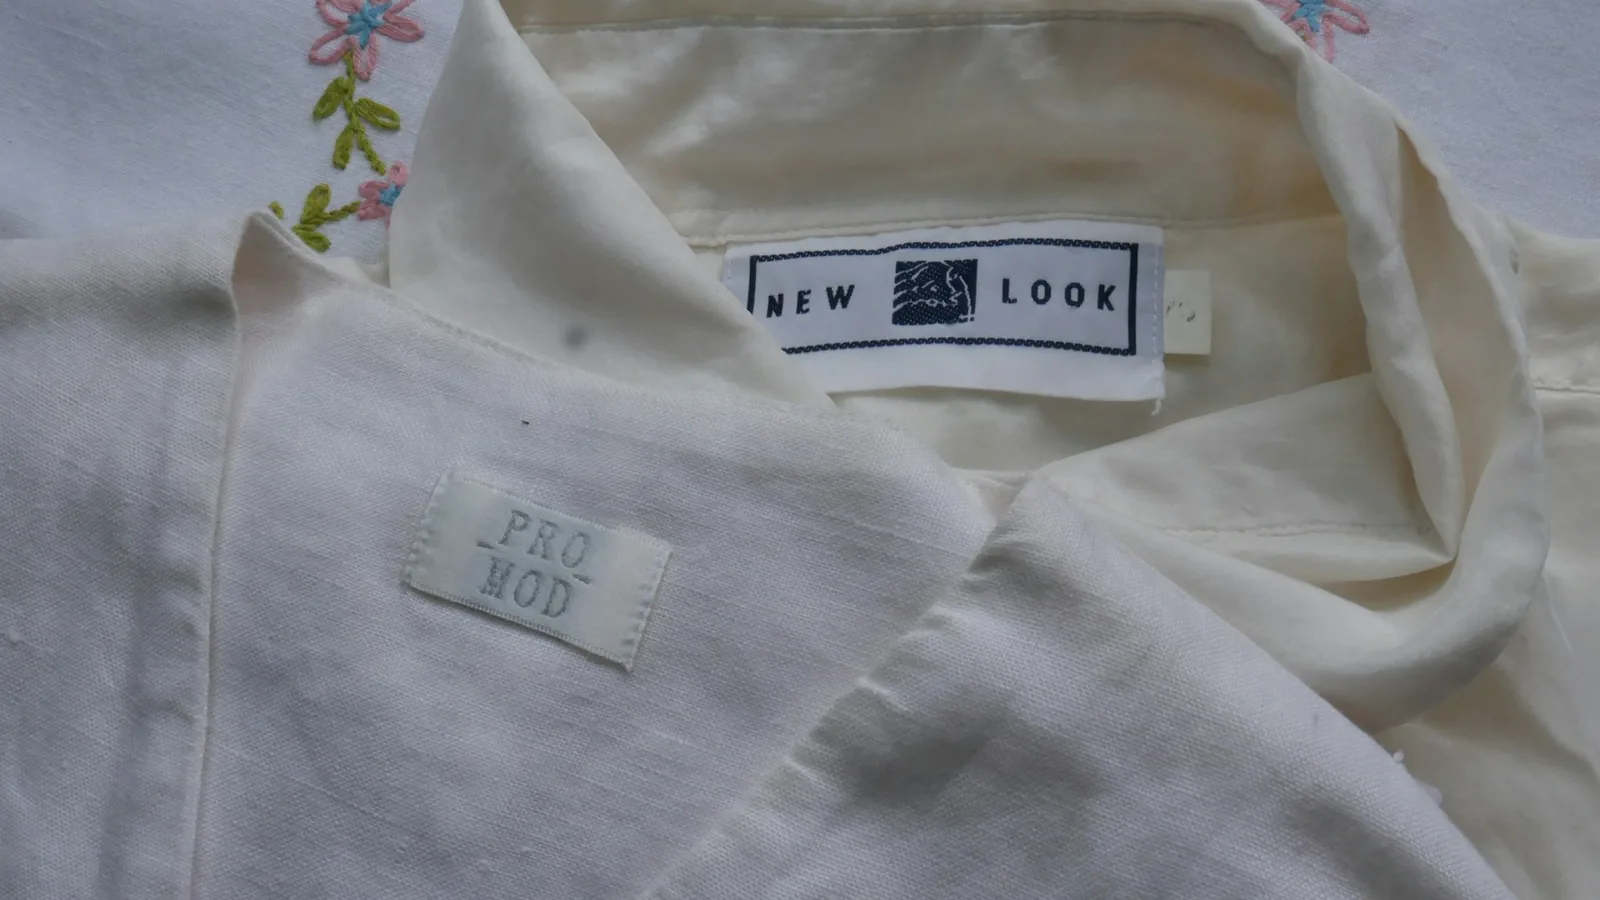
- Labels: the brand, size and fabric labels, which matter most for resale.
- Styled or lifestyle shot: the garment in an outfit or setting, for the listing and social posts.
Take a few frames of each so you have choices if a crease or a stray thread shows up later.
Creative Clothing Photo Ideas
- Angled flat lay: turn the garment at an angle instead of straight on; it suits sportswear and casual wear.
- Floating garment: hang it at a slight angle, photograph it, and edit the hanger out so it looks mid-air.
- Collection on a rack or rope: a row of pieces from one collection for a category banner or social post, such as denim on a thick rope or silk blouses on a steel rail.
- Group shot: several pieces or colorways in one frame to show a range.
- Hero shot with props: a colored background and a few props that set the mood for category pages and social posts.
- Contrasting backgrounds: a background color that contrasts with the garment makes it stand out; white works with everything.
- Detail-only shots: a crop of a collar, a cuff or a print, for social posts and the listing.
Edit Clothing Photos
- Exposure and contrast: adjust with the histogram, and add contrast gently to bring out texture.
- Color: compare the image with the garment in daylight and correct the white balance and hue. Wrong color is one of the most common reasons clothes are returned; our fashion ecommerce return rate post looks at returns in more depth.
- Clean-up: remove lint and small creases that steaming missed, but never change the shape or fit.
- Ghost mannequin: mask out the mannequin and drop in the inside back neck shot.
- Background: make it an even white or gray.
- Crop and export: the same framing, aspect ratio and size for every product.
Our guide on how to edit product photos walks through each step.
Tips for Reselling Clothes Online
If you sell secondhand clothes on resale marketplaces, the photos also have to prove condition and size:
- Photograph the brand, size and fabric labels.
- Lay the garment flat with a tape measure across the chest and down the length, since sizes vary between brands.
- Show every flaw up close: pilling, marks, small holes or fading.
- Shoot in daylight against the same plain background for every item, so your shop looks consistent.
Selling shoes as well? See how to photograph and pose shoes to sell. For a broader view of running fashion shoots for a brand, read our guide to ecommerce fashion photography, and for the basics that apply to every product, how to take product photos.
Frequently Asked Questions
What is clothing photography?
Clothing photography is the photography of garments for selling them, mostly online. It covers flat lays, ghost mannequin and hanging shots, on-model photos and lifestyle images, and its job is to show shoppers the fit, fabric, color and details they cannot check in person.
How do you photograph clothes without a mannequin?
Use a flat lay, shot from directly above on a white surface with tissue paper shaping the garment, or hang it on a hanger against a plain wall. Both are cheap and fast. To show fit without a model, you can generate on-model images from those photos with an AI fashion tool.
What is the best background for clothing photography?
White or light gray for listing images: it keeps attention on the garment and suits most marketplaces' main-image rules. For lifestyle and social images, choose a setting that matches the brand, and pick a background color that contrasts with the garment.
What is ghost mannequin photography?
Ghost or invisible mannequin photography shows a garment in its worn 3D shape with no mannequin visible. You photograph the garment on a mannequin, photograph the inside back of the neck separately, and combine the two in editing.
How do you take pictures of clothes to sell with a phone?
Shoot next to a window in daylight, with the garment steamed and laid flat or hung against a plain wall. Use the 2x lens from a little distance, keep the phone level or directly above, turn on grid lines, lock focus and exposure, and avoid flash. Add close-ups of labels and fabric.
What camera settings are best for clothing photography?
Use a 50mm to 100mm lens, about f/8 for flat lays and mannequins or f/4 to f/8 for models, ISO 100 to 400, a shutter speed of at least 1/125 second for models, a custom white balance and RAW files.
Put Your Clothes on Models Without a Model Shoot
Photograph each garment once, flat or on a hanger, and upload it to Caspa. You can generate on-model photos with AI models of any ethnicity, in a studio, on a street or at home, plus flat lay and lifestyle scenes, while the garment itself stays unchanged.
Every new account gets 10 free credits, no credit card required. See more on our AI clothing photography page.