
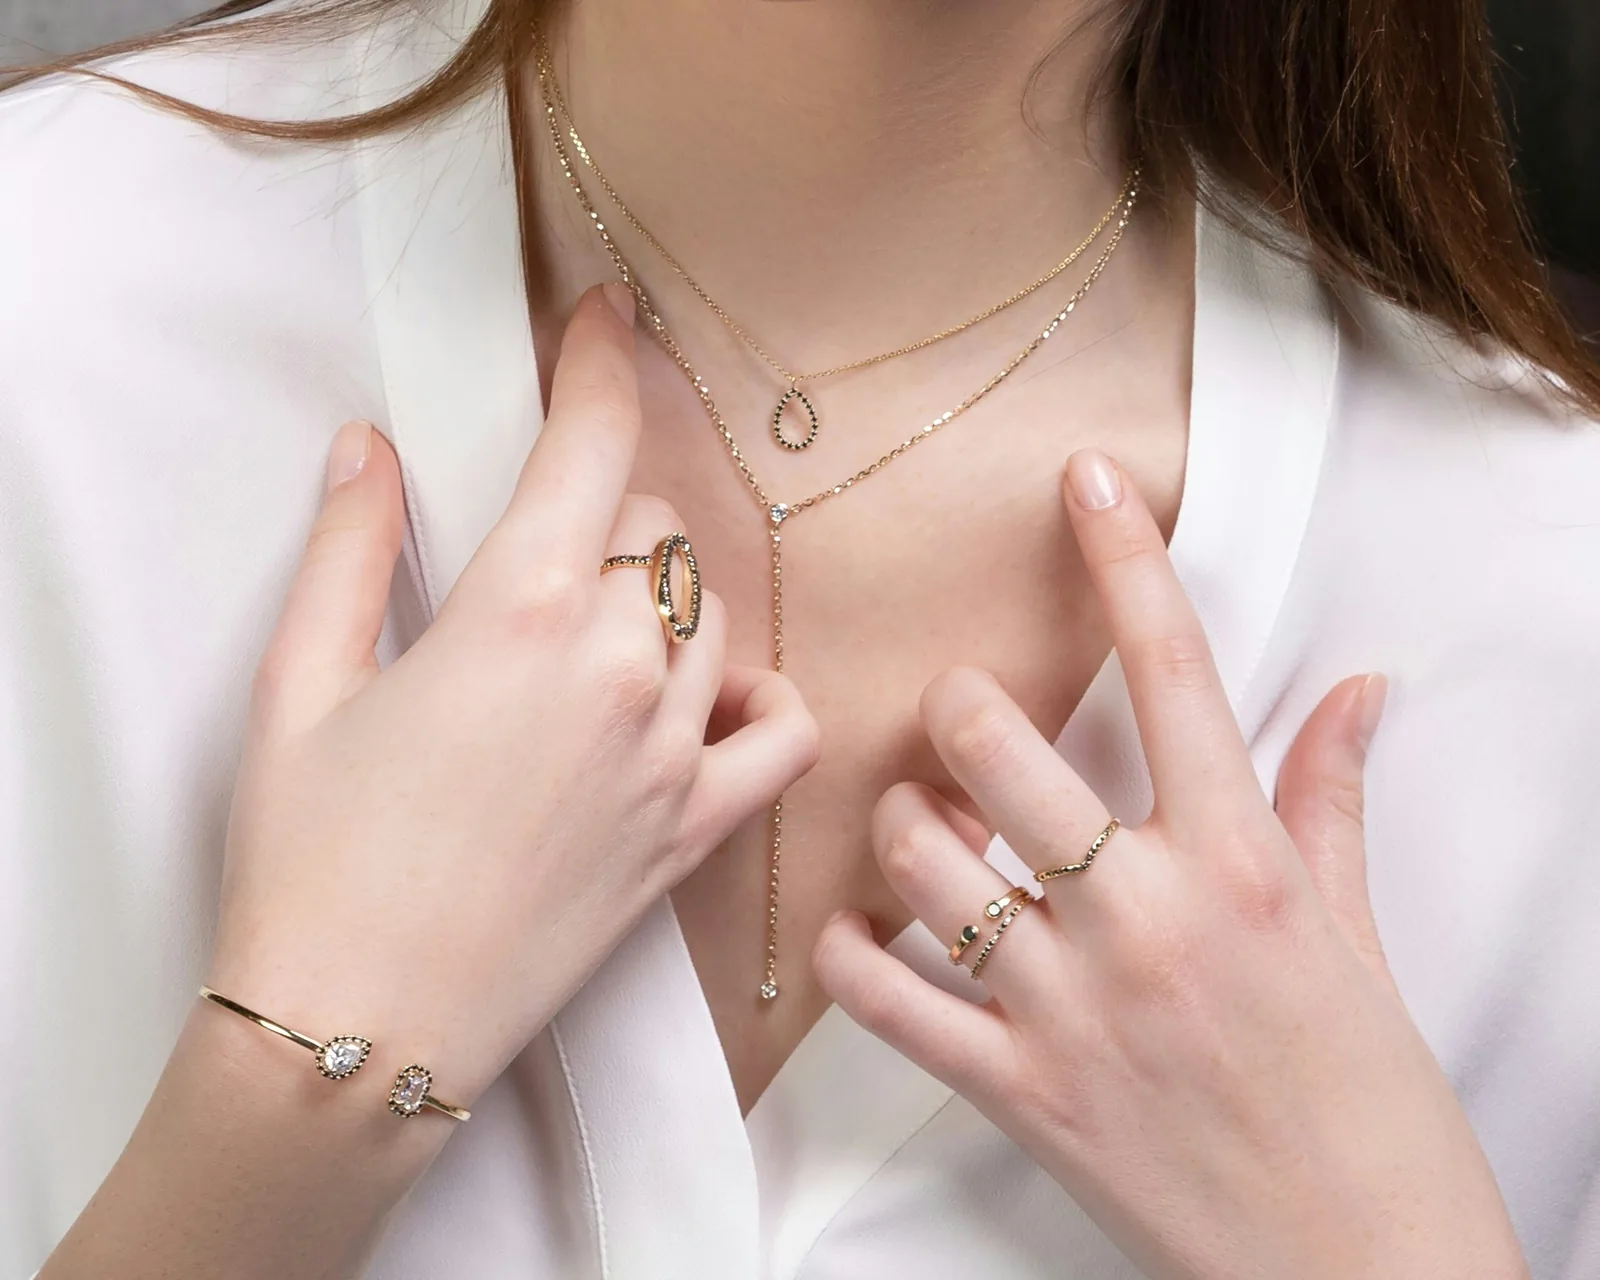
This guide is for sellers who photograph their own rings, necklaces, earrings and bracelets for Amazon, Etsy, eBay or a Shopify store. It covers the photos each marketplace asks for, how to light metal and gemstones, how to keep yourself out of the reflections, and the phone and camera settings that keep a small piece sharp from front to back.
Jewelry is hard to photograph for three reasons. It is small, and at life size the zone of sharp focus shrinks to millimeters or less. Polished metal works like a mirror, so it shows the room, the camera and you. And shoppers zoom in, so every speck of dust shows. Each section below deals with one of those problems.
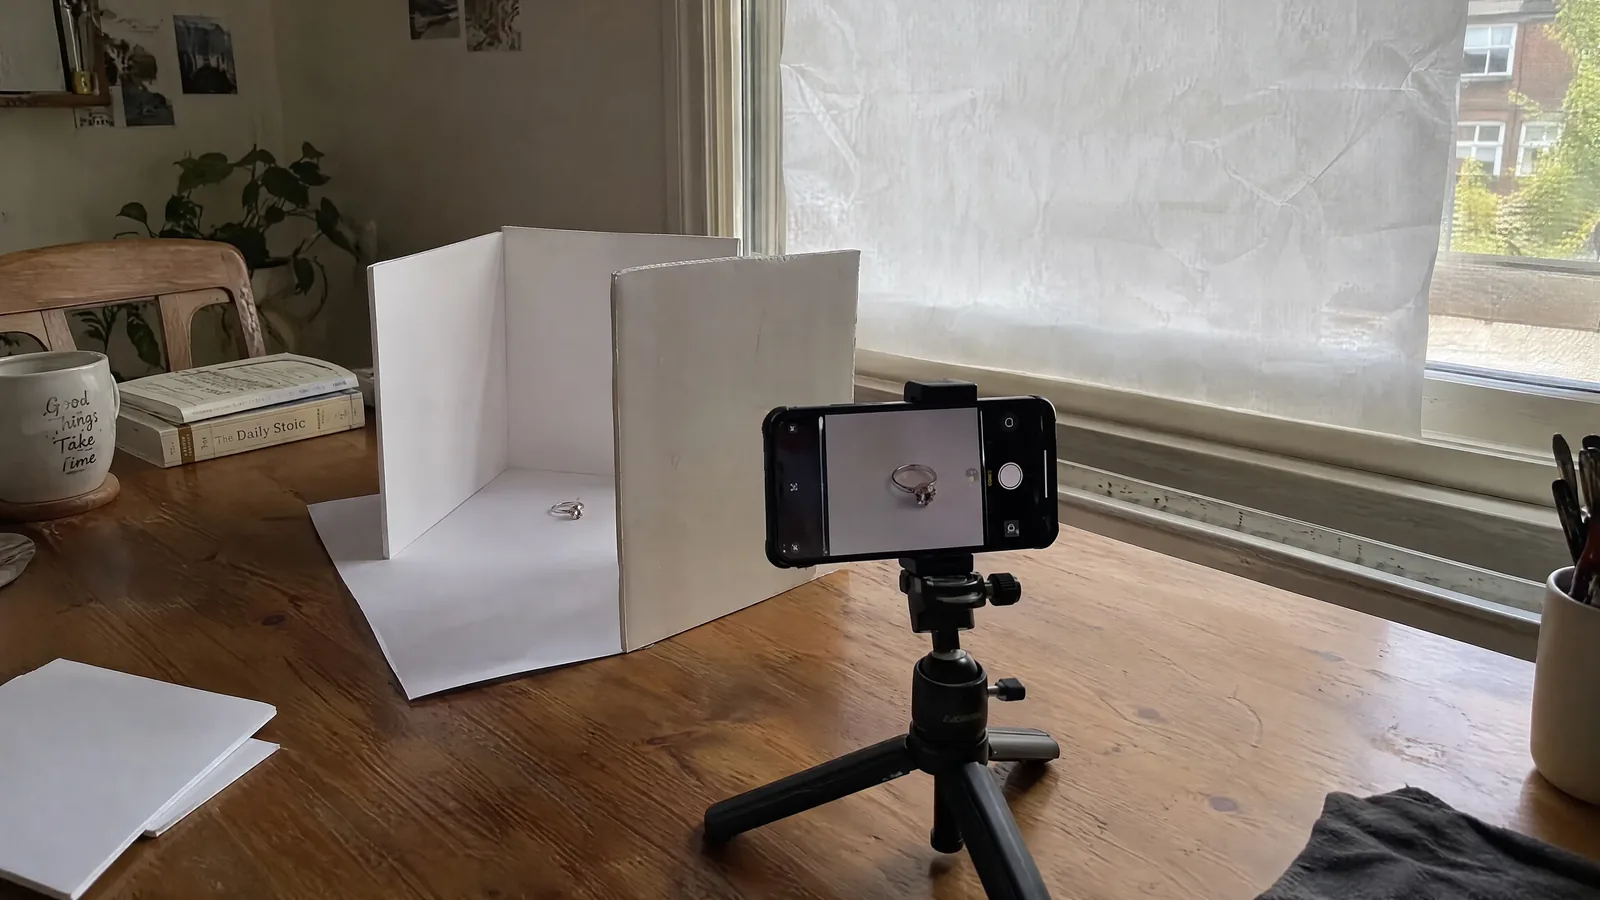
Short answer: clean the piece and handle it with cotton gloves. Put it on white paper next to a large, soft light, such as a window covered with tracing paper or a light tent, and surround it with white card so the metal reflects white. Put the phone or camera on a tripod, shoot from a little further back with the 2x or 3x lens or a macro lens, and lock focus and exposure on the detail that matters most.
Then take the shots your marketplace asks for. On Amazon the main image is the piece alone on pure white, with no model.
In this guide
- The shots each marketplace asks for
- What you need
- Lighting metal vs gemstones
- How to control reflections
- Backgrounds
- Camera and macro settings
- Phone settings
- Focus and focus stacking
- Editing
- Where AI fits, and where it doesn't
- FAQ
- Sources
The Shots Each Marketplace Asks For
Plan the whole set before you start, so each piece goes under the lights once. Start from the rules of the place you sell, because the main image is the one that gets a listing suppressed or rejected. The rules below were checked on November 3, 2026, except Amazon's Seller Central pages, which need a login: those come from our check on October 27.
| Marketplace | Main image | Other photos | Size |
|---|---|---|---|
| Amazon | The piece alone on pure white (RGB 255, 255, 255), front view, filling 85% or more of the frame. No model, mannequin, gift box or packaging. | Side views, close-ups, the piece worn for scale, and video. Photorealistic people generated by AI need a disclosure tag. | Amazon's jewelry style guide asks for 1,500 pixels or more on the longest side. |
| Etsy | No required background color. The first photo should be at least 635 pixels wide and tall, and Etsy crops thumbnails to square, portrait and landscape, so leave a border around the piece. | At least one unedited photo of the actual piece against a real background. Edits, including AI, are allowed on the others if the piece still looks as it really is. | 2,000 pixels or more on each side. |
| eBay | No borders, added text, artwork or watermarks. | Stock photos are not allowed for used, damaged or defective items, which covers vintage and pre-owned jewelry. Every photo must show the item accurately. | At least 500 pixels on the longest side. |
| Shopify | No background rule. | Use one aspect ratio for every main image so collection grids line up. | 2048 x 2048 pixels usually displays best; files up to 5000 x 5000 pixels and under 20 MB. |
| Google Shopping | The product should take up 75% to 90% of the image. No promotional overlays, watermarks or borders. | Images made with generative AI must carry metadata saying so. | Google recommends about 1500 x 1500 pixels or more. |
Sources: Amazon's Jewelry style guide and Seller Central rules (summarized on our Amazon image requirements page), Etsy's image requirements, eBay's picture policy, Shopify's product media help and Google Merchant Center's image requirements. Our Etsy, eBay and Shopify pages have the full lists.
What Amazon's jewelry style guide asks for, piece by piece
Amazon's US jewelry style guide shows how each type of piece should look in the main image:
- Earrings: the main image shows both earrings, as a pair.
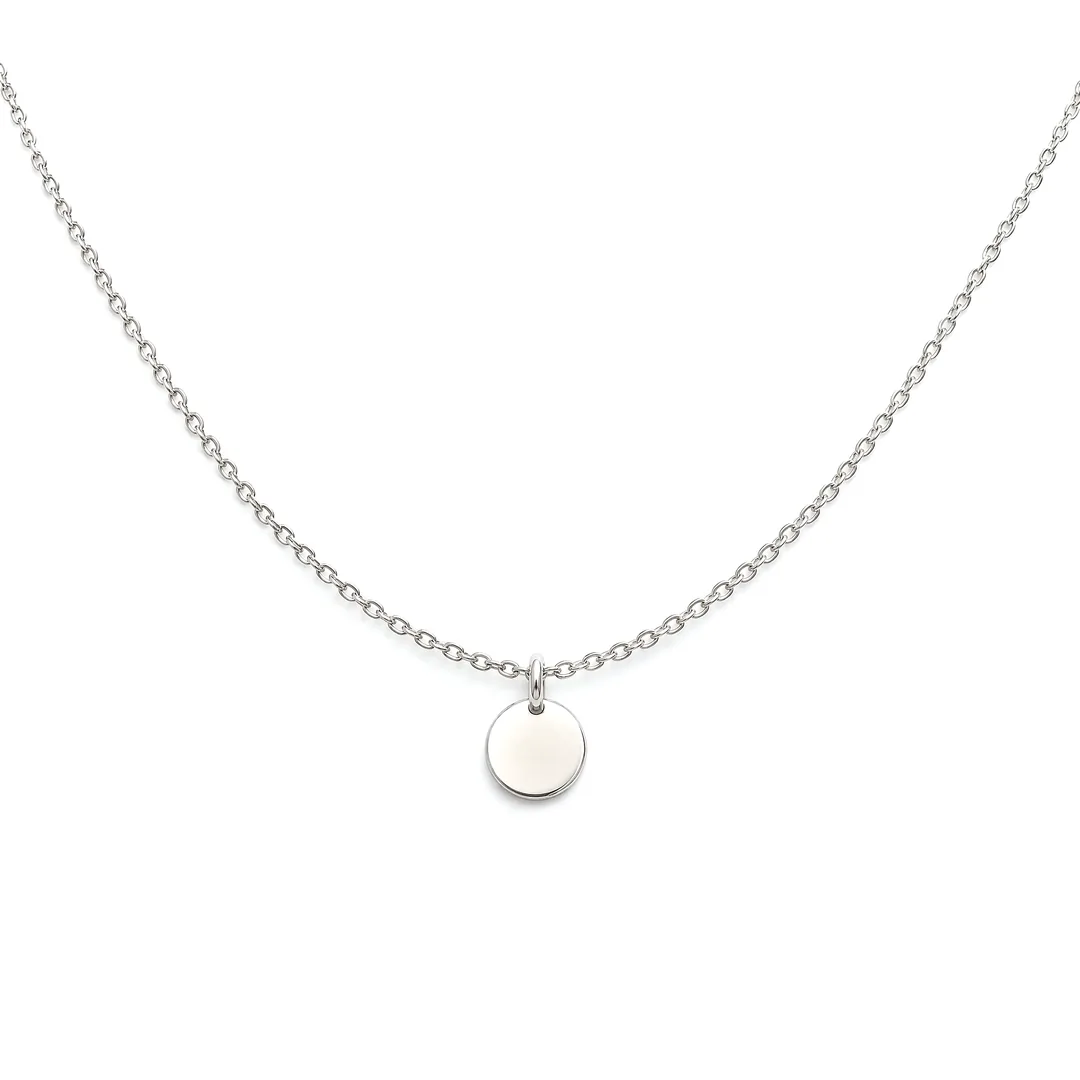
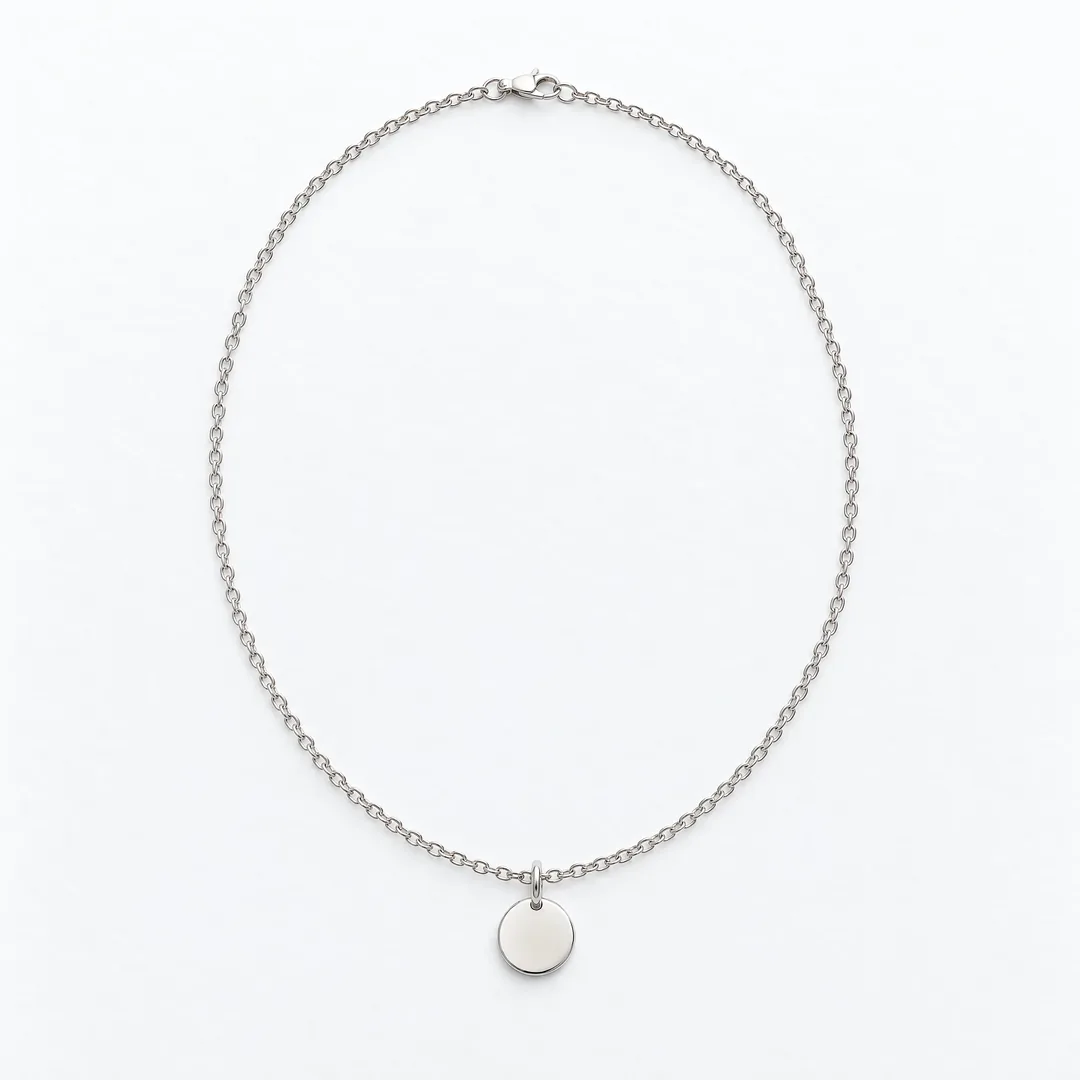
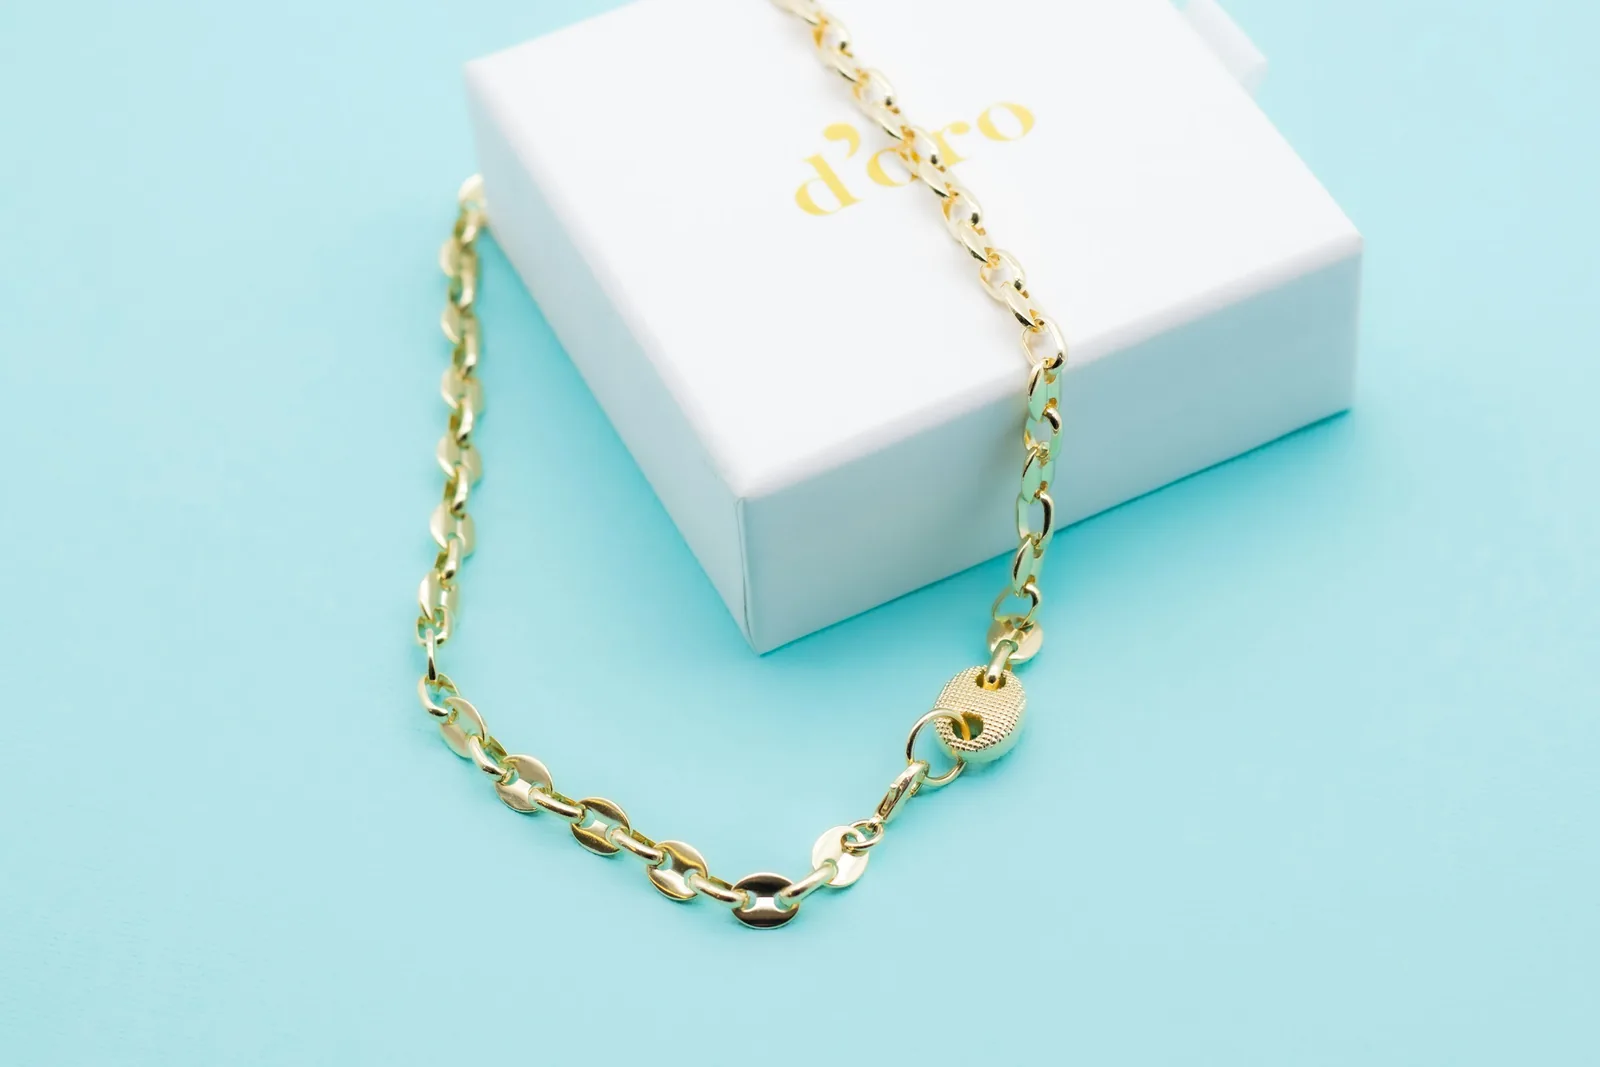
- Chain and station necklaces: the main image shows the necklace hanging, cropped to about the bottom third so the chain makes a smile shape, centered and smooth. The next image is a tight crop of a short section of chain, or of one or two stations, and another shows the clasp.
- Sets: every piece goes in the main image, then each piece gets its own image.
- What gets rejected: the guide's examples of bad main images include a piece on a mannequin, a piece on a model, a gift box, a background that isn't white, more than one view, logos and watermarks, and a piece out of focus.
That guide dates from 2019, and Amazon now keeps its rules in Seller Central, which needs a login. The current suppression list still names a human model in the main image of watches and jewelry as a reason to suppress it, as our Amazon requirements page records. In the UK, Amazon's jewellery style guide also asks for main images shot flat, close to a 3:4 shape, at least 1,600 pixels on the longest side, and with no certificates or brochures in the frame.
The full set for one piece
- Main image: the piece alone on white, front or three-quarter view, filling most of the frame.
- Profile: the height of a setting or the thickness of a band.
- Back: the clasp, the earring backs and any hallmark or stamp. Buyers check how a piece fastens.
- Detail: stones, prongs and engraving, sharp enough to hold up when a shopper zooms in.
- Scale: the piece worn on a hand, ear, neck or wrist. On Amazon this goes after the main image, never in it.
- Styled shot: the piece in a setting, for the rest of the listing, social posts and ads.
- Video: a slow turn shows sparkle better than a still. The specs are on our Amazon and Etsy pages.
Tips by type of piece
- Rings: stand them upright with a pea of museum putty or dental wax hidden behind the band. Metalsmith Society's guide to photographing jewelry notes that museum putty leaves less residue. Photograph the inside of the band if it is engraved.
- Necklaces: show the pendant up close and the full length worn, because length is hard to judge from a flat photo.
- Earrings: always the pair. Hang drop earrings so they fall naturally, and show one worn in profile. Our earring photography guide has more setups.
- Bracelets: curve them around a cylinder or a wrist form, and show one on a wrist for size.
- Hands: clean nails, and a clear facial moisturizer rather than body lotion, which Gem Gossip notes leaves a residue.
- Watches: see our watch product photography guide.
What You Need
You do not need a studio. You need control over the light and a way to hold the camera still.
| Item | Start with | Upgrade |
|---|---|---|
| Camera | A recent phone, ideally with a 2x or 3x lens | Mirrorless or DSLR camera |
| Lens | The phone's 2x or 3x lens, or its macro mode for details | A macro lens with 1:1 magnification, or extension tubes |
| Support | Small tripod with a phone clamp, and the self-timer | Sturdy tripod and a remote release |
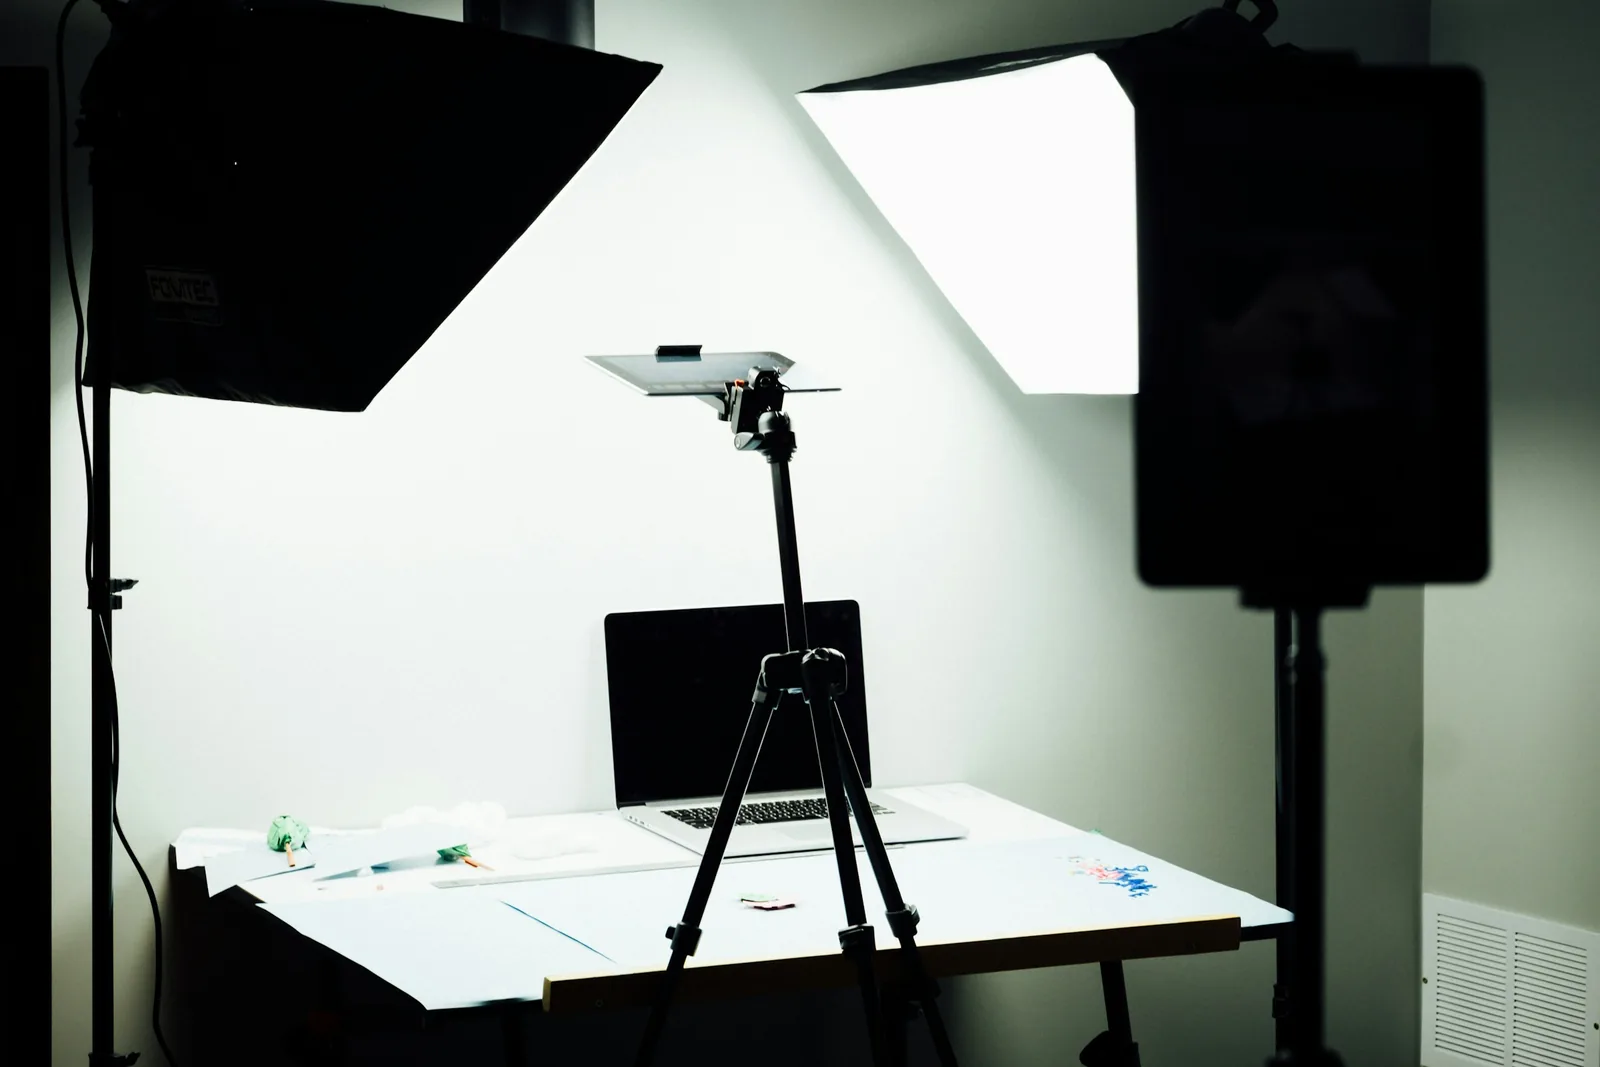
| Light | A large window with indirect daylight | Two continuous LED panels with diffusers, or a light tent |
| Light control | Tracing paper, white card, black card | Foam boards, clamps, a small LED for sparkle |
| Background | White paper | Seamless paper sweep, white or black acrylic |
| Holding | Museum putty, tweezers | Ring holders, necklace bust, earring stand, clear fishing line |
| Cleaning | Cotton gloves, microfiber cloth | Air blower, polishing cloth |
The lens matters more than the camera body, because a longer lens lets you fill the frame from further away, which keeps you out of the reflections. Our guide to the best lens for jewelry photography compares the options, and the light box guide covers the cheapest way to surround a piece with soft light. Handle cleaned pieces with cotton gloves: GIA's photography guide points out that fingerprints mar jewelry in photos.
Lighting Metal vs Gemstones
Soft light is the usual advice, and it is right for metal. It is wrong on its own for faceted stones, which need a small, hard light to sparkle, and colored stones need light of a single color temperature to look like themselves. Set the light for the material that matters most in the piece.
| Material | What goes wrong | How to light it |
|---|---|---|
| Polished gold, silver, platinum | Reflects its surroundings like a mirror, including hard hot spots from bare bulbs. | One or two large, diffused sources, plus white and black cards to decide what the metal reflects. GIA notes that diffused light often works well for shiny metal, while direct light makes it hard. |
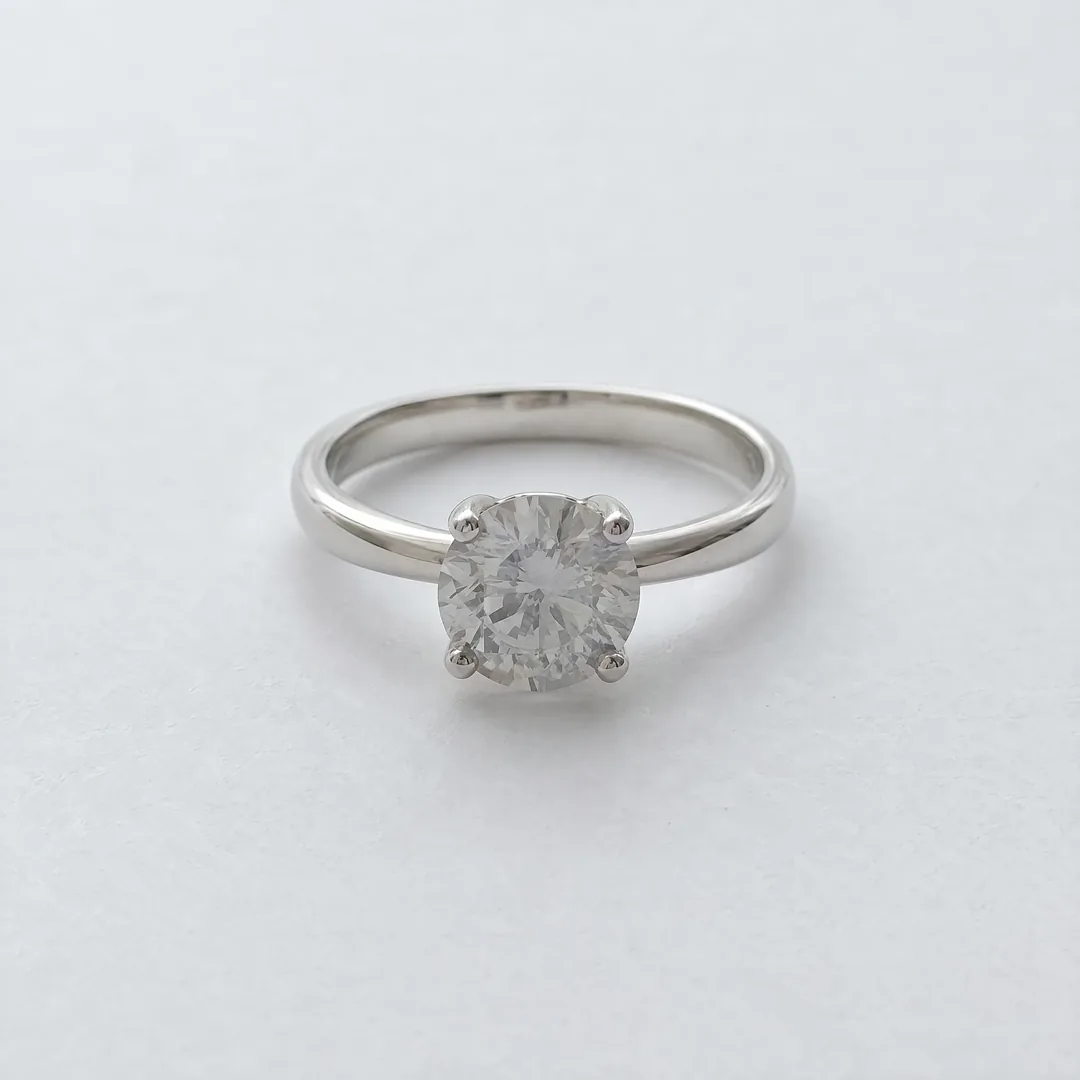
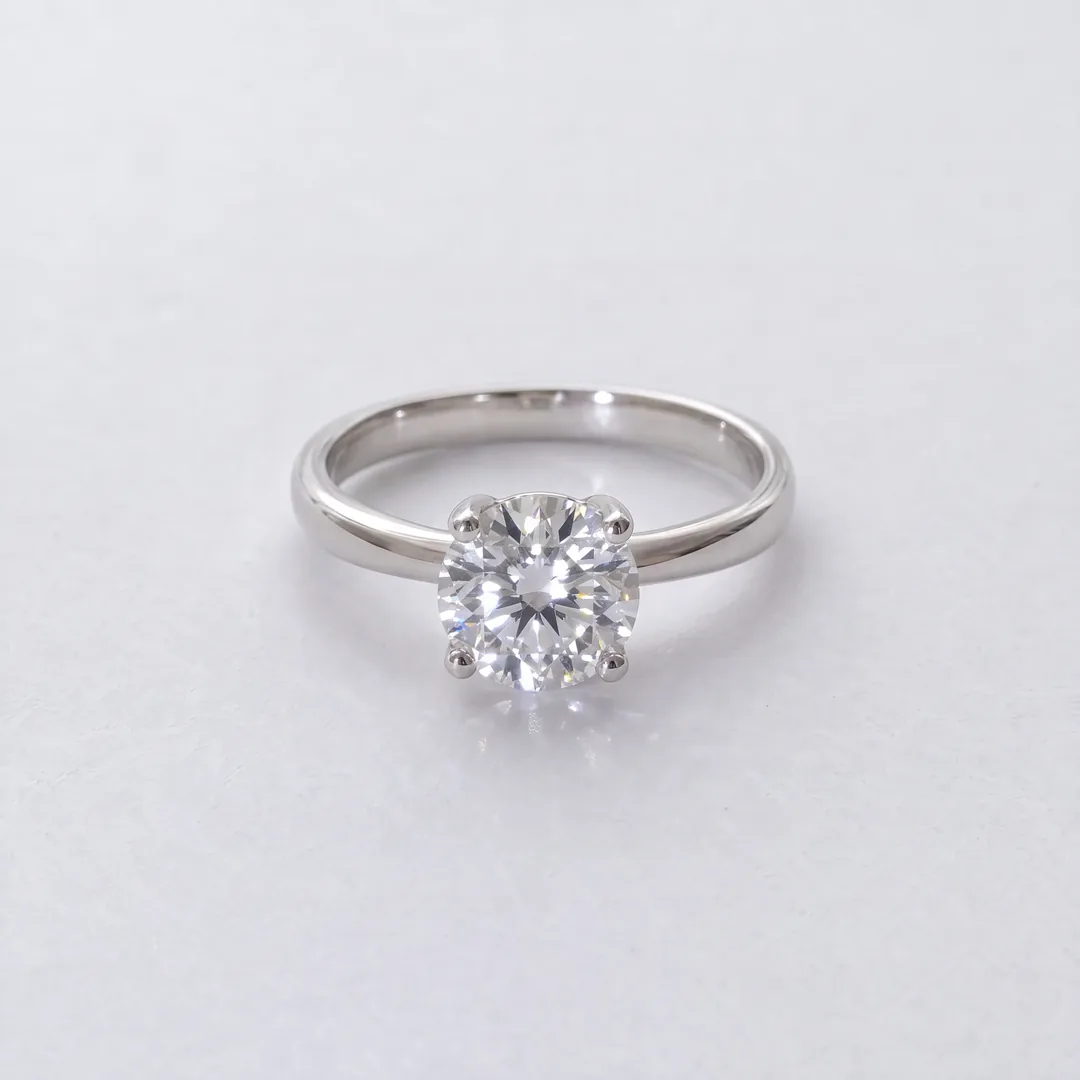
| Faceted clear stones: diamond, white sapphire, cubic zirconia | Look flat and gray under soft light alone. | Set the soft light first, then add a small, hard light (a small LED, a flashlight or a snooted flash) and move it until the facets catch it. GIA notes that direct light can provoke dispersion in a transparent gem, and in his jewellery tutorial Karl Taylor adds a small point light for sparkle. |
| Colored stones: emerald, ruby, sapphire, tanzanite | The color shifts under mixed light sources. | Diffused light from one kind of source. GIA's advice for a gem's best color is diffused rather than direct light, at a single color temperature. |
| Opals | The play of color washes out when the frame is bright. | Lower the exposure. Gem Gossip drags the iPhone exposure down for opals. |
| Onyx, black spinel and other dark stones | The outline disappears against a white background lit from behind. | Light a white background from the front instead, or use mid-gray for the secondary images. Orbitvu's guide flags dark stones on backlit white. |
Sources: GIA, How to Photograph Gems and Jewelry; Karl Taylor, Visual Education; Gem Gossip; Orbitvu.
Use one color temperature
GIA's advice is to use a single color temperature, so don't mix daylight with ceiling bulbs or a desk lamp: one white balance setting can't correct two colors of light at once. Turn off the room lights when you shoot by a window, or block the window when you shoot with lamps, and set the white balance from a white or gray card in the same light.
How to Control Reflections
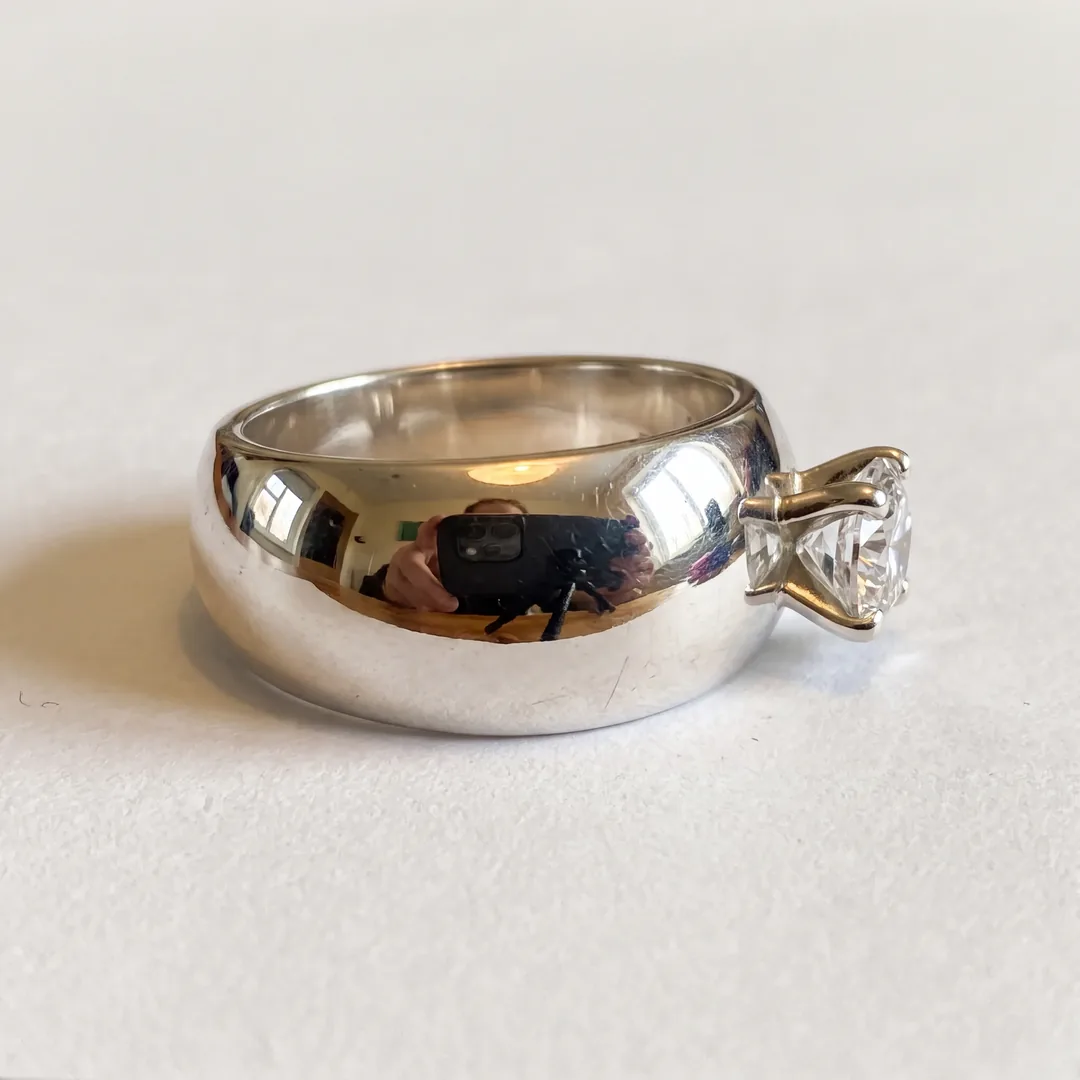
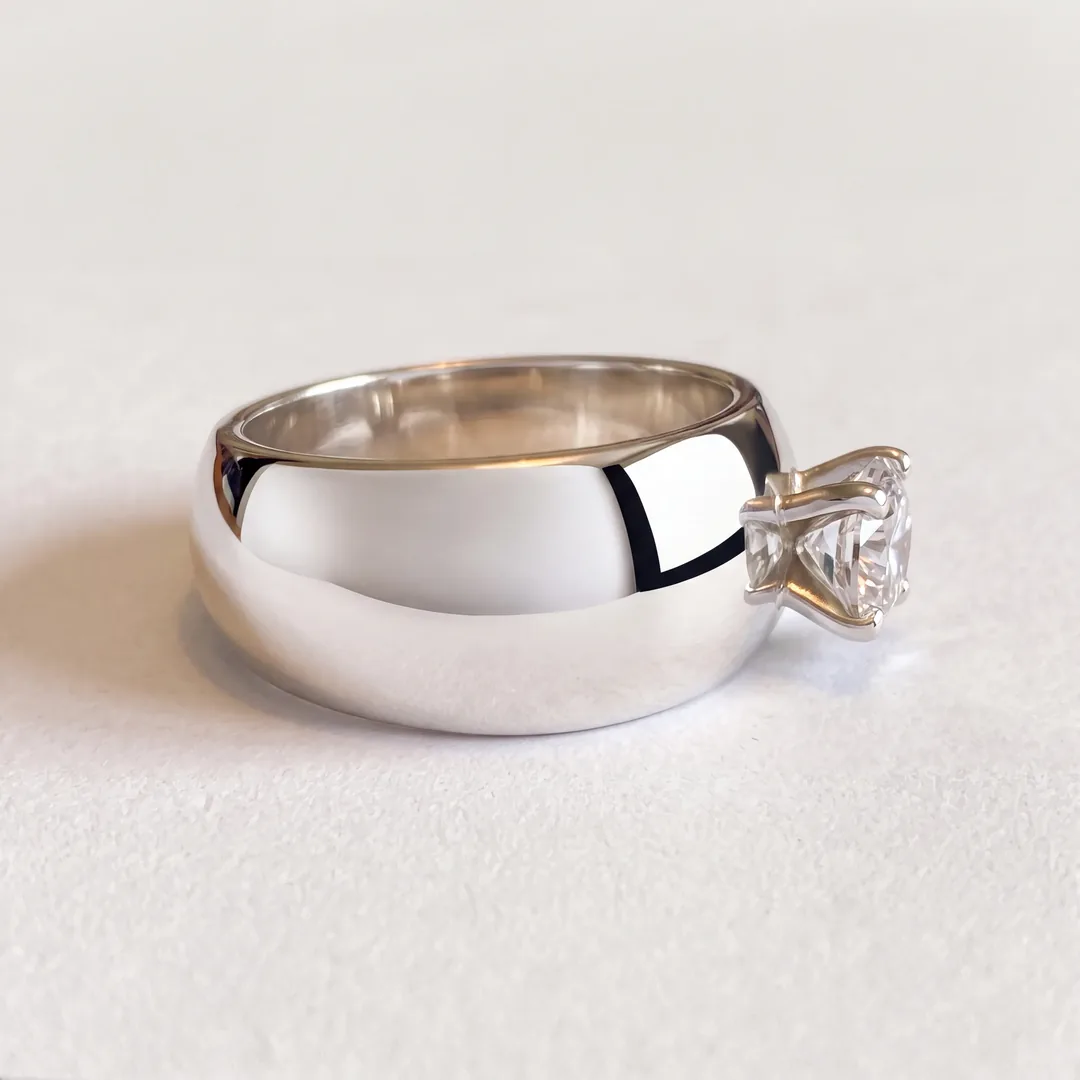
You cannot remove reflections from polished metal. You choose them. A mirror-like surface sends light off at the same angle it arrives, so whatever sits at that angle (a window, a lamp, the phone, your shirt) ends up in the piece. Fix it before you shoot:
- Surround the piece with white. A light tent does it in one step. White cards on clamps do it piece by piece. For a diamond necklace in his tutorial, Karl Taylor builds a "tent" of white reflector cards in front of and above the piece.
- Add black where you want an edge. If a polished band looks flat and gray, reflect a strip of black card in it. The dark line along the band gives it an edge and shape.
- Hide the camera. Metalsmith Society suggests a white poster board with a hole cut for the lens, which blocks the camera, the tripod and you. Wear plain clothes: the gemologist behind Gem Gossip wears plain white, and covered her red camera body with masking tape because bright colors reflect in polished gold.
- Back off. A longer lens lets you shoot from further away, so the camera is smaller in the reflection. Nikon's explainer on focal length makes the same point: a telephoto lets you shoot from a distance that does not intrude on the subject. On a phone, use the 2x or 3x lens.
- Tilt the piece a few degrees until the reflection shows card, not camera. Check the highlights at full magnification before you move on.
- Don't count on a polarizing filter. Polarizers cut reflections from non-metallic surfaces such as glass, water and plastic, but they don't work on metal. They help with glare on an acrylic riser or a glass display, not on a gold band.
Retouch whatever is left when you edit. Sources for steps 1 and 3: Karl Taylor, Metalsmith Society and Gem Gossip.
Backgrounds
- Main images: white. Amazon requires pure white for the main image, and an off-white or light gray one can get the listing suppressed, so check the corners with a color picker before you upload. Etsy and Shopify set no background color, but white keeps a grid of products consistent.
- White helps the color. GIA notes that a clean white paper, plastic or tile background helps you get the color balance right.
- Dark backgrounds suit light pieces. In GIA's words, light-toned pieces often look better on darker backgrounds because contrast adds drama. GIA adds a less obvious point: poorly cut gems can look better on light backgrounds.
- Textures for everything after the main image. Linen, wood, loose tiles or recycled paper, kept the same across a collection. Metalsmith Society's guide puts it plainly: consistent photos matter for an online shop.
- Props stay smaller and quieter than the piece. More ideas in backgrounds for jewelry photography, jewelry photography props and creative jewelry photography.
Camera and Macro Settings for Jewelry
- Lens: a true macro lens with 1:1 magnification. Orbitvu calls 90 to 105 mm the sweet spot: a 60 mm puts you too close to the piece, and 180 mm or longer needs a bigger room. Extension tubes behind a normal lens are a cheaper way to get close: in his jewellery tutorial, Karl Taylor uses them instead of a macro lens.
- Aperture: close up, a lens behaves as if it were stopped down further than the number you set. Lens maker Venus Optics puts it as marked f-number times (1 + magnification), so at 1:1 a marked f/8 works like f/16. Its usual working range at 1:1 is a marked f/5.6 to f/11, and it calls f/22 and smaller rarely a sharpness win. Past about f/16, diffraction starts to blur fine detail. When f/8 to f/11 can't keep the whole piece sharp, focus stack instead of stopping down.
- ISO: 100 to 200, as Orbitvu recommends. The tripod lets you use a longer shutter speed instead of a higher ISO.
- Shutter: whatever exposes correctly. Fire it with the 2-second timer or a remote, and turn off lens and camera stabilization when the camera is on a tripod, as Orbitvu advises.
- White balance: a custom setting measured from a white or gray card, or a fixed Kelvin value that matches your lights. Set it once and leave it, so the same gold looks the same in every photo.
- Focus: manual, with the live view magnified, on the detail that matters most, usually the front of the main stone.
- File format: RAW, so you can correct white balance and highlights later.
Phone Settings for Jewelry
A phone is enough for most listing photos if the light is right. GIA's guide includes smartphones, and the gemologist behind the jewelry blog Gem Gossip says about 70% of her Instagram photos are iPhone shots. The camera matters less than these settings:
- Put the phone on a tripod and use the self-timer or a remote, so pressing the button doesn't shake it. GIA recommends both a tripod and a wireless shutter release.
- Choose the lens on purpose. For main images, step back and use the 2x or 3x lens: Gem Gossip found the 2x setting cropped out her hand's shadow and gave crisper photos. Save macro mode for detail shots. On iPhones that have it, the Camera app switches to the Ultra Wide camera when you get as close as 2 centimeters and shows a flower icon, which you can tap to stop the switch. Google's Macro Focus works the same way on the Pixel 7 Pro, Pixel 8 and later, and Google's own tip is not to shade the subject or block the light. At that distance the phone also shows up in polished metal.
- Lock focus and exposure. On an iPhone, touch and hold the piece until AE/AF Lock appears, then drag next to the focus box to lower the exposure, so bright metal doesn't turn pure white. On a Samsung Galaxy, Pro mode gives you a manual focus slider, and Samsung's camera help lists manual ISO, exposure and white balance, plus saving pictures as RAW.
- Turn the flash off and light the piece with the window or your lamps instead.
- Shoot video at the phone's highest quality. Gem Gossip sets 4K at 60 frames per second for jewelry clips.
- Edit lightly. Gem Gossip uses Snapseed to remove lint and stray marks, and avoids filters and presets, which date photos.
Focus and Focus Stacking
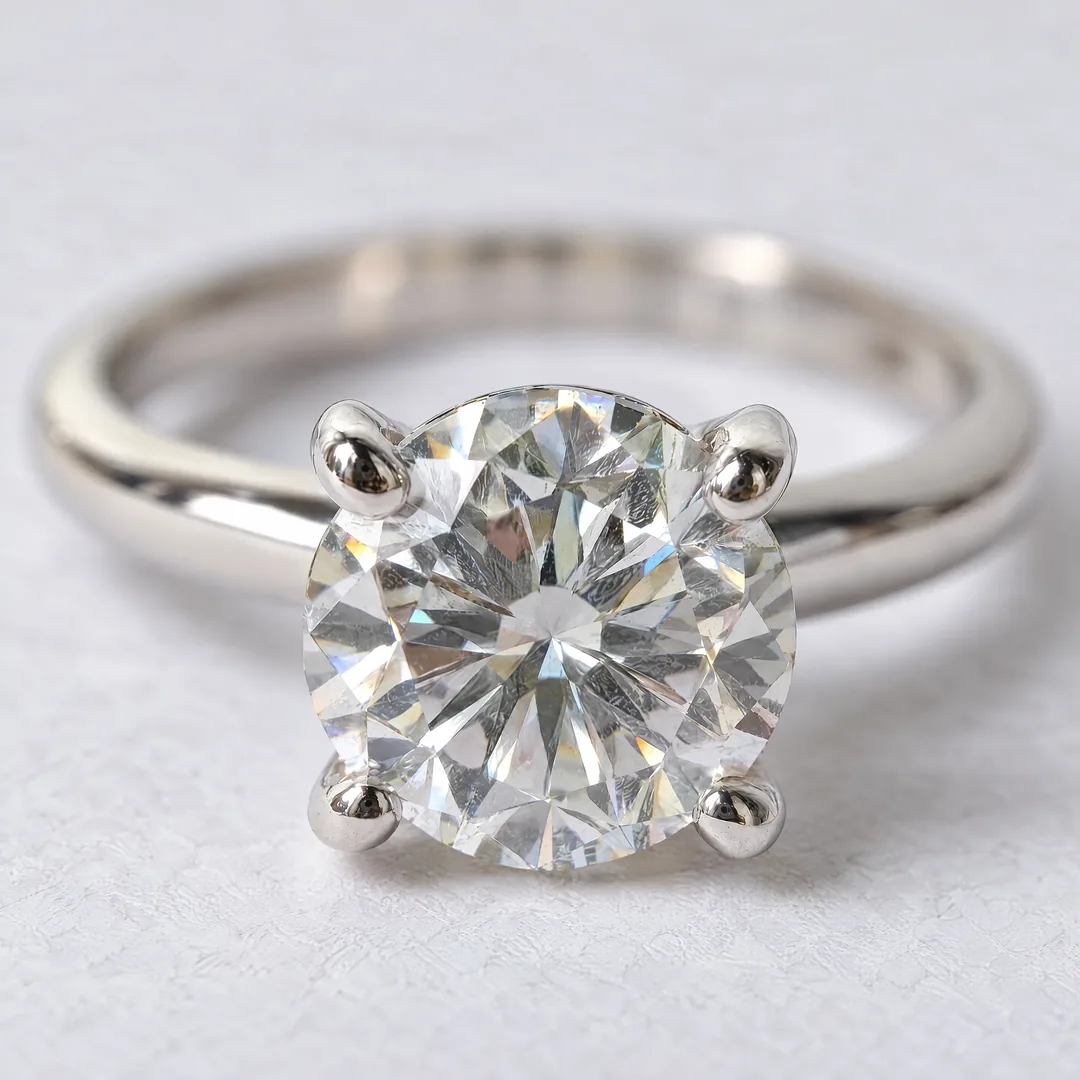
Focus on the detail a buyer checks first, usually the front of the main stone or the engraving. At close range the sharp zone is so thin that a ring photographed from the front often has a sharp stone and a soft band. Focus stacking fixes that: you take several frames of the same shot, moving the focus a little each time from the front of the piece to the back, then merge the sharp parts into one image.
- Lock the camera on a tripod and don't touch the piece or the lights between frames.
- Step the focus from the nearest point to the furthest. Orbitvu suggests 8 to 15 frames for a ring and 20 to 40 for a necklace laid flat.
- Let the camera do the stepping if it can. Nikon's focus shift shooting on the D850, Z 6, Z 7, Z 7II, Z 8 and Z 9 takes the series for you, but the merge still happens in software afterwards.
- Merge the frames in Photoshop (load them as layers, Auto-Align Layers, then Auto-Blend Layers with Stack Images), Zerene Stacker or Helicon Focus.
- Check the result at 100% for halos along edges and retouch them.
Stacking is worth it for main images of rings, pendants and anything with depth. Flat pieces shot from directly above rarely need it.
Editing Jewelry Photos
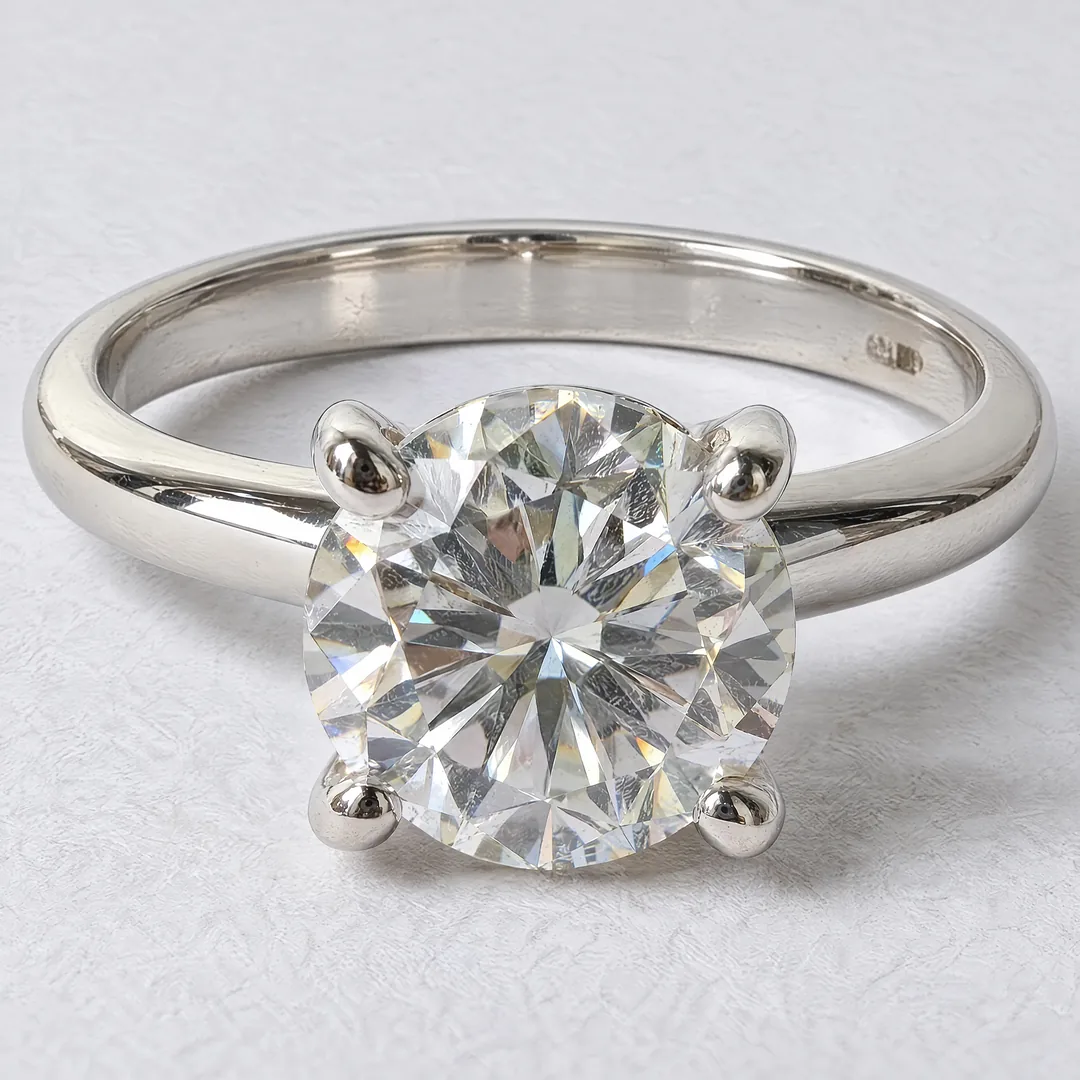
- Fix white balance and exposure first. Gold should look warm but not orange, silver neutral, and a white background white rather than gray or blue. Orbitvu warns that pushing saturation turns gold orange and silver blue.
- Remove dust and scratches with a spot healing tool at 100% zoom. Photoshop's Dust and Scratches filter is faster, but Orbitvu notes it slightly blurs the whole image.
- Clean the background. For an Amazon main image it has to read 255, 255, 255 everywhere, corners included.
- Keep the piece as it is. Etsy doesn't allow edits that hide flaws or conceal damage, eBay's policy bans photos that don't accurately represent the item, and on any channel a buyer who receives a different color sends it back.
- Export consistently: the same crop and aspect ratio for every piece in a collection, at the sizes in the table above. On Etsy, keep one photo unedited.
Our guides to editing product photos and the best size for ecommerce product images go into each step.
Where AI Fits, and Where It Doesn't
AI is useful for the photos that are hard to take yourself, mostly the piece worn on a person. It doesn't replace the photos above.
What it's good for: scale shots without hiring a model (earrings in profile, a necklace at the neckline, rings on a hand) and styled scenes for social posts and ads. Caspa starts from your product photo and builds the scene around the piece.
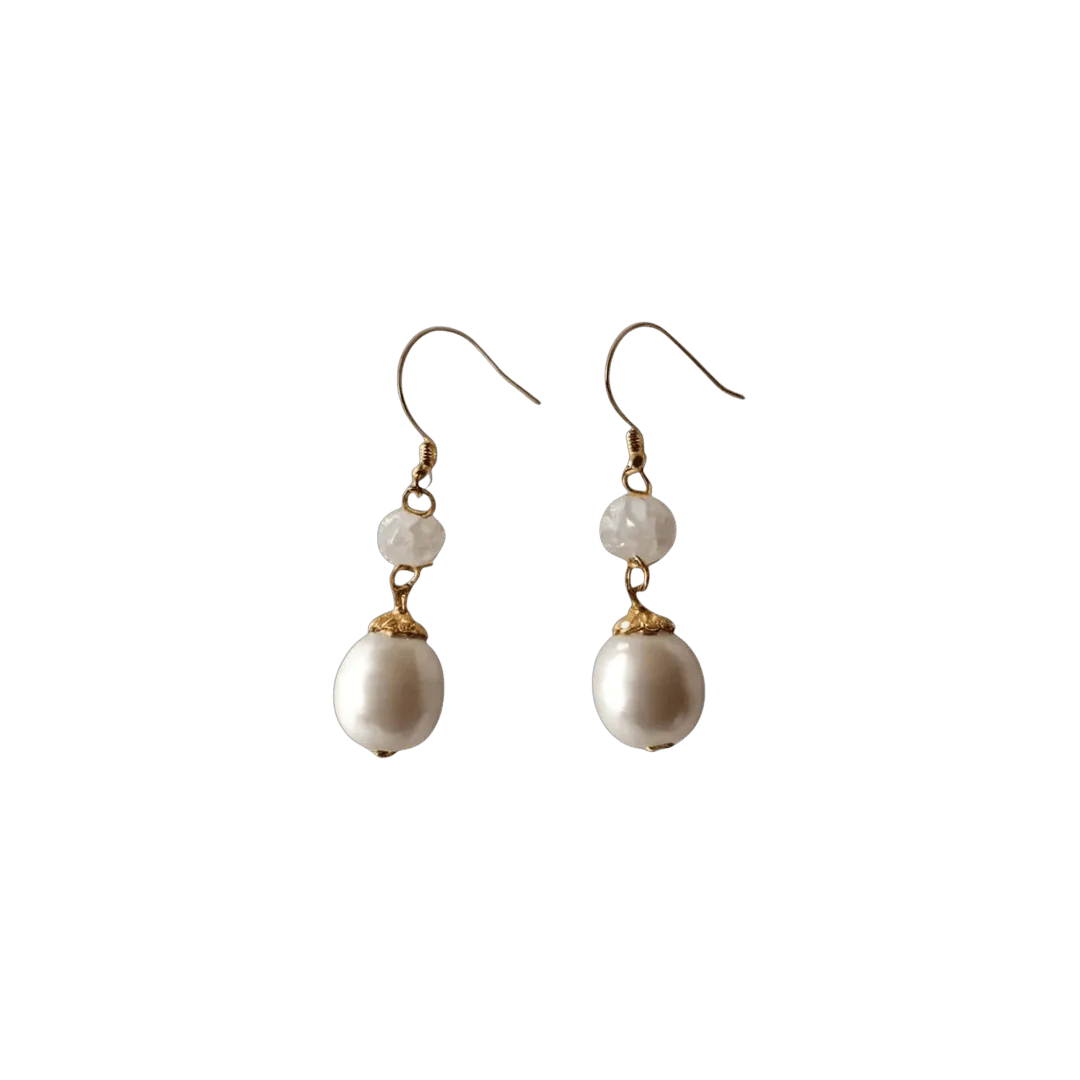
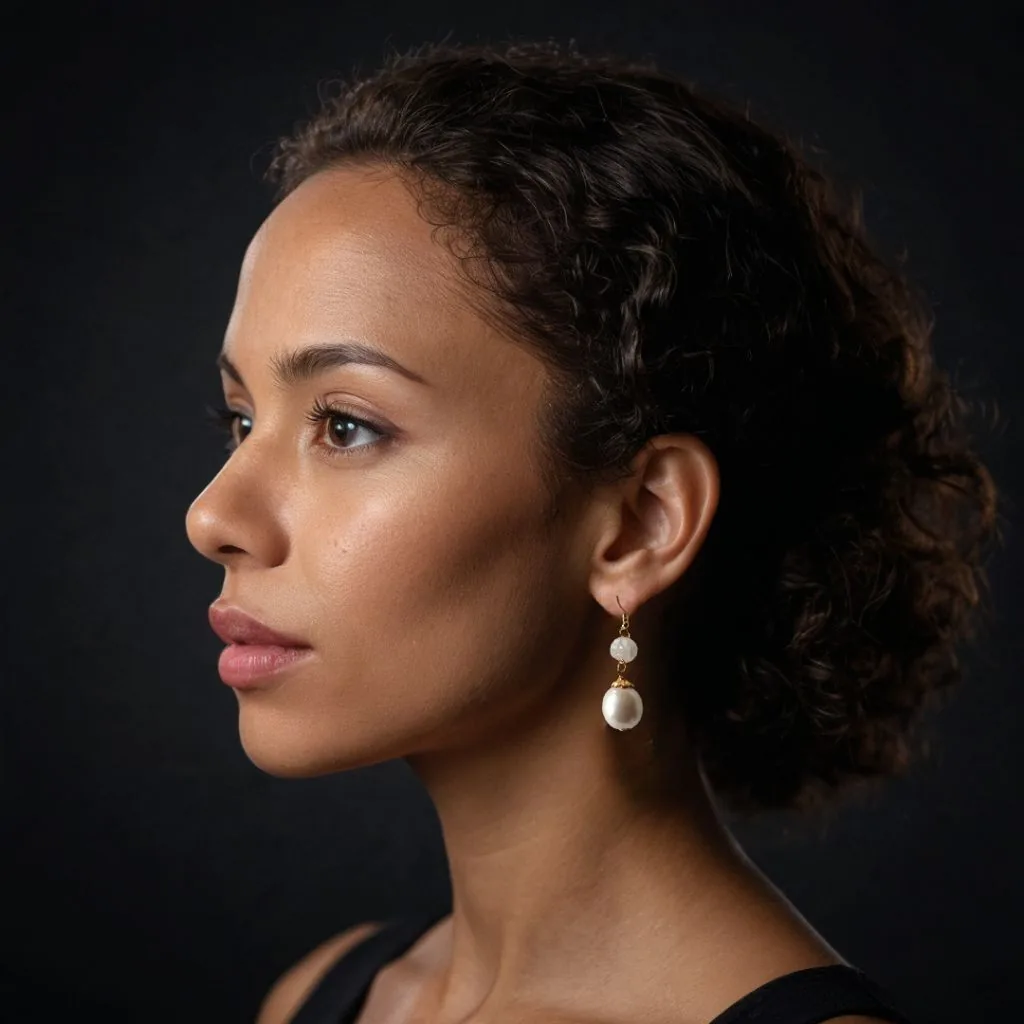
What it can't do: fine detail can only be as sharp as your upload, so the lighting, reflections and focus sections above still decide the result. AI also can't stand in for the photos marketplaces reserve for the real piece:
- Amazon: no model in a jewelry main image, AI or not. In the other slots, tag images of photorealistic AI-generated people with the keyword
contains-synthetic-performerin the file's XMP dc:subject field before you upload. Our Amazon requirements page shows how. - Etsy: keep at least one unedited photo of the real piece, make sure every image shows its true color, condition, scale and materials, and say in the description if AI was used to edit photos.
- Google Shopping: images made with generative AI must carry metadata saying so, for example the IPTC DigitalSourceType tag TrainedAlgorithmicMedia, and Google asks sellers not to strip it.
Before you publish any generated image, check it at full size against the real piece: the number of stones, the shape of the prongs, the chain links, the clasp and any engraving. If something differs, don't use it.
Images you download from Caspa don't carry the IPTC DigitalSourceType tag. If you sell on Google Shopping, add it yourself, set to TrainedAlgorithmicMedia, before you upload.
What we hear from jewelry sellers: when a result wasn't good enough, the problem was accuracy, most often on a model: an earring that no longer matched the one they uploaded. So check on-model images hardest, and generate again when a detail has changed. The sharper and more evenly lit your upload, and the more of the frame the piece fills, the more detail Caspa has to work from.
Every plan comes with a 30-day money-back guarantee. More examples are on the AI jewelry photography page.
Common Jewelry Photography Mistakes
- The phone, the window or the photographer reflected in polished metal.
- Daylight and room lights mixed in the same shot.
- Dust, lint and fingerprints that only show when a buyer zooms in.
- A stone in focus and the band behind it blurred.
- A model, a box or a second view in an Amazon main image.
- Edited stones that look different in person.
- No photo that shows the size, so buyers guess.
For basics that apply to every product, see how to take product photos.
Frequently Asked Questions
How do you photograph jewelry without reflections?
You can't remove reflections from polished metal, only choose what it reflects. Surround the piece with white, using a light tent or white cards, add a strip of black card where you want an edge, hide the camera behind a white board with a hole for the lens, and shoot from further back with a longer lens. Polarizing filters don't work on metal.
What is the best background for jewelry photography?
White for main images: Amazon requires pure white for the main image, and white helps you get the color balance right. Dark backgrounds suit light-toned pieces in secondary and styled shots. Textures such as linen, wood or tile work after the main image if they stay quieter than the piece.
How do you take good pictures of jewelry with a phone?
Put the phone on a tripod next to a window covered with tracing paper, step back and use the 2x or 3x lens, touch and hold the piece to lock focus and exposure, and lower the exposure so bright metal keeps its detail. Turn the flash off. Use macro mode only for close-up details, because that close the phone blocks the light and shows up in polished metal.
What camera settings are best for jewelry photography?
On a tripod: ISO 100 to 200, an aperture around f/8 to f/11 (at 1:1 that works like f/16 to f/22), whatever shutter speed exposes correctly, a custom white balance and RAW files. Focus manually on the main stone and focus stack when one frame can't keep the whole piece sharp.
How do you make jewelry sparkle in photos?
Light the piece with a large soft light first, then add a small, hard light, such as a small LED, a flashlight or a snooted flash, aimed at the stones, and move it until the facets catch it. A short video of the piece turning shows sparkle better than a still.
What lens is best for jewelry photography?
A macro lens with 1:1 magnification, usually 90 to 105 mm, which fills the frame with a small piece from a comfortable distance. On a phone, use the 2x or 3x lens for main images and macro mode for details.
Do you need a light box for jewelry photography?
No. A light box is the quickest way to surround a piece with soft, white light, but white cards and a diffused window do the same job. Our light box guide compares the options.
Can you use AI images of jewelry on Amazon and Etsy?
Yes, outside the photos reserved for the real piece. On Amazon the main image has to be the piece alone on white, with no model, and photorealistic AI-generated people need the contains-synthetic-performer tag. On Etsy keep one unedited photo of the real piece and mention AI edits in the description.
Sources
Checked on November 3, 2026. Marketplaces update their rules, so check before you list.
- GIA (Robert Weldon and Denise Conrad), How to Photograph Gems and Jewelry
- Amazon, Category Style Guide: Jewelry (US, 2019) and Category Style Guide Summary: Jewellery (UK, 2020). Current Seller Central rules: our Amazon image requirements page, checked October 27, 2026
- Etsy Help, Requirements and Best Practices for Images in Your Etsy Shop
- eBay, Picture policy
- Shopify Help Center, Product media types
- Google Merchant Center Help, Image link [image_link]
- Apple iPhone User Guide, Take macro photos and videos and Use iPhone camera tools to set up your shot
- Pixel Camera Help, Take high-quality photos on your Pixel phone or tablet
- Samsung, Camera modes and settings on Galaxy phones and tablets and How to use Pro Mode on a Galaxy phone camera
- Venus Optics, Macro depth of field explained
- Spencer Cox, Photography Life, What is lens diffraction?
- Nikon, Elevating the ordinary with focus stacking and Understanding focal length
- Adobe, Create a composite with extended depth of field
- David Coleman, Have Camera Will Travel, Polarizing filter effect
- Karl Taylor, Visual Education, How to photograph jewellery
- Orbitvu, How to photograph jewelry: 10 tips
- Corkie Bolton, Metalsmith Society, Photographing your jewelry to sell online (2023)
- Gem Gossip, Tips and tricks: how to photograph jewelry using an iPhone (2022)